
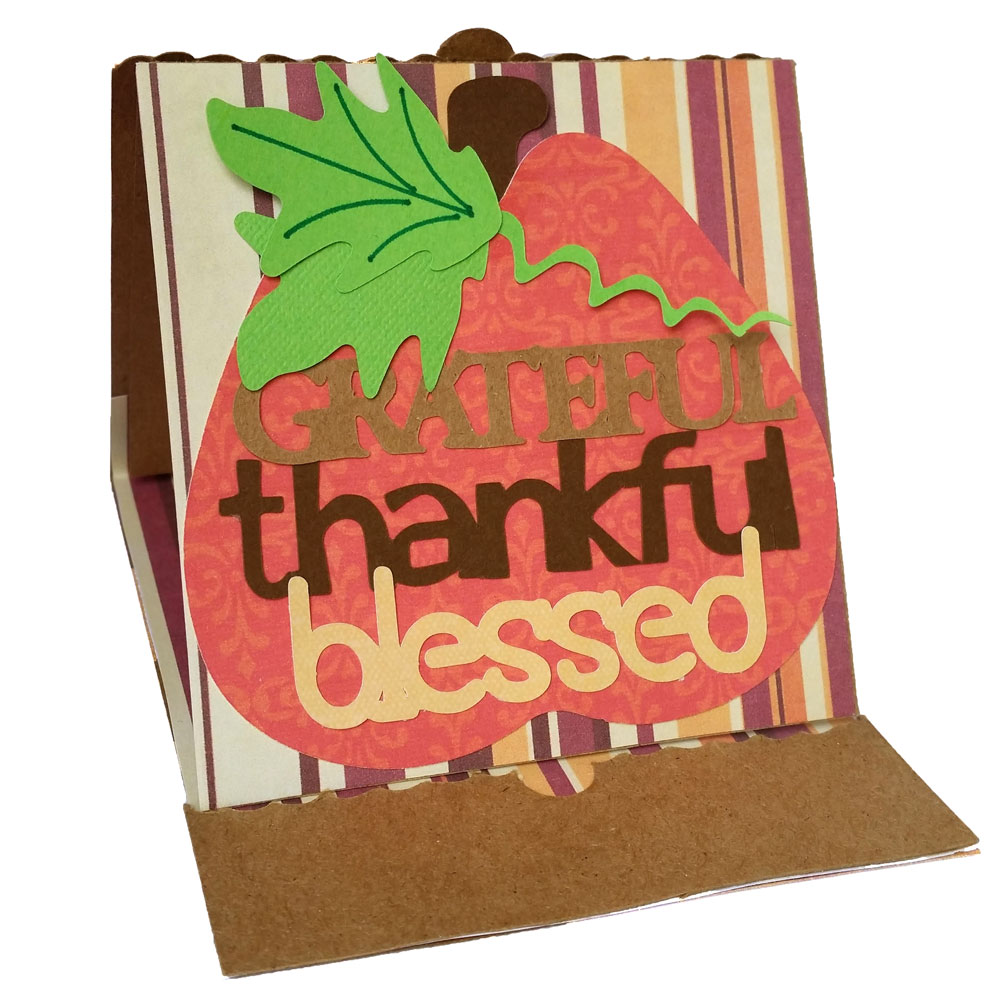
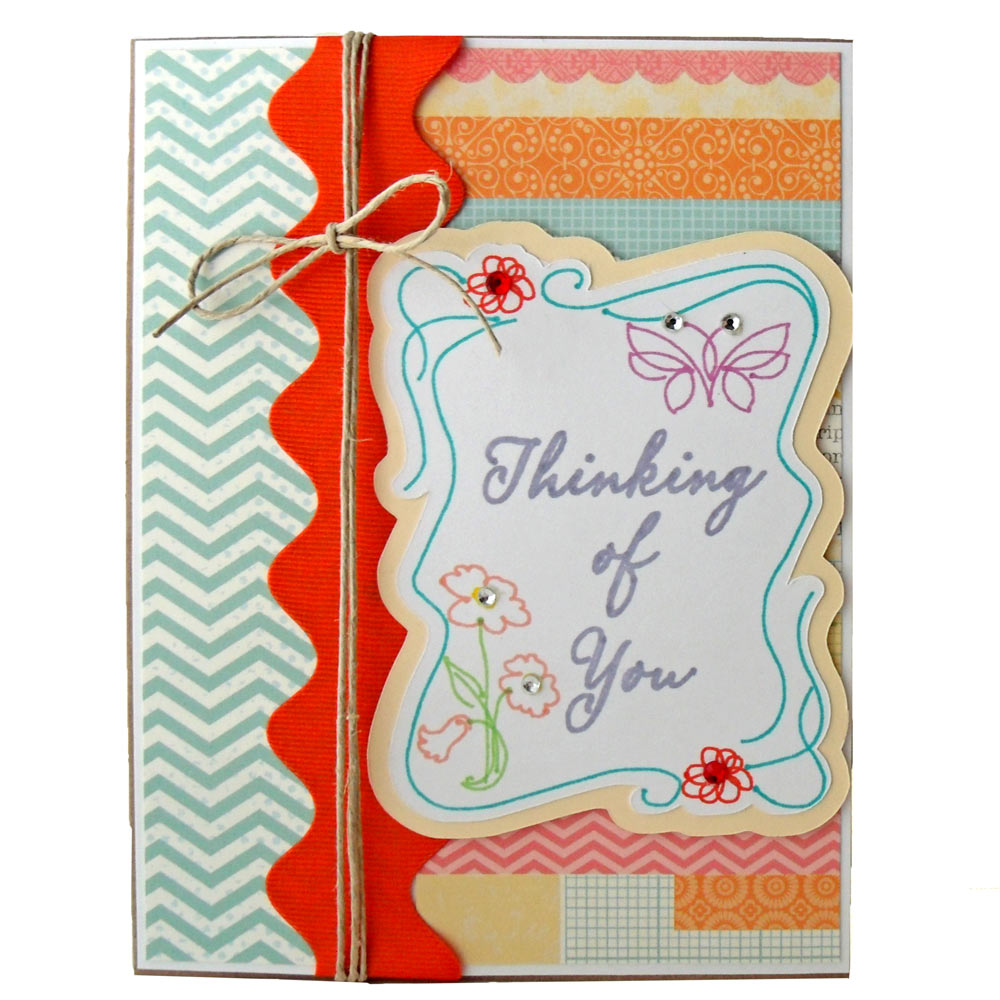
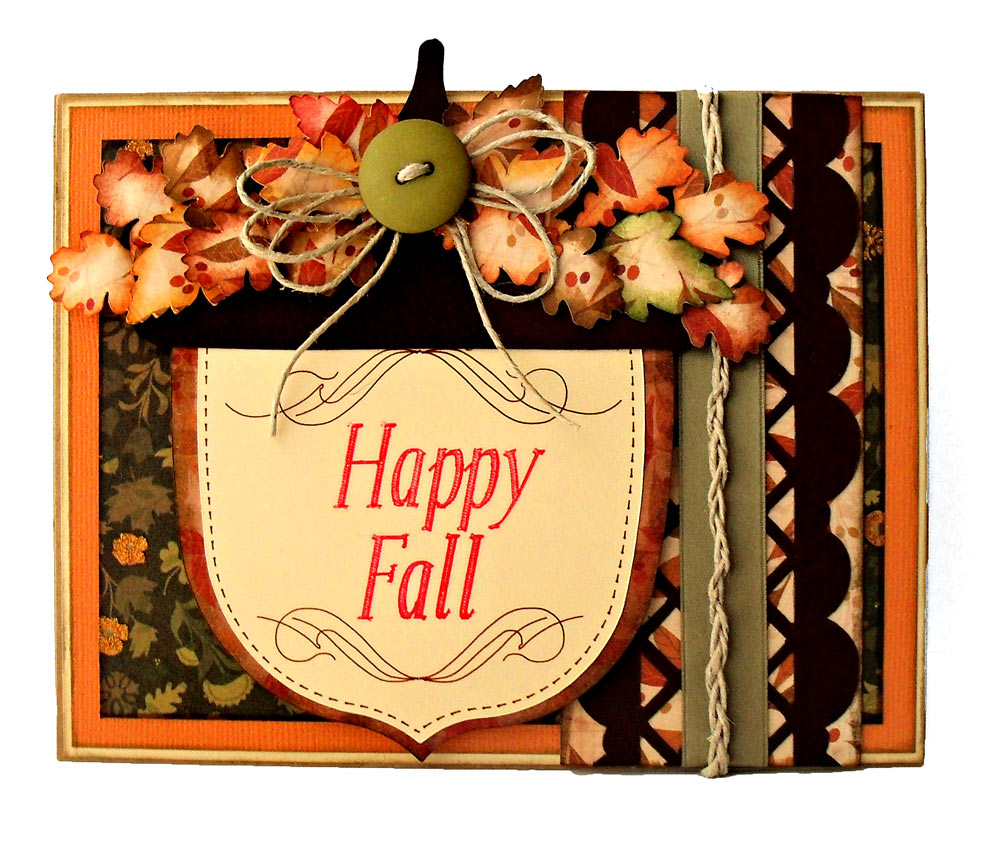
In an earlier blog, I promised to show more projects made using the ‘Flip It’ method. Every time I use it for a card project I am excited about the possibilities all over again! By using this method you can write on both sides of a project in one easy flip of the paper. Plus you don’t need to follow any complicated steps to line everything up.
Imagine not having to write the sentiment or poem on a separate piece of paper. You don’t have to glue it to the inside of the card hoping you get it all lined up either. You can add fancy pen work with the Inspiration Pen Tool where ever you want on the card.
I also trimmed away about an inch of the front of the card, that way the pen work on the inside of the card shows on the side. You can do this by drawing and cutting another strip of paper to glue to the side of the card and sometimes that is the look you want. But the Flip It method can save you a lot of time and it has a beautiful look all its own!
PS: Watch the first tutorial for a top-fold Flip It card!


This was a great tutorial. I could not grasp it until I watched the video and now it seems easy as PIE! Thanks as always for giving us great ways to continue to use our machines!