One of the things I love about the Inspiration is that it’s powerful enough to emboss and cut through soft metals, like art foils. It can be a bit tricky to master, but once you have it down, you’ll be impressed with the range of possibilities! For today’s Money-Saving Tip, I’ll show you why you never need to buy another pack of metal embellishments, foil letters or sentiments—because you’ll be making your own!
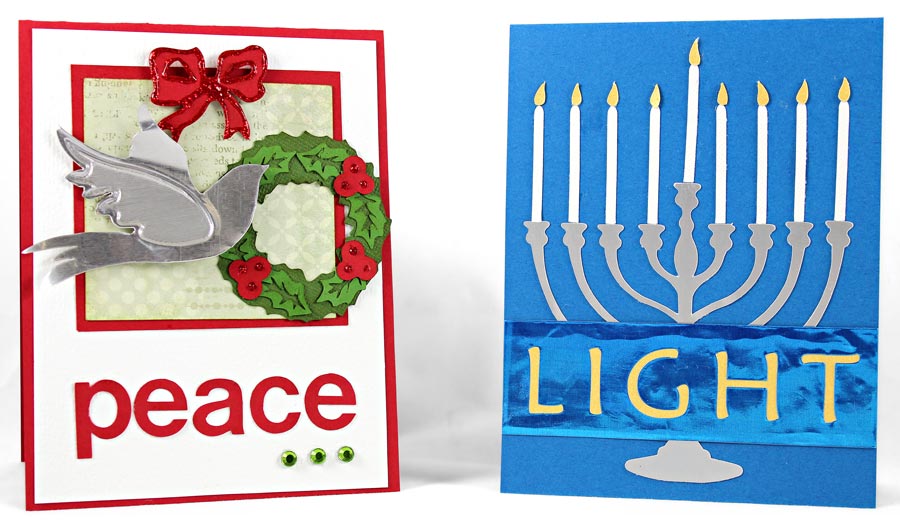
I made two different metal embellishments to show off the possibilities of cutting and embossing on art foil. One is the embossed and cut metal dove, the other is the blue metal banner with the word ‘light’ reversed out.
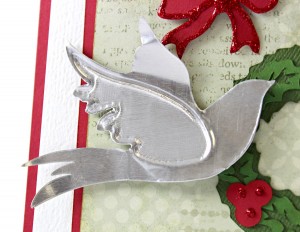
For my first embellishment, I used a Dove file from the Craft Room Library. I didn’t want to emboss the whole dove, just to give it some dimension by doing the one outer wing. After I made my wing shape, I followed the steps in the Embossing Tool video to emboss the wing of the dove—remembering that for metal, I want to use the emboss settings for vellum.
Before I cut the outline of the dove, I used the Smooth Small Angles feature because art foil will bend and tear very easily around sharp corners. I did several test cuts on my metal to make sure that I would get a good, clean cut before I cut around my dove. After cutting, I used the Chizzel to ever so slowly separate the dove from the Plush Mat without harming the emboss or curling the whole piece. Voilà! Metal dove embellishment!
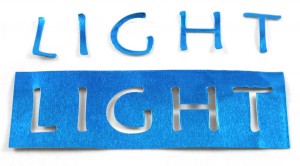
My second embellishment is simpler—just cutting, no embossing. I cut a sentiment band for my Hannukah card out of blue art metal and layered yellow metallic card stock behind it. I used the Elegant Menorah file from the Library. Since I had already tested the cutting settings for the brand of foil I used, switching to a different color was easy. The Inspiration cuts a smooth font out of metal so nicely that I was able to save the cut letters for use on a future project. How awesome is that?
To make an embossed and cut metal embellishment, you’ll need the Pazzles Inspiration Embossing Tool, the plush Embossing Mat, a Chizzel tool or a bone folder, and a nice, sharp blade. The Chizzel is necessary because foil is so soft that it will easily curl, bend, and wrinkle—having a straight edge to smooth it on to the Plush Mat is a requirement.
I hope you’re now full of peace, light, and ideas on how you can save money with your Pazzles Inspiration by cutting and embossing your own metal embellishments!
~Amanda
Supplies:
- ArtEmboss Soft Metal Sheets (aluminum, cerulean blue)
- Bazzill Basics Paper (red, white, blue, green)
- Authentique paper (Wonder: ‘Curiosity’)
- scrap metallic yellow, metallic silver cardstock
- Ranger Industries, Stickles Glitter Glue
- Inspiration Embossing Tool
- Inspiration Embossing Mat
- Pazzles Chizzel
- Pazzles Rhinestones (peridot)
- Adhesive


I also cut out an ornament using a pop can it came out better than expected.
Oh…Fun idea Shelissa!
You can also emboss soda cans.
This looks great! I would love to try this with Flowers, too. Great job.