Christmas is inching closer and closer, isn’t it? We’ve all got to-do lists about a mile long and wondering if we’ll ever cross everything off it! Well, I’ve got a quick solution to your gift tag woes!
If you haven’t used print & cut yet, take five minutes and calibrate your cutter with your printer. You’ll be using this method so often you’ll wonder why you didn’t do it earlier!
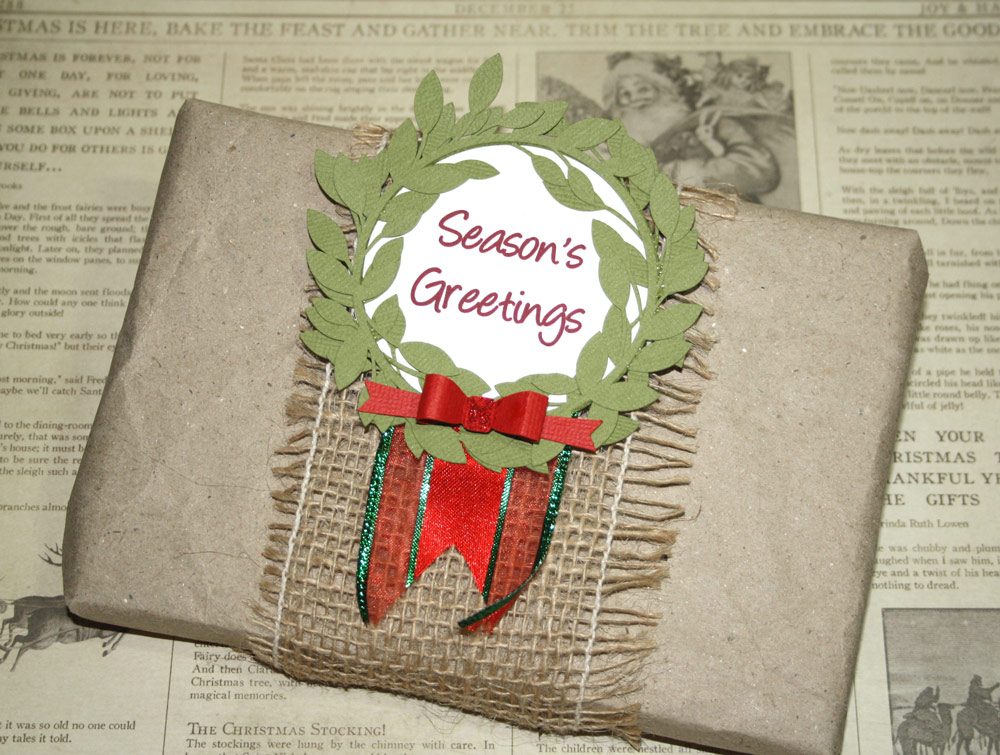
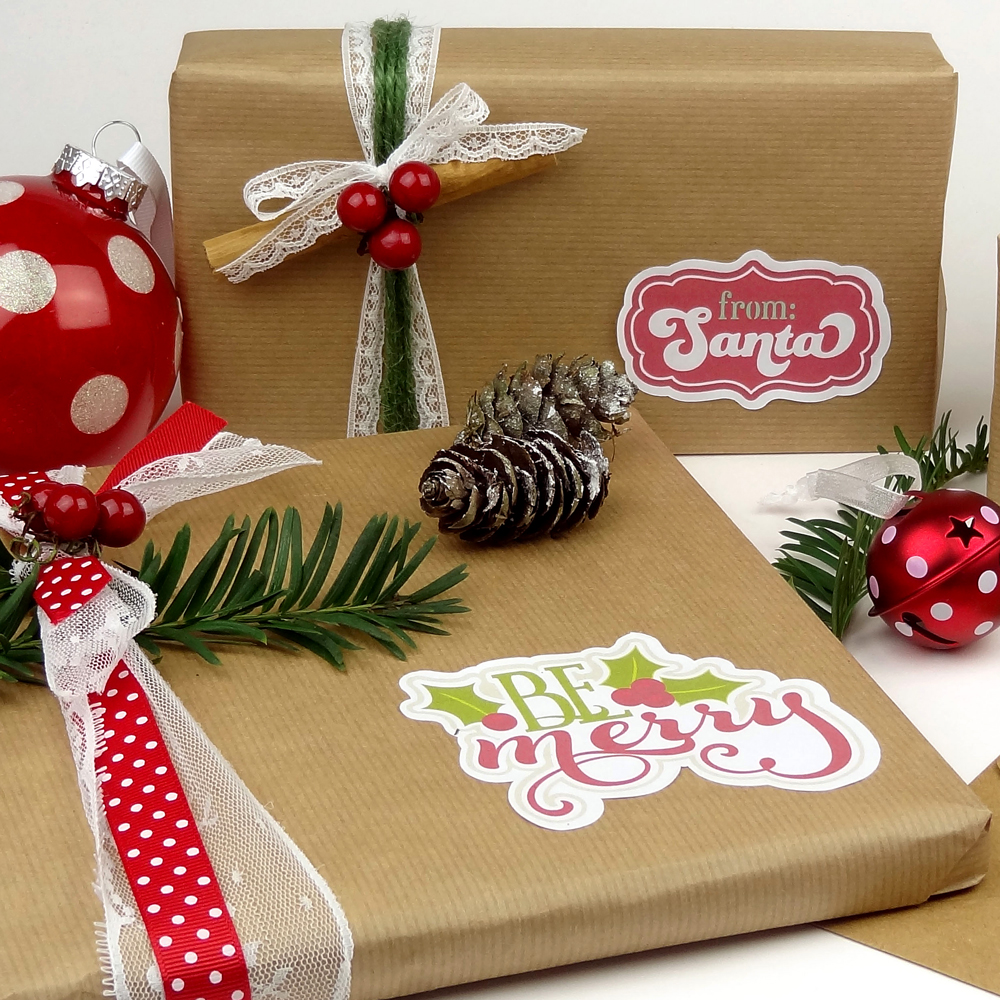
I cut out 3 layers of the MK Berry Wreath (without the berries!) to give my tag some dimension, but you can certainly just do one if desired. Once cut out, I assembled each layer angled slightly different to give the added dimension and depth.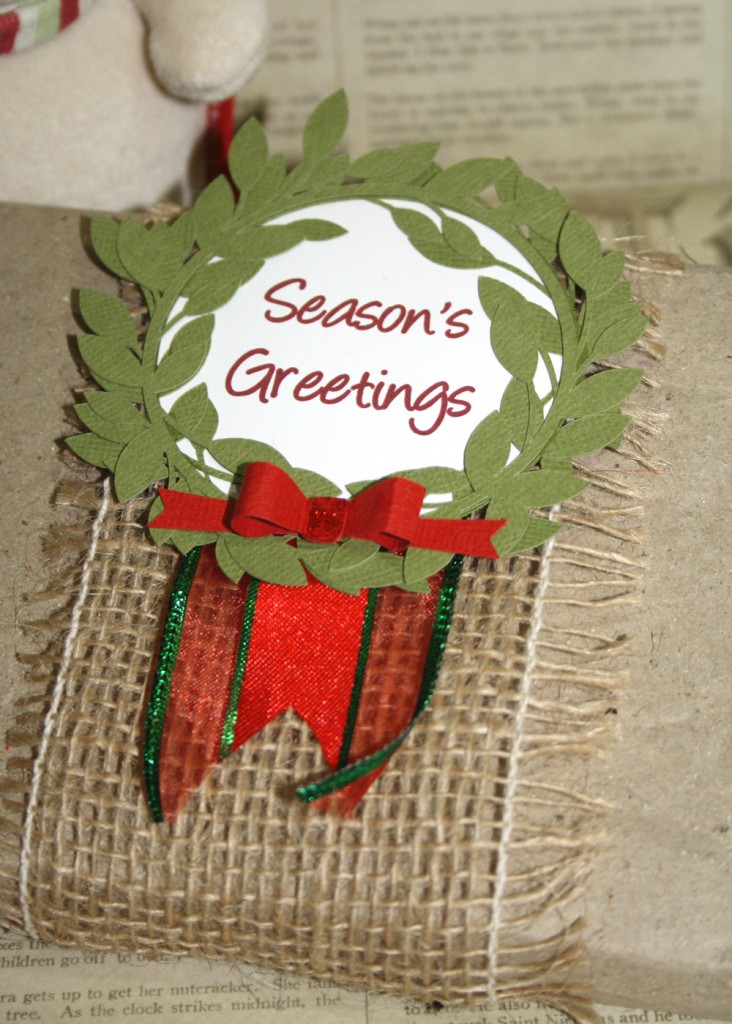
The print & cut portion is a cinch. All I did was use the circle from the wreath file and then inserted text that would fit inside the leaves. I printed directly onto adhesive paper for this. You could use cardstock as well.
With the adhesive paper, you could either cut the greeting through the backing of the sticker paper to have these tags ready to go when you need them, or you can just cut the circle out and then place onto your gift and layer the wreath over the top.
I kept the ‘sticker’ on the sheet and then assembled each layer of the wreath directly on top of the sticker. Once done, I simply lifted the whole thing off the adhesive sheet to place on my gift.
The finishing touch is the Dimensional Bow placed underneath the text. There are many bows to choose from in the Pazzles Craft Room, but the dimensional bow is one of my favorites.
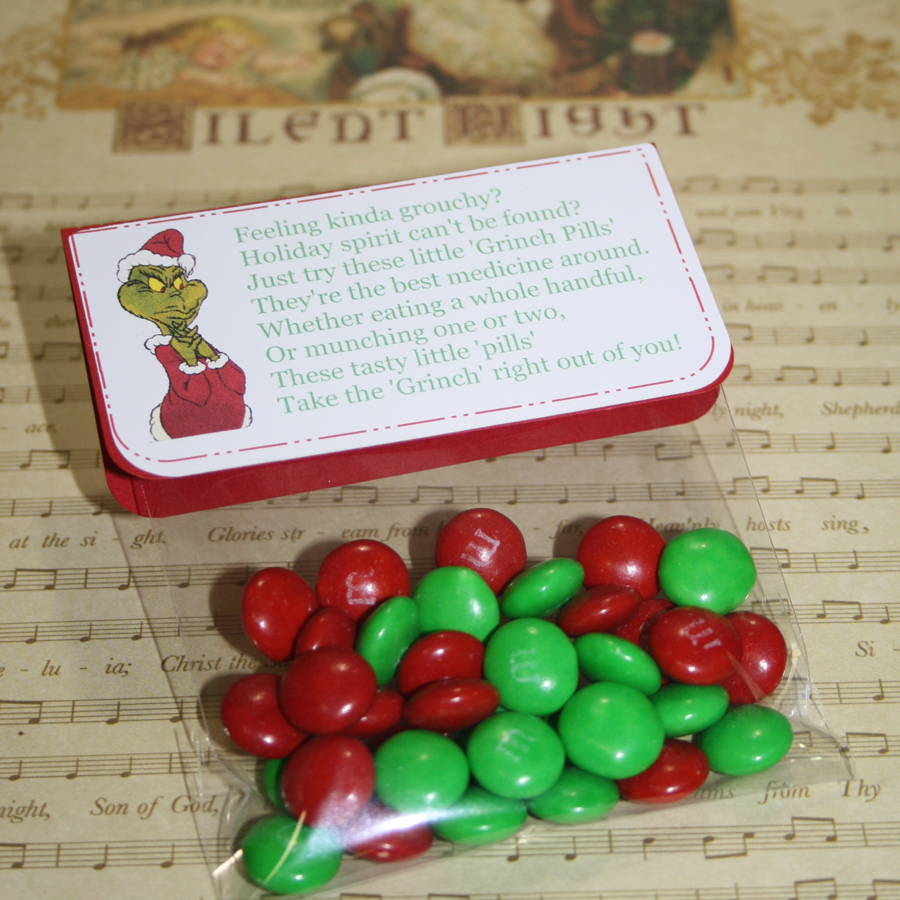
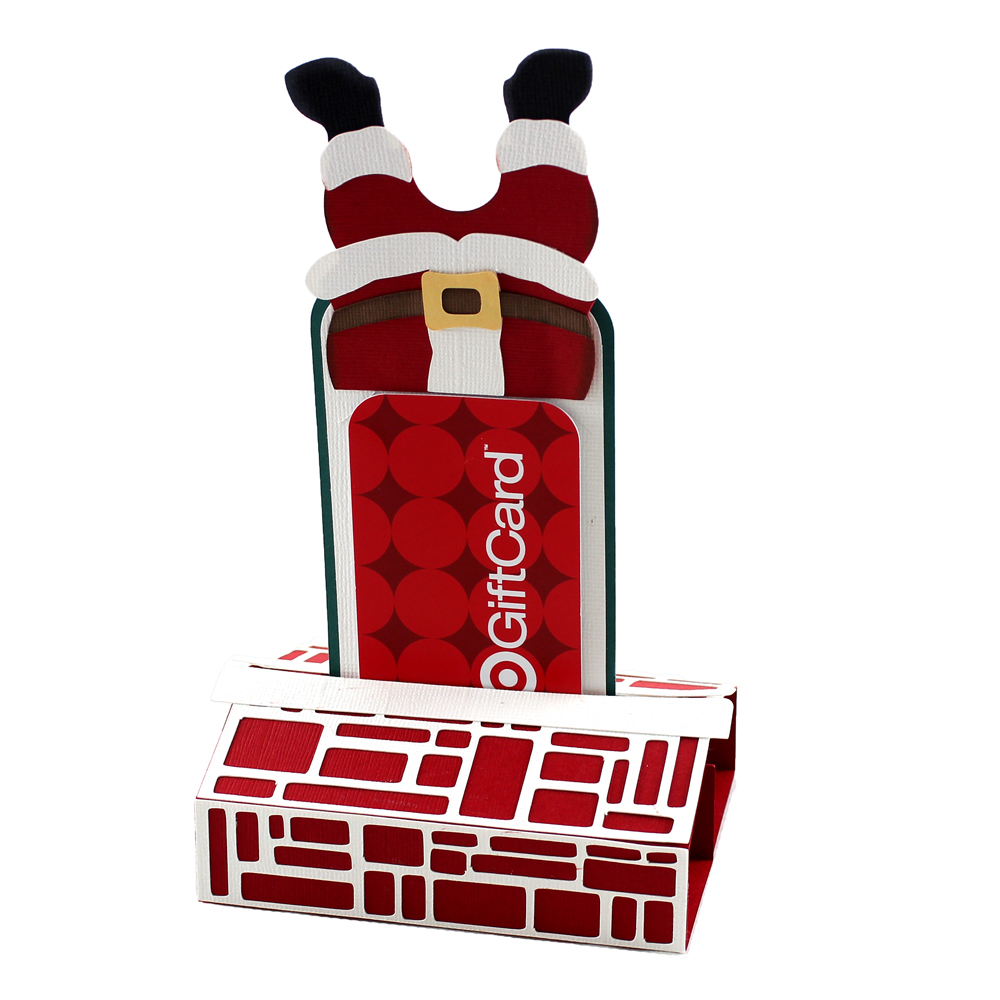
These files can be resized easily to fit whichever gift, lolly tube or jar you might be needing to decorate. That’s one of the many things I love about our machines – we can resize our projects to suit whatever we’re creating!
Happy Holidays everyone!
~Belle

Supplies:
Cardstock – green & red
Ribbon
Brown paper wrapping
Burlap
Sticker paper
Glue pen
thank you belle how lovely have a great and merry Christmas to you and your family