melin


Project Pattern: Hello You Card

Project Patterns Two Ways

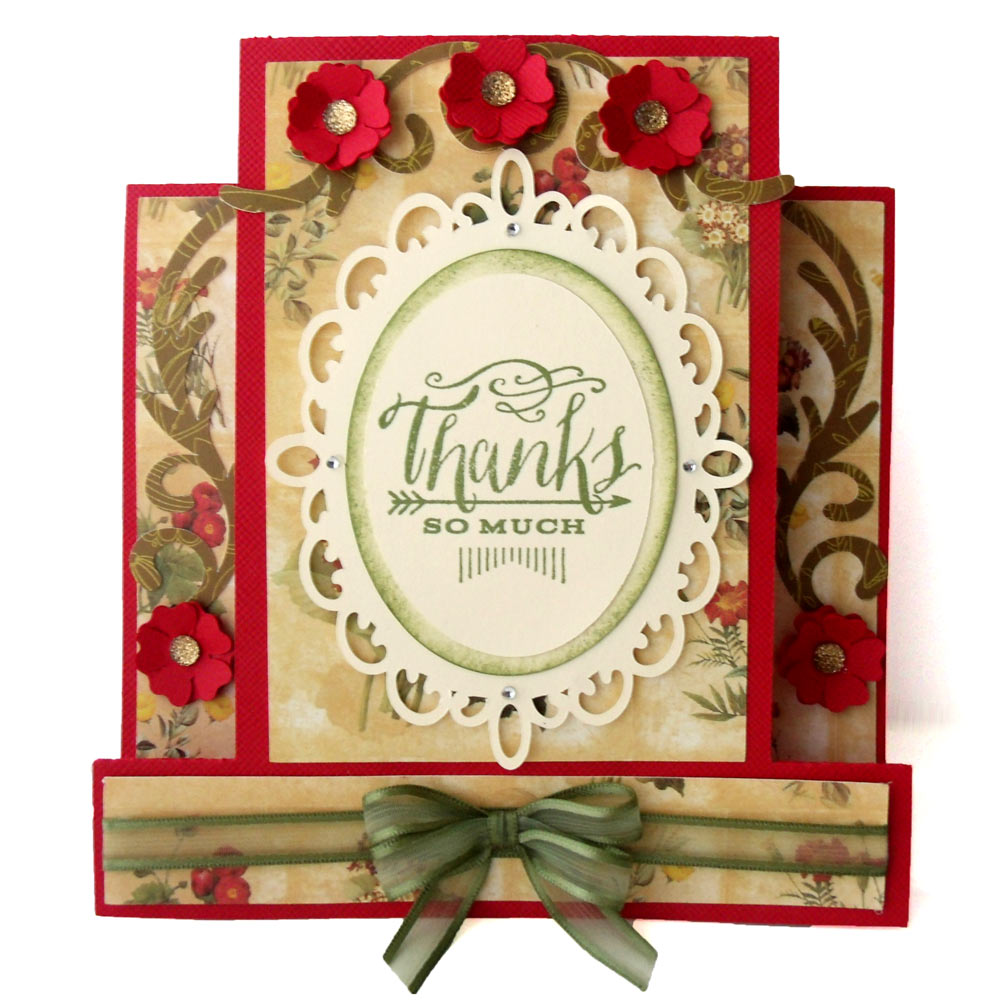
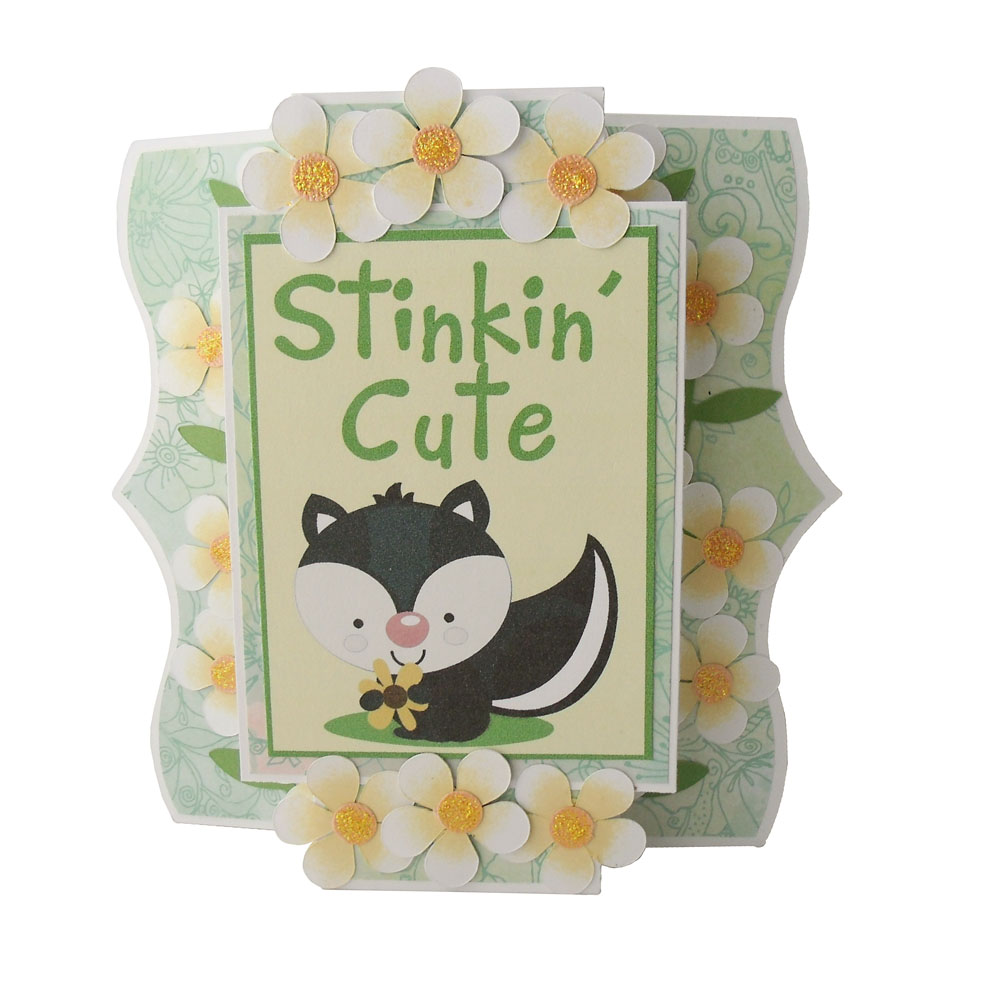
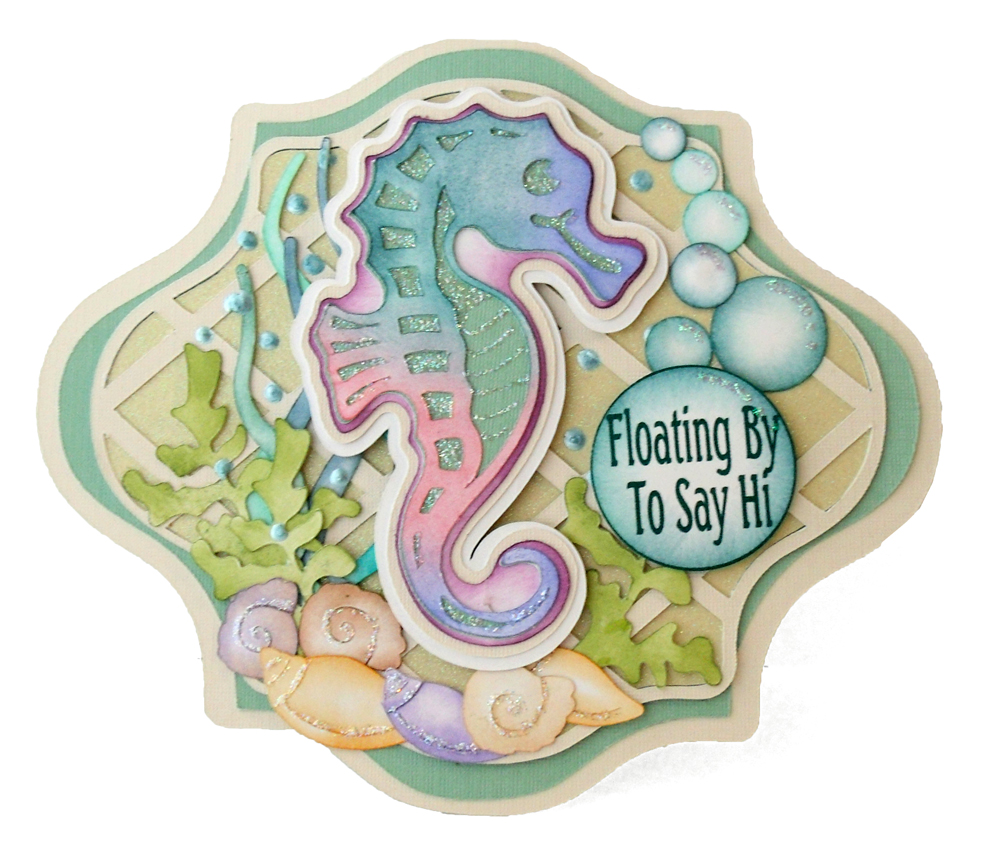
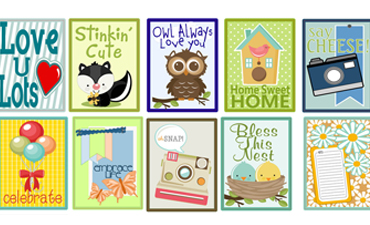
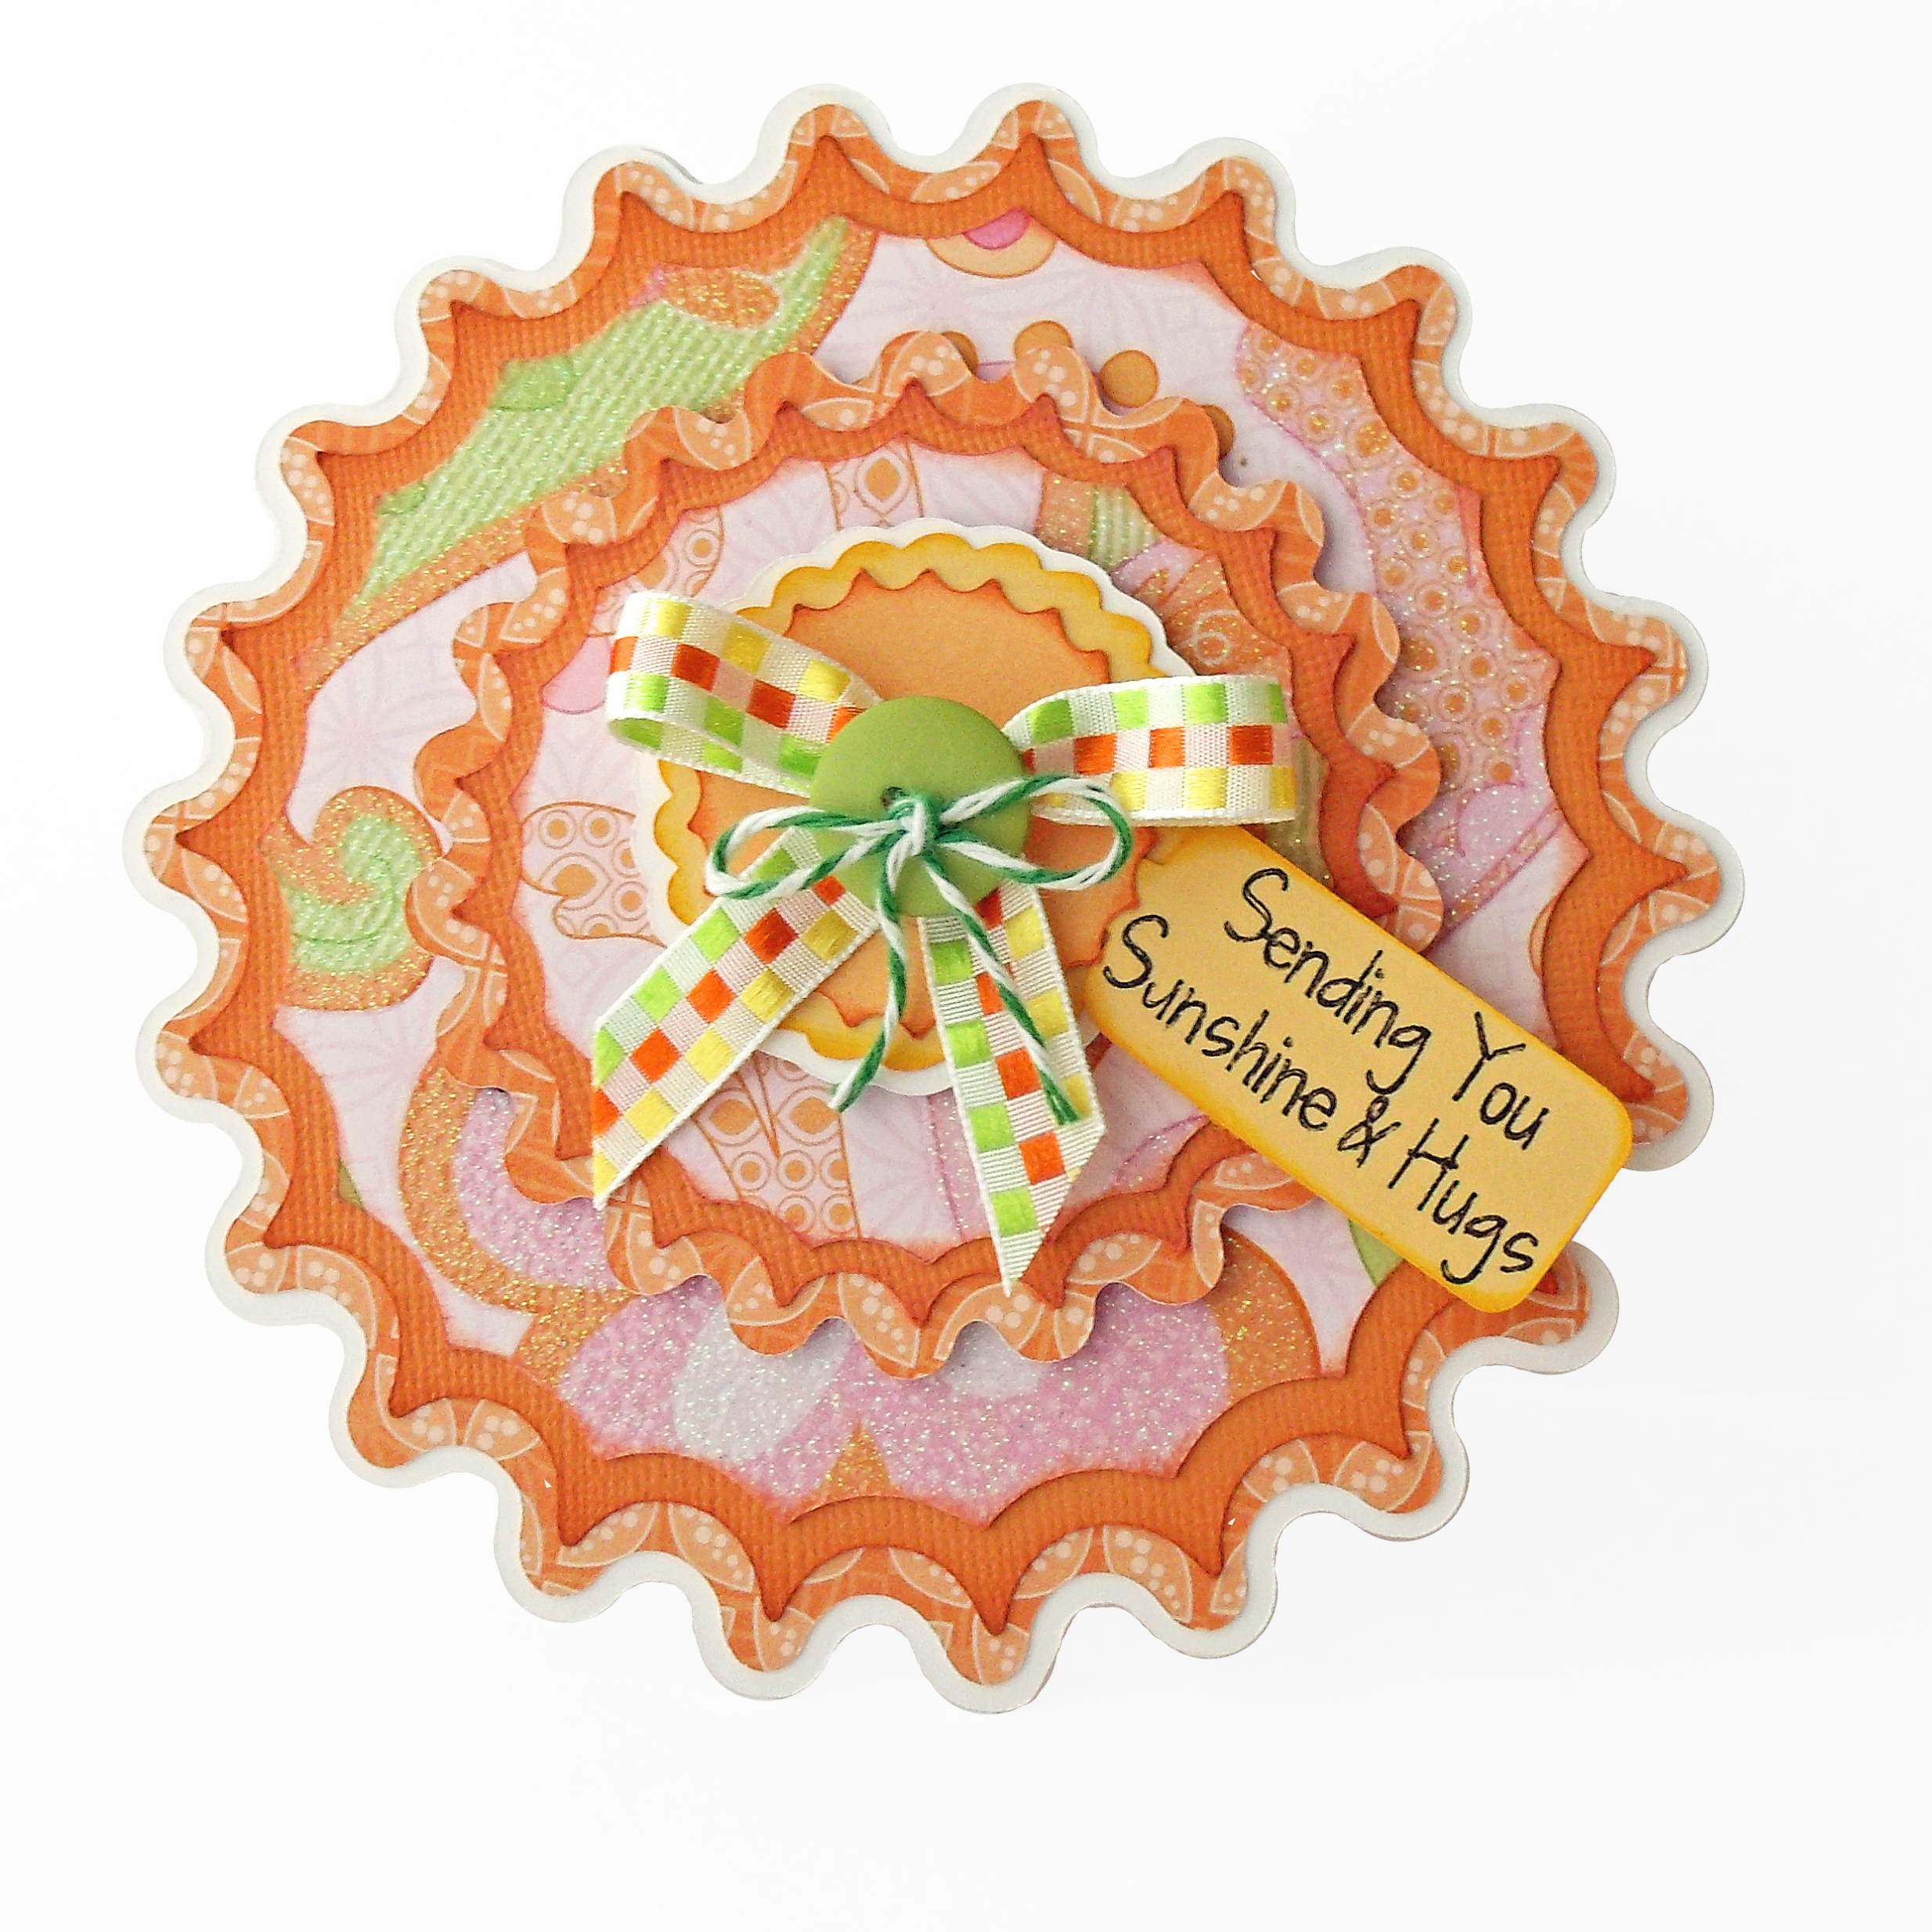
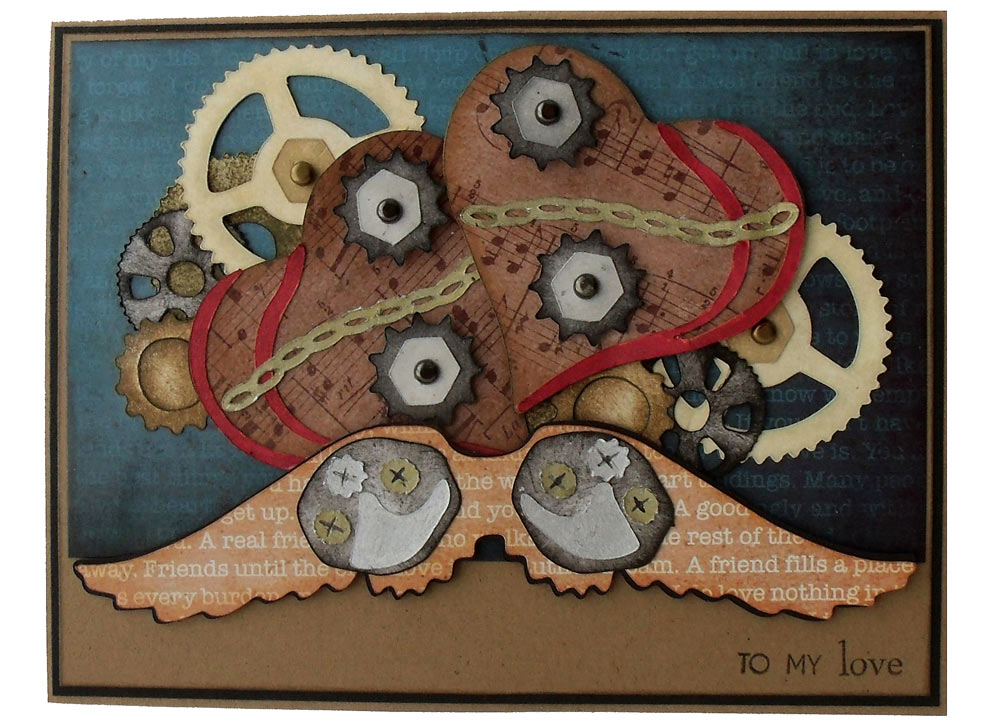
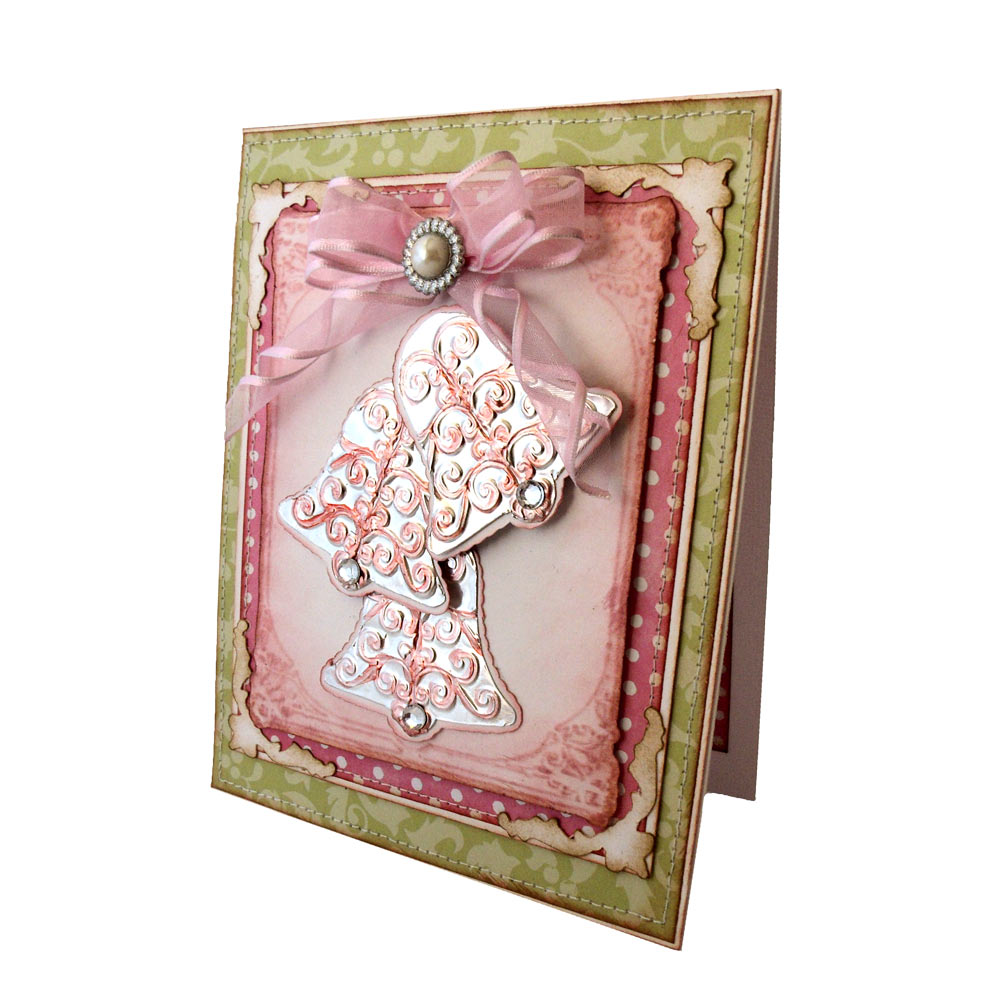
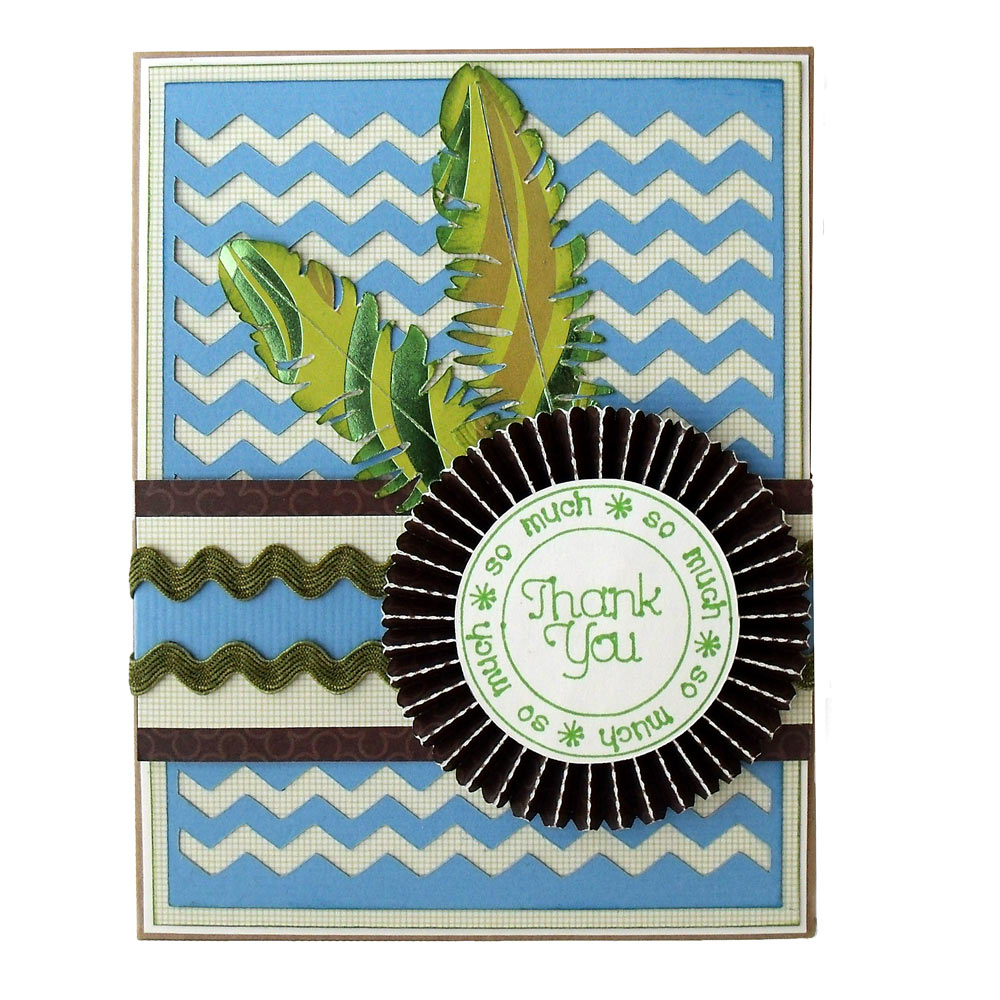
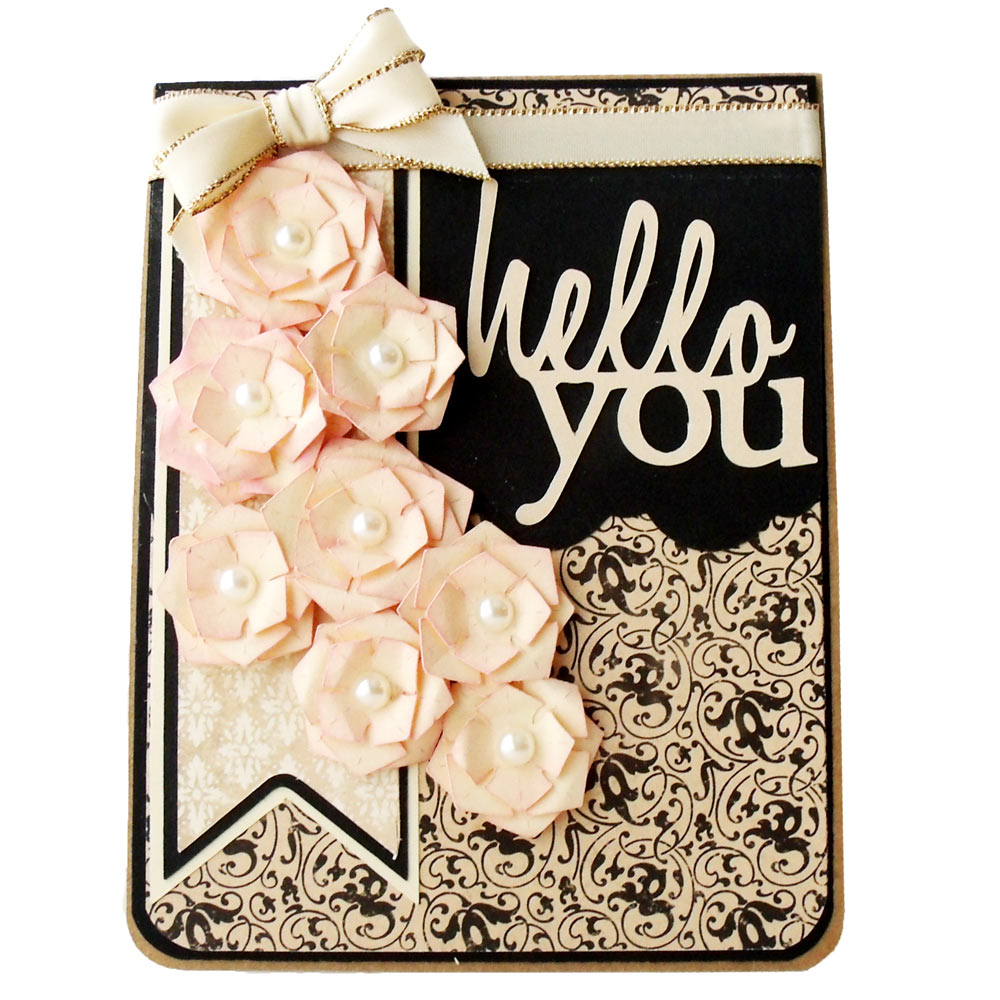
Hello Craft Room friends, Melin here with you today. My assignment was to choose one of the fun projects in the InVue Software and make a couple of projects with the same pattern. These projects are found in the local directory of your InVue Software and you get three free Project Patterns with the InVue software. There are layouts and card projects to choose from. I chose the Treasured Friendship card project. The project starts with a prescribed base. From there you can look in the modifiers folder and find sub folders to change up your backgrounds, sentiments and themed images. It really takes out a lot of the guess work for creating a project from scratch. For my first card I created, I chose to "flip" the base from a horizontal to vertical orientation. I then created a couple of quick layers for the mats.


Great Grandma Layout

Great Grandma Layered Floral Layout

Hello crafty friends, Melin here to share a fun and easy layout with you. I started by using my software to design the layout. I used the Autumn Bouquet file for the flowers and then used my software to create the circle, the scalloped border strip and the zig zag border. I then used the Flourish Sticks file for the flourish accents. I used the software and a free font to create the title. All of the patterned papers are from the Die Cuts With A View Whimsical World Stack.


Thanks Center Step Card

Thank You Center Step Card

Melin here today. Sharing a pretty and very easy card with you. I started by using the Fun Fold Center Step card for the base. I cut it in some Red Bazzil cardstock. For the panels I used some Die Cuts With A View The Botanicals Stack. I then cut the middle frame from the Fancy Circle Frame file. I broke that file apart and then used the inside oval and made a couple layers. I inked the edges of the middle layer with some Olive Ink and then stamped my sentiment with my Olive Ink Pad. I added a few bitty sparkles and used some foam tape to give it a little dimension. For the flourishes, I used the Flourish Sticks file and just cut one piece of that file to make these flourishes. I then used the Flower Bunch file for the little flowers. Lastly I added some ribbon and some Gold gems to the centers of the flowers. Super quick and such nice results.


Pen Tool Cards

Boost Your Card Stash with ...

Melin here with you today. I'm sharing some quick, easy and cute cards with you. All you need is your Pen Tool, some pens and a few files from the Craft Room Library. I started by using the Flower Frame, Flower 4, Flower 5 and Journaling Butterfly single stroke files from the Craft Room. I edited the frame just a bit, combined the flower files and added the butterfly to the top right corner.


Baby Bootie Shower Favors

I used the cute little baby bootie file from the CD51: Party CD to create the adorable bootie favors. I used some Die Cuts With A View papers from the baby girl stack. I simply added some lace and pearls around the bottom and a pretty flower with gem for the "snap". I filled it with some candy kisses and they were ready to go! For my hot air balloon favor, I used the free Berry Basket file for the base. I hot glued two bamboo skewers and then inserted them into the balloon. The balloon is from the On the Move Hot Air Balloon file.


Daisy Birthday Card

Hello crafty friends, Melin here and today and I am sharing a fun card. I chose the DCWV Solstice paper stack for all the patterned papers along with white, cream and green Bazzil cardstock. I started by using my software to create my card's layout. I then used my software to cut out the Ladybug Flower file, the Ribbon Slot Borders and the Square Doilie file all from the Craft Room Library. I did edit the ribbon border to remove some of the extra dash lines and then threaded some ribbon through the ribbon border.


Stinkin Cute Fun Fold Skunk Card

Stinkin Cute Shutter Card

Hello crafty friends, Melin here and today I wanted to share a really quick and simple card you can make with some great Craft Room files. I started by using the Fun Folds 2 Shutter Card base. I cut that in plain white cardstock. I then cut the panels in some DCWV Floral Fair patterned paper. I cut several of the Creamy Flower file in plain white cardstock. I also cut several of the centers in some Bazzil Tangerine Bling. I then used the stem from the Long Stemmed Swirl Flower file for my stems and leaves. I used some Buttercup Ink from Close To My Heart and sponged the ink in the center and worked my way out. I left the tips of the flowers white so they would have some character and depth. I then added the circles to the centers and then added some Yellow Stickles to the centers.


From The Sea Shaped Card

Hello crafty friends, Melin here today sharing a cute card I created with some of the latest Spellbinders Digital Die Collections. I used the Labels 13 S4-248 set to create my card base. I simply created a duplicate of the largest layer and welded them together at the top. I then cut one of the smaller layers using some of the very pretty paper in the DCWV Linen Closet cardstock stack. I then proceeded to cut out another smaller layer, and then used that same sized layer and my lattice tool to create a latticed layer. I glued that on top of the bottom layer that was cut with some pretty glitter paper from the same stack.


DIY Scrapbook Embellishments: Pocket Cards

Twelve different adorable 3x4 cards. Not only do these make great pocket scrapping cards, they are the perfect size for creating quick and easy sentiments for your cards!


Sunshine Shaped Card

It's Sunshine Week at Pazzles! All this week we are sharing sunshine inspired projects to warm your hearts and inspire some bright, cheerful crafting! Hello Pazzles friends, Melin here today, sharing a super easy and fun card with you. I used the new Spellbinders Digital Die Small Octagon Collection to create this card. I used some pretty paper from the DCWV Baby Girl Stack. It was so bright and cheery and was just the right color palette for a cheerful and “sunshiny” card. I started by welding the two bases together to create the card base. I cut that layer in plain white cardstock. I then cut the next layer in the patterned paper and then the next layer in some tangerine Bazzill cardstock.


Spring Tulip Layout And Card

Hello crafty friends, Melin here, and today I wanted to share a layout I created with a spring theme. The layout is pretty straight forward. I cut the flowers and leaves and inked their edges for a little dimension. I like laying out everything before I cut and print so I know exactly what size everything needs to be. I used the DCWV Butterfly Garden paper for the background. I used the following craft room files: Frame With Oval And Lattice, Spring Tulips, Spring Daffodils, Tulip Flourish, Fancy Circle Frame.


Best Buds Layout

Melin here and today and I am sharing a super quick and easy layout. I chose the DCWV Neon Chic paper stack for all the patterned papers. The only other paper used is some black cardstock. I started by using my software to “layout” my page. This alone is a huge time saver. You can determine what sizes you need your elements to be before you make a single cut. I will even import my picture into the page so that I know exactly what size I want to print the image out once I am done designing. The additional benefit to doing this is, you can “save" this layout in your library and you can “reuse” this base layout again and again!


Steampunk Card

Hello friends, Melin here with you today sharing a masculine Valentine card. I used some Gold to go along with this month’s challenge to use Gold in your Valentine Card. Here is what I came up with. I started by cutting out my card base in kraft cardstock. My finished card size is 5 x 6.5”. I then cut a black mat, and then a kraft mat. On top of that I used all designer papers from the DCWV Industrial Chic Stack. I cut the majority of the pieces out in plain white cardstock. Then I inked and colored in the pieces with my various inks as well as a gold marker.


Embossed Bells Wedding Card

Hello crafty friends. Melin here again. Today I am sharing a card I created with the awesome Pazzles Embossing Tool! I had some thin metal in my stash and was waiting for the right opportunity to use it. Here is what I came up with. I started by using the embossing tool to emboss the beautiful Victorian Frame File from the Craft Room Library onto some white cardstock. I lightly inked the edges of the cardstock. I wanted the embossing to really show up. I trimmed up my mats and patterned paper and then machine stitched them. I inked the edges to give them a shabby, vintage look and added the Fancy Corners file to the edges of my mats. Then it was on to using the embossing tool on the metal.


Easy Thank You Card: Layered ...

Today I am sharing a super quick and easy card featuring files from the Craft Room Library. I wanted to create a card that could possibly work for a masculine recipient. Here is what I came up with. My finished card size is 5" x 6.5". My base was from regular Bazzill Kraft cardstock. I started by cutting a white mat an 1/8” down from my base size. I then cut another mat from patterned paper an 1/8" smaller than that, using a small grid patterned paper. Next, I used the Chevron Paper Lace file from the library and sized it to 4.5" x 6". I cut it from regular blue cardstock. I then used the Downy Feather file and cut two of them from another piece of patterned paper.


Autumn Splendor Fall Layout

Good morning crafty friends! Today I am sharing a project I created for the Pazzles Design Team. This layout features pretty patterned paper from the DCWV Autumn Melody Stack as well as some beautiful files from the Pazzles Craft Room. I used several files from the Craft Room Library: Autumn Harvest Sunflower, Monarch Butterfly and Butterfly 001. I created the lattice frame in my Inspiration Studio Pro software.


Pen Tool Fall Acorn Card

Fall is such a beautiful season, with leaves changing color and the crisp, cool air. I created my card with thoughts of my years growing up in the northern part of the country. When deciding how to make my card, I knew I wanted to work with the new Pazzles Pen Tool. I visited Klo’s recent classroom video on how to work with the new pen tool and watched one of the archived sessions. It got me off the ground and running in no time flat.


Page 3 of 3123