Yearly Archives: 2014


60th Shutter Card

60th Birthday Shutter Card

August is such a crazy month for our family with birthdays what feels like every other day! It’s not just our immediate family, but many friends as well. It’s a busy, but happy month. I may be my own worst enemy, but for some reason I don’t often re-create the same card design. I like to do unique designs for each person. However, there was a card I made earlier this year that looked so striking I used it for my inspiration for this one. You can’t go wrong with the Fun Folds Card Collections – for this project I’ve selected the Shutter Card with the oval on the front face. I have omitted the oval and replaced it with the Vintage Frame file instead.


InVue Software Update

Over the past few months we've been collecting your feedback on our new InVue software. Behind the scenes we've been fixing bugs and taking notes on your requests for new features. The addition of new features will be an ongoing project, but today we are releasing a new update for the InVue software. To access the update you simply need to open your software and the update will apply automatically. Here are some of the changes you will notice: Move By Action to Multiply: The Move By Button will now maintain the last value typed in. This makes it easier to use the move by feature to replicate the Multiply function. Select your object, set your distance in the Move By dialog box, select the clone button and click the "Clone" button to evenly space like objects a specific distance from each other. (Think of a row of identical dots all evenly spaced.)


Thanks Center Step Card

Thank You Center Step Card

Melin here today. Sharing a pretty and very easy card with you. I started by using the Fun Fold Center Step card for the base. I cut it in some Red Bazzil cardstock. For the panels I used some Die Cuts With A View The Botanicals Stack. I then cut the middle frame from the Fancy Circle Frame file. I broke that file apart and then used the inside oval and made a couple layers. I inked the edges of the middle layer with some Olive Ink and then stamped my sentiment with my Olive Ink Pad. I added a few bitty sparkles and used some foam tape to give it a little dimension. For the flourishes, I used the Flourish Sticks file and just cut one piece of that file to make these flourishes. I then used the Flower Bunch file for the little flowers. Lastly I added some ribbon and some Gold gems to the centers of the flowers. Super quick and such nice results.


World Card Making Day Schedule

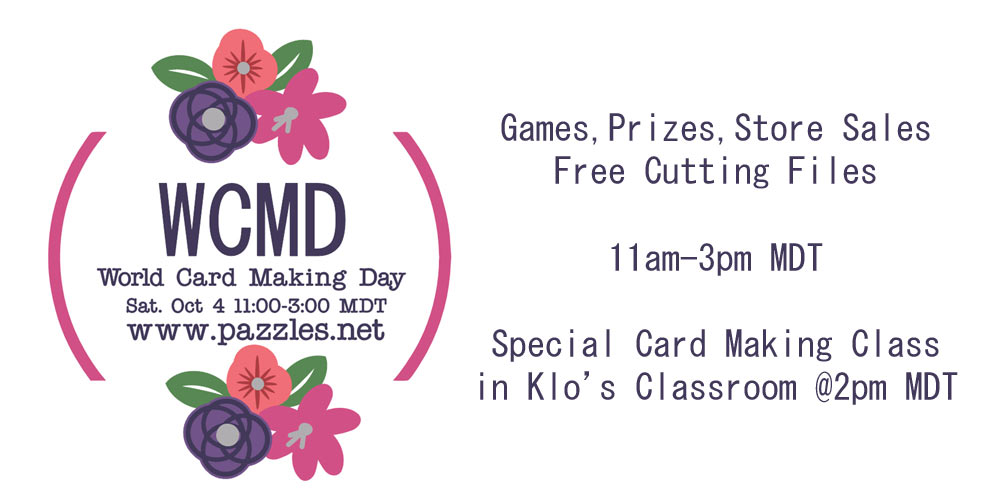
We hope you will join us for a day of fun as we celebrate World Card Making Day! Any day that celebrates paper is a holiday worth having a party for! We've got a party planned, so clear your calendar and join us.
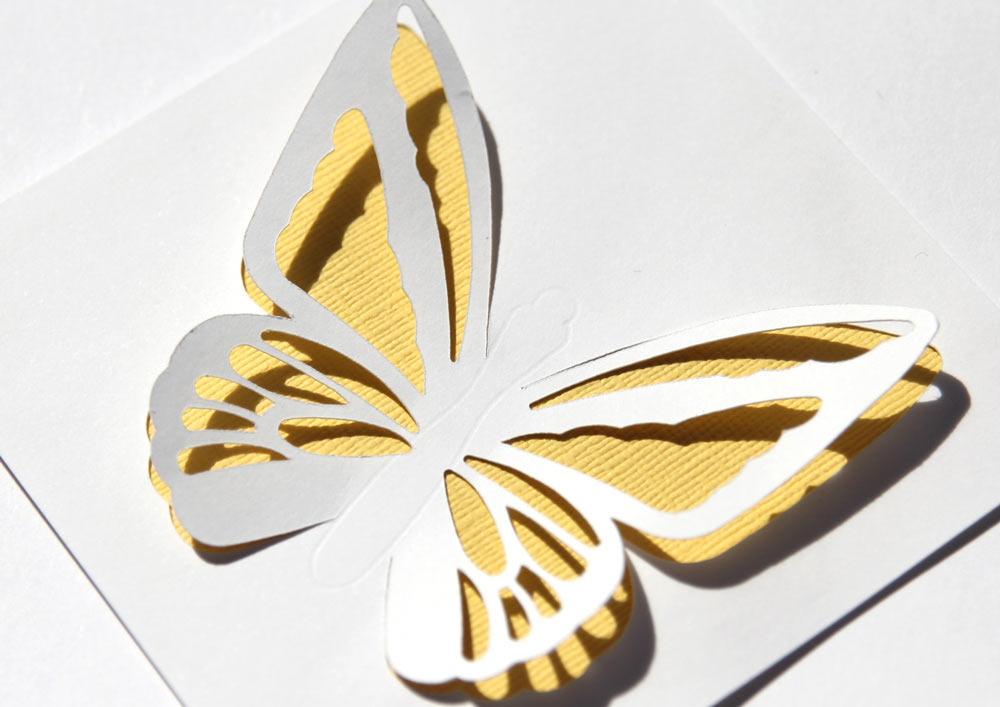
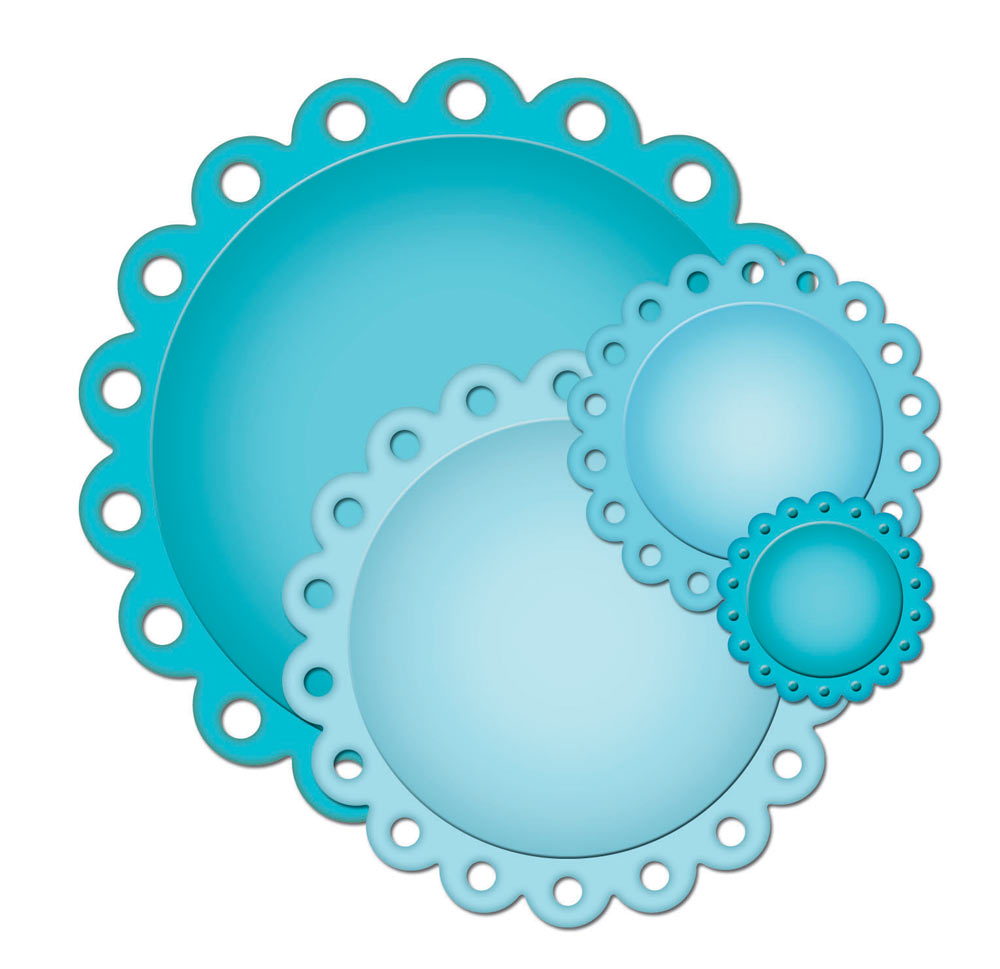
 Free Cutting Files 
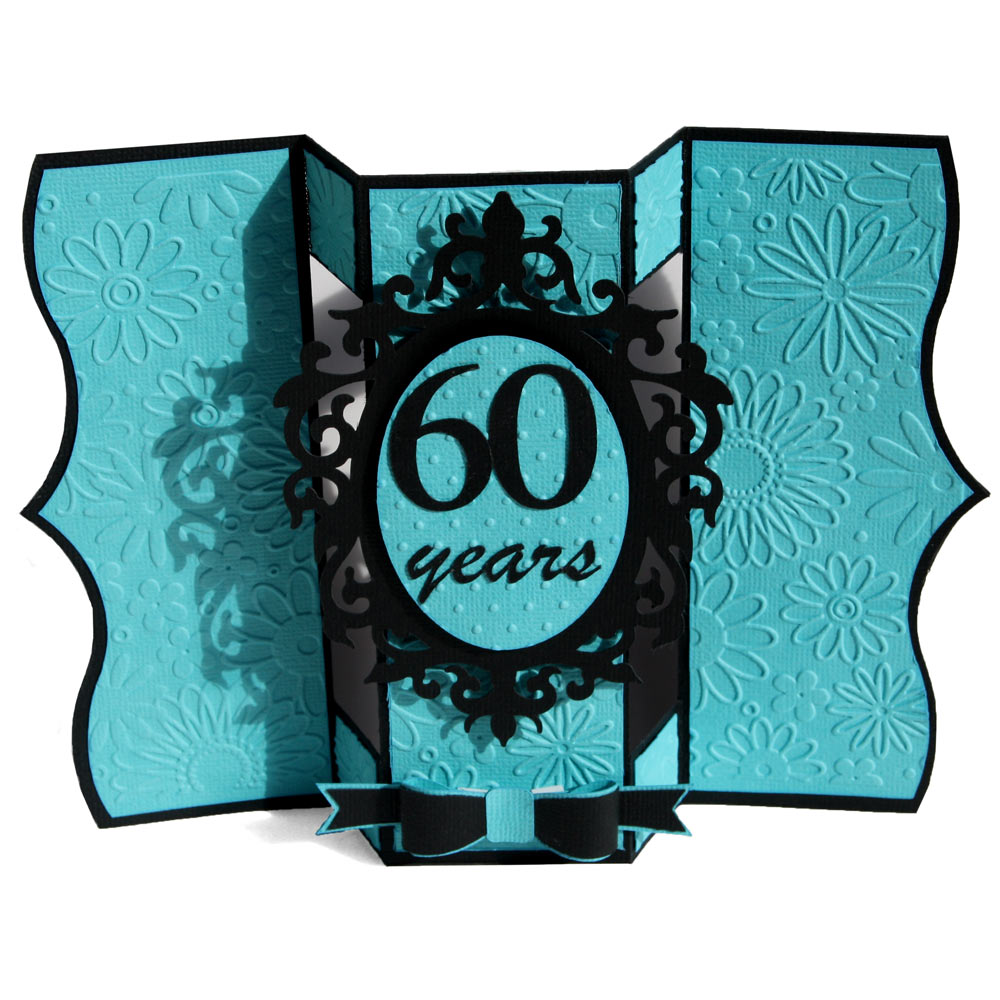
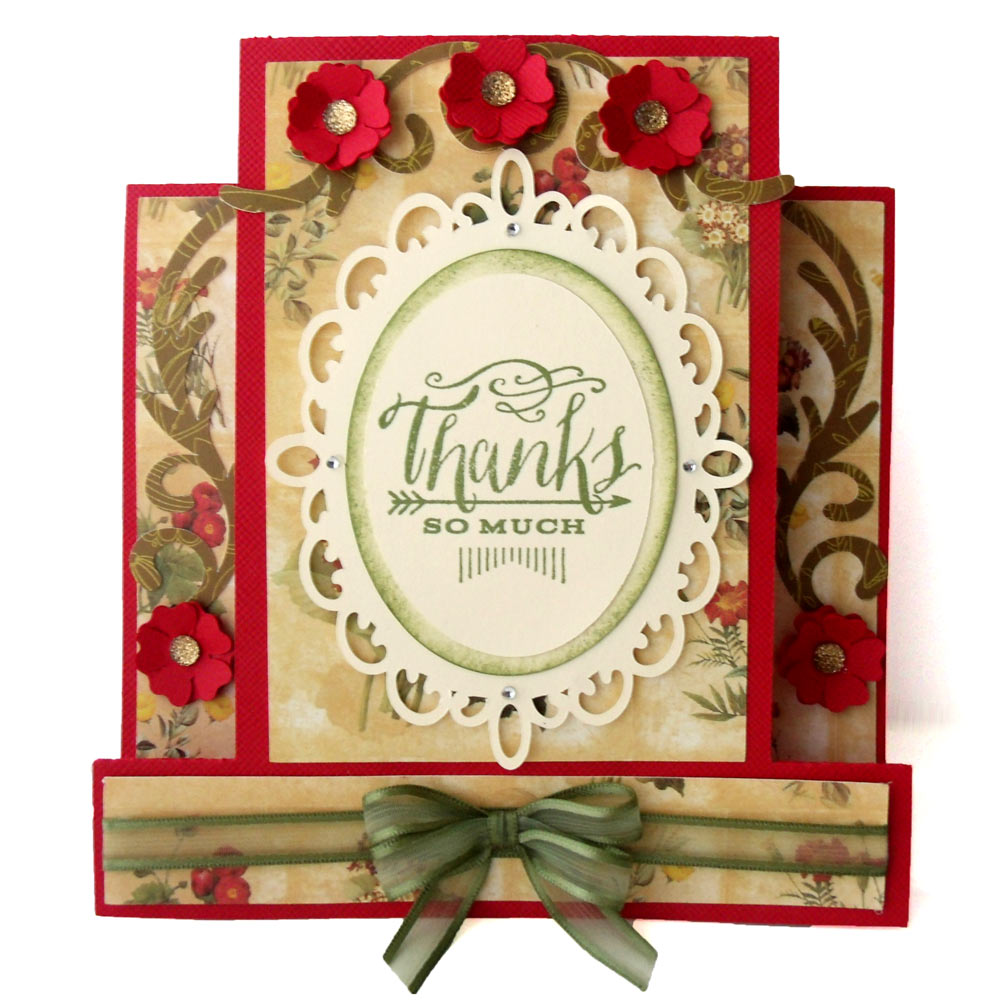
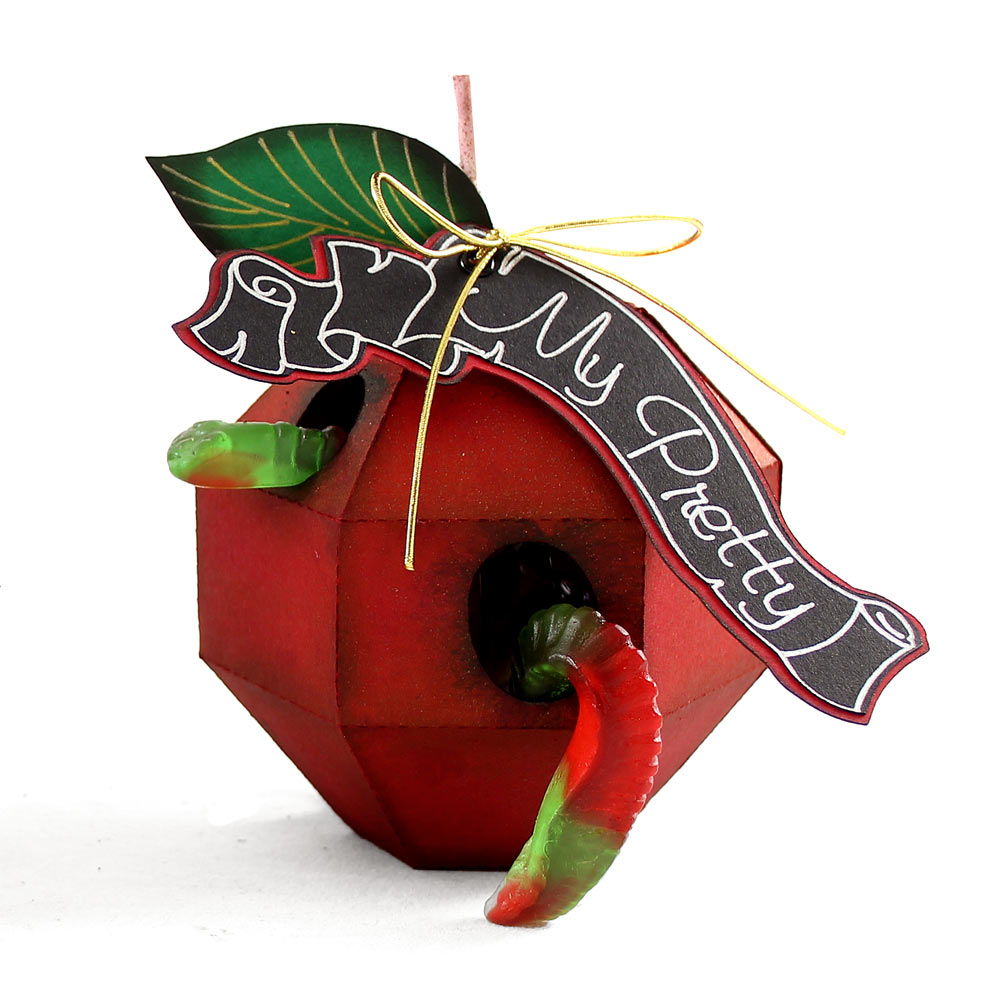
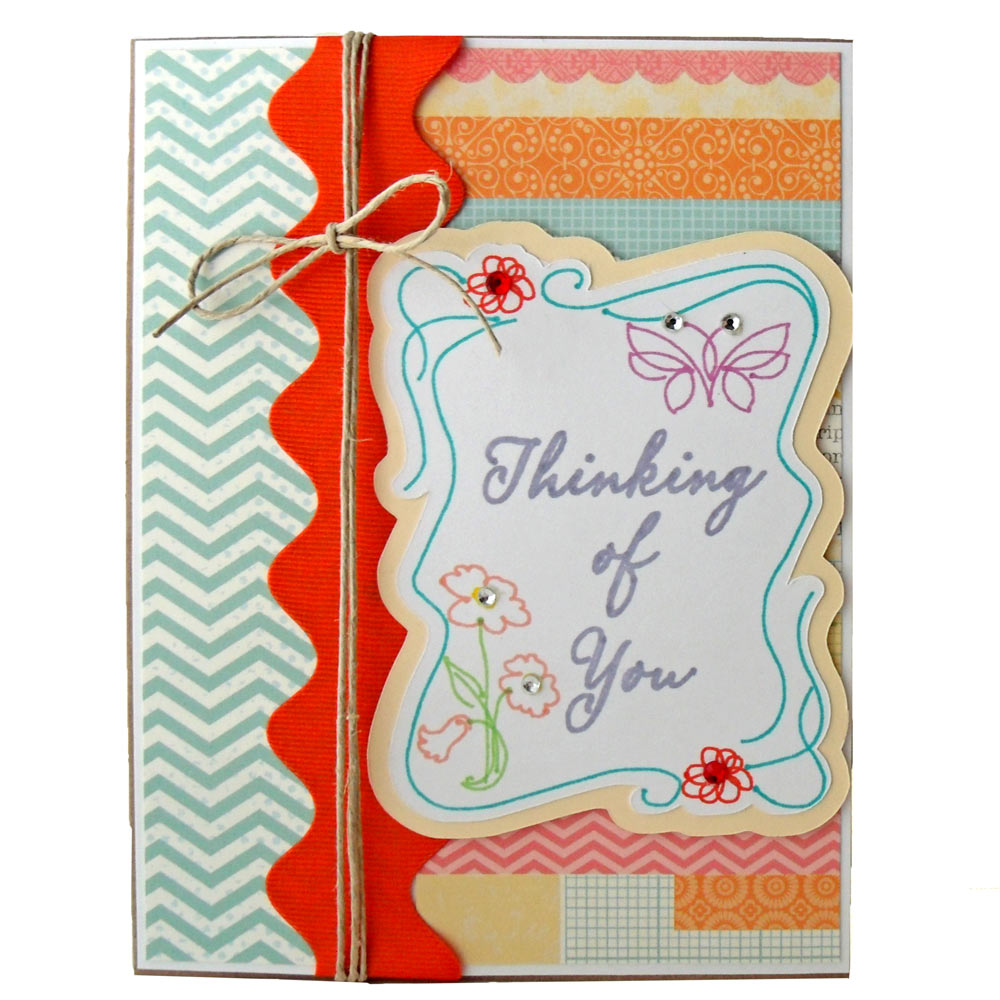
Starting at 11 am (MDT) and running through 3pm (MDT), we will be posting cool card techniques and free cutting files every hour on the hour here on the blog. Come learn something new and grab your free files. The files will be free for everyone to download and will be offered in WPC, AI and SVG format, so anyone with a digital cutter can play along.  We'll have several chances to win some prizes as well. The party will be from 11am to 3pm Mountain Daylight Time (MDT). You can use the World Time Converter to check the time for your area. Chat and Games Craft Room Members and free forum members can join us in the Member Chat area for extra fun and games (and more prizes). Chat with Klo and Michelle, get to know one another, and play games for extra prizes. If you are not a Craft Room member be sure and register for a free forums account before next Saturday so you can play along. Live Class At 2pm (MDT) Pazzles Educator Klo Oxford will be teaching a live class on a fun card making technique.  Click here to go to the Classroom page with instructions on how to enter the live classroom. The classroom will open shortly before 2pm (MDT)  and stay open for a while after the class so you can share the projects you've created throughout the day with one another.


Inspiration Software: Custom Cropping Digital ...

Creating your own custom cropped digital paper is so much fun.  I will be showing you how to bring in digital paper that is already available and custom cut out a fun box, plus we will touch a bit on creating our own digital paper. Join us starting Sunday Morning at 5am, 1pm and 7pm (all times are USA Central, Chicago Time). If you are not sure what time that is in your location, go to the World Time Conversion site to see what time you will join us. Just go to Klo’s Classroom and click on Enter Classroom, join as a guest.


Poison Paper Apple Cutting Files

Poisoned Paper Apples

Take a bite if you dare! This fun project may be bad apples, but they're cute as can be. Put a spin on holiday treat bags and create these poisoned apples instead. Make sure you present them to someone special, and put them under your spell.


Pen Tool Cards

Boost Your Card Stash with ...

Melin here with you today. I'm sharing some quick, easy and cute cards with you. All you need is your Pen Tool, some pens and a few files from the Craft Room Library. I started by using the Flower Frame, Flower 4, Flower 5 and Journaling Butterfly single stroke files from the Craft Room. I edited the frame just a bit, combined the flower files and added the butterfly to the top right corner.


World Card Making Day Party

We hope you will join us for a day of fun! We'll be celebrating World Card Making Day with some chatting, prizes, a live class, and awesome store sales. Save the date! More details to come!


Family Heart Wall Hanging

This wall hanging was inspired by a table top piece a friend of mine liked on Facebook, so I decided to make her one for her wall. I used the heart from the Heart and Bow file in the Craft Room Library and sized it to 7.5 inches. Then I used the Edwardian Script font to add the saying and added some holes to attach ribbon for hanging. After I cut it out, I inked all the edges and filled in some of the lettering. To decorate it I used a simple flourish, the Curlz file from the Craft Room and some bling. This was a really simple project and can be made in no time at all. I could see this as a name plate on a little girl's bedroom door or nursery, or just on the wall with your favorite saying like this one.


Make A Monster Project Pattern

Pazzles Project Pattern: Make A ...

Just in time to delight your Halloween goblins and ghouls, we have a new Project Pattern: Make A Monster. You'll find all the monster parts you need to create a dozen or more little monster characters. Once they are designed, cut them out or print and cut them to make layout and card embellishments. These would make some pretty cute Halloween party invitations and decorations as well. For an introduction to our Project Patterns concept and instructions on using the files, please visit last month's Project Pattern release.


InVue: Creating Fun Titles-September 21, ...

Come join us to learn some fun and different ways to create titles.  Whether you want them for a scrapbook page, a project or a card,  there are so many fun options in the InVue software to help you do that. Join us starting Sunday Morning at 5am, 1pm and 7pm (all times are USA Central, Chicago Time). If you are not sure what time that is in your location, go to the World Time Conversion site to see what time you will join us. Just go to Klo’s Classroom and click on Enter Classroom, join as a guest.


Halloween Tags

Halloween Treat Tags and Labels

As each day of September passes, it brings us closer to Halloween and my favorite spooky holiday celebrations. Today I've created some haunted Halloween treat tags and terrifying Halloween labels. Attach them to a bag of goodies and give them away to your favorite goblin or ghost. If you want to avoid the tricks, you have to be ready with the treats. This project includes four tags for paper piecing and four additional tags/labels for print and cut. The print and cut tags and labels were created with that process in mind, so they are not suitable for cutting out each piece. The Inspiration Vue makes it easy to cut them out, but you could also print them out and hand cut them.


Mad Hatter Tea Party Invitation

My niece just had her wedding shower this month and asked me to create an invitation for her. The shower was Mad Hatter Tea Party themed. Of course I said yes, and this is what I created for her. I used the Panel Gate Fun Folds Card Base for the base of the card. I printed the Hearts Overlay and the Elegant Layered Frame with the words “Open Me” and “Pull Me” inside the frames onto an 8 1/2x11 piece of cream colored cardstock, then used the print and cut feature to cut the Gate fold card out.


Creative Title For Die-Cutters

Creative Titles Three Ways

I have a three foot stack of Thickers Alphabet stickers in my scrap room. They are a reminder of the dark days before Pazzles when I had to plan my titles around the fact that I had no E stickers left. Now I cut whatever title I want and have no limits on letters. We all know how to cut a basic title from cardstock. Layering cardstock colors and welding words can give you a different look to your title, but today I wanted to share with you a few other creative ideas for titles using your Inspiration and the new InVue Software. The first is a faux chalkboard look. Here's how I created this look in InVue: Type your text. Change the pen line and fill to black. Make sure your text is selected. Select the outline/inline option from the left sidebar. You will see fill and pen line colors represented within that box. Change your pen line to gray and your fill to black by dragging those colors from the color palette on the right up into the Outline/Inline color selections. Select inline with a setting of .04 and click preview. Click on the green arrow just below your text to accept the changes. Using black cardstock and a white pen, first draw the gray inlines with a white pen, then cut the black letters out. To give them an extra chalk effect dip a sponge in some white ink and then lightly rub it across the cut out letters to give them chalk smudges.


September/October 2014 Challenge

Since it is harvest time in most places, we thought it would be fun to use that as our theme. Fruit is really trending, so you may find something fun to do with that. Or do a layout or create a card on what harvest time means to you. We are so excited to see the fun ideas you come up for this.


Spellbinders Nested Circle Holes Digital File

New Spellbinders Digital Dies

Today you will find 10 brand new Spellbinders Digital Die Line Collections in the Pazzles Store. The new collections include: Nestabilities Labels 2 Nestabilities Labels 5 Nestabilities Blossoms Two Nestabilities Blossoms Three Nestabilities Nested Circle Holes Shapeabilitites Butterflies Shapeabilities Nested Apple Shapeabilities Nested Pear Shapeabilities Leaves 1 Shapeabilities Elegant Posts


Coffee Cup Gift Card Holder

Coffee Cup Gift Card Holder

Is it morning yet? Or should I say is it coffee time yet? Ok really, when is it not coffee time? This coffee cup box and gift card holder set would make a perfect gift for anyone on your list who likes coffee. You can fill the cup with biscotti or coffee flavored candy, specialty creamers or really any treat your recipient enjoys. I plan on giving this set to my husband, for a just because gift. I used the print and cut feature to print “I love you more than coffee” on the Gift Card Holder and then cut the Latte cup file out and attached it with an Action Wobble Spring.


Spellbinders Tea Pot

Spellbinders Digital Dies

Today we have a special weekend treat. A few of our Design Team Members have created some special projects for you using the Spellbinders Digital Dies. If you aren't familiar with the Spellbinders Digital Dies, you can view all of the available files in our online store and/or watch the Spellbinders Launch video showing how they can be used. And be sure and check back Monday for a brand new release of new dies. Design Team Member Belle Donaghey used the Spellbinders Label 9 Digital Collection to make this beautiful Happy Birthday card.


Halloween Neighbor Gift

Haunted House Treat Bag Set

Halloween is a fun holiday. It gives adults a chance to dress up and be silly, and gives kids a chance to eat lots of candy. There’s a lot of traditions that take place on this spooky night. My favorite as a kid was when my mom would fry up all the pumpkin seeds. She had the best recipe ever! It was as simple as frying the seeds in a stick of butter with salt until they’re golden brown. Yummy!! Then my friends and I would get ready for a night of trick or treating. We would go to the neighborhood across town where the houses were close together and you could show off your costume. It was the perfect time of year to scare all the little kids without getting in trouble! No matter what you find yourself doing this Hallows Eve, spread the fun to neighbors on your street and use this cute “Boo’ed” set to leave a splendid Halloween treat!


No Class: September 14, 2014

There is no class this weekend, this is a great opportunity for you to watch past classes or videos or just spend time creating. ~Klo


A Gift Tag Set to ...

I was so inspired by the new Inspiration Vue Print and Cut that I knew I had to do a project for you using it. On your way to a party? Running out the door and stopping at a store to get a gift? This happens to me way too many times to count, and being a crafter people expect a little more from your gift wrapping. Most of the time there is just no time to do all that extra stuff. So how about we fancy up our store bought gift bags with a ready made tag? They are so easy to make in the software.


Burlap Gift Bags

Create beautiful monogramed tags and place over burlap bags for an elegant country gift. Perfect for wedding favors!


Page 5 of 16« First...34567...10...Last »