InVue Color Palette: So Mod ...
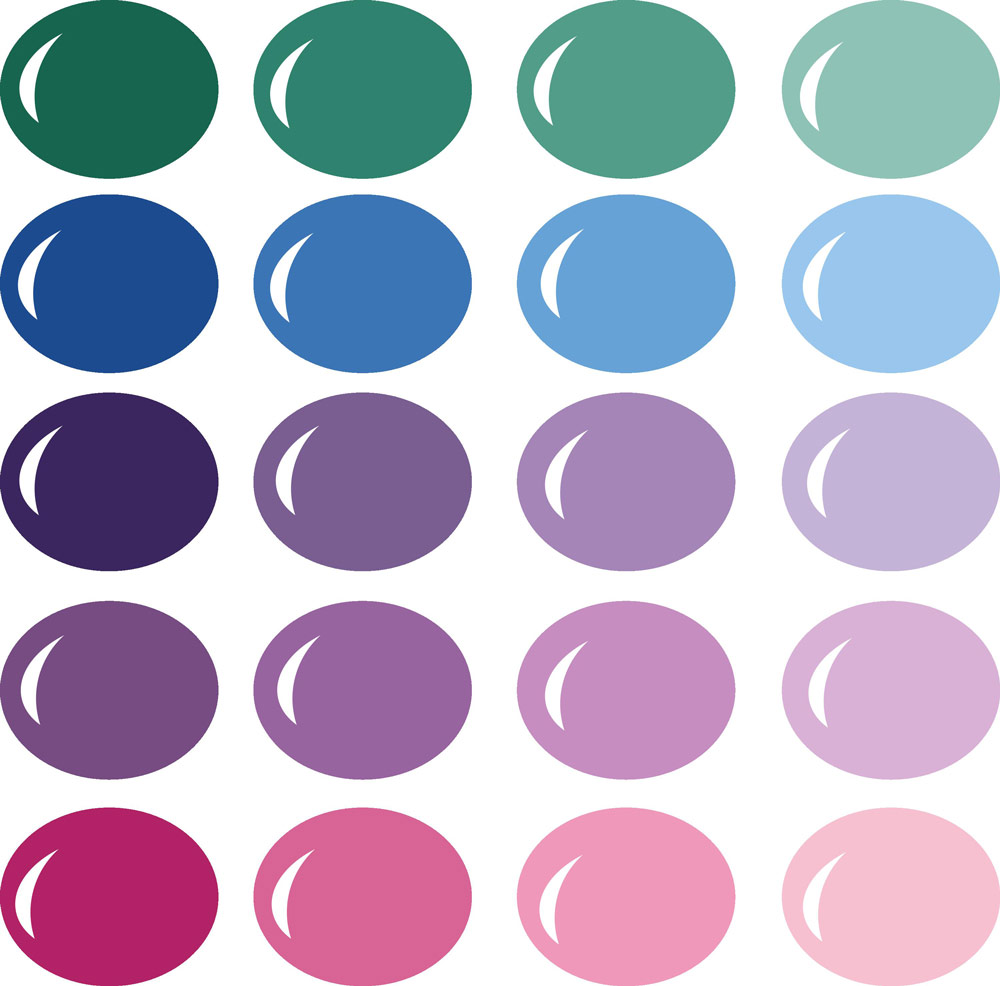
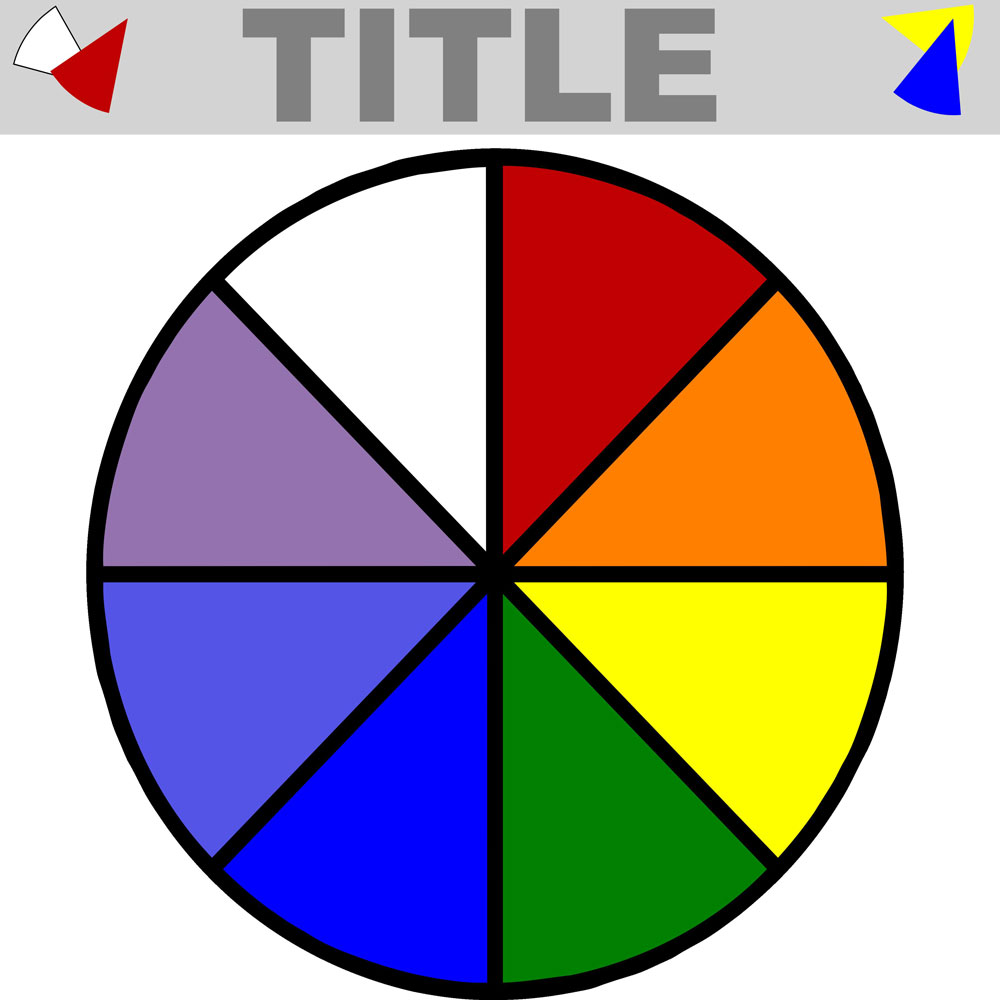
A second palette based on the Coredinations ColorCore paper pack So Mod.
A second palette based on the Coredinations ColorCore paper pack So Mod.
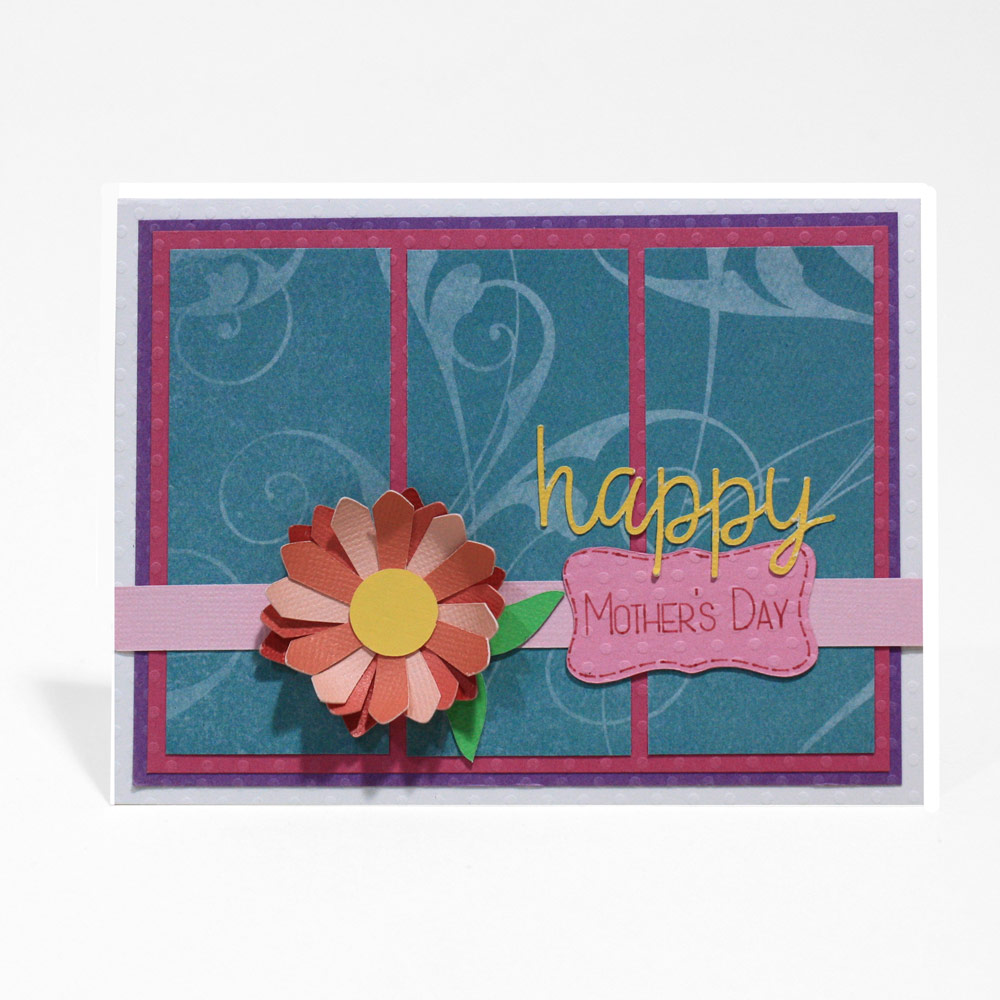
Mother's Day is just around the corner and this is the perfect card to create for that. I used the Pen Tool to create the writing on the label. With the variety of single stroke fonts available in the InVue software you could easily change the words here if you would want to use this card for another occasion. After cutting the flowers, I curled them slightly to add some dimension. I curled them using the edge of the bone folder found in the Pazzles Tool Kit.
We are going to be learning how to use the Piercing Tool. You can use it to add dimension to a design or to have it be the complete design. You won't want to miss this. Join us starting Sunday at 7pm (times are USA Central, Chicago Time). If you are not sure what time that is in your location, go to the World Time Conversion site to see what time you will join us. Just go to Klo’s Classroom and click on Enter Classroom, join as a guest
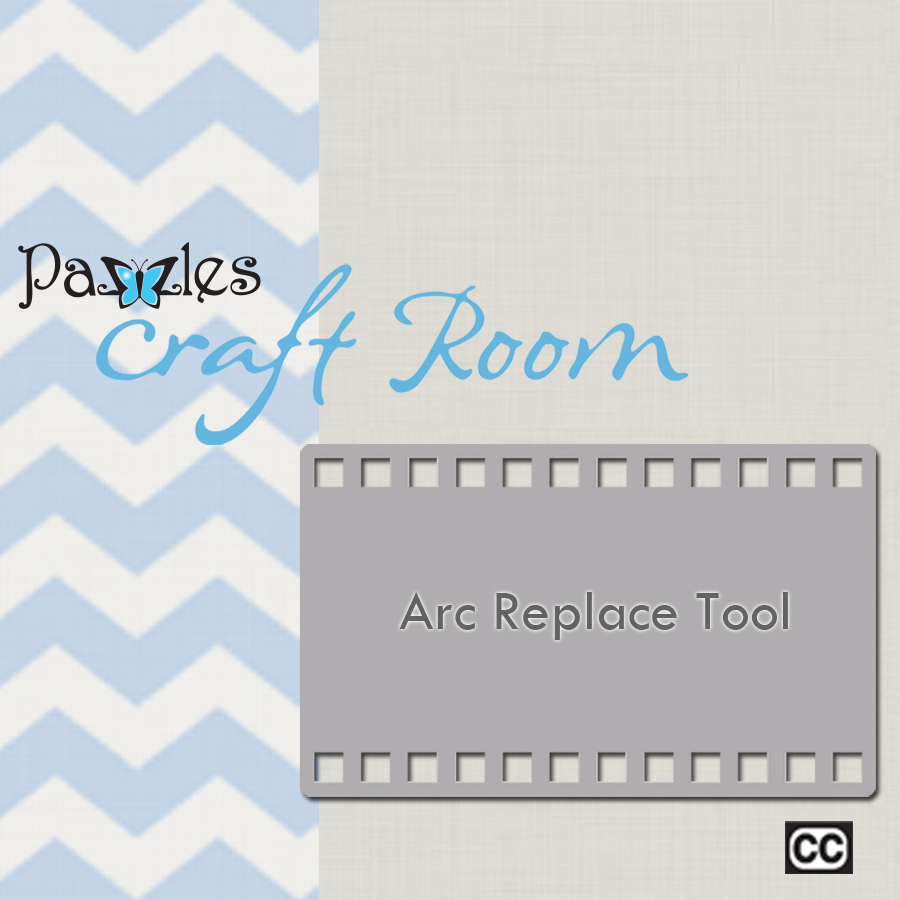
The Arc Replace Tool is a fabulous addition to the already amazing InVue Software. This gives you the ability to quickly and easily be able to smooth out a rough path, as well as clean up curves. Using the Arc Replace Tool allows you to remove a lot of control points at one time leaving you a nice clean path. Arc Replace Tool This video will show you how to easily smooth out a rough path or clean up a curve quickly and easily leaving you a nice clean path.
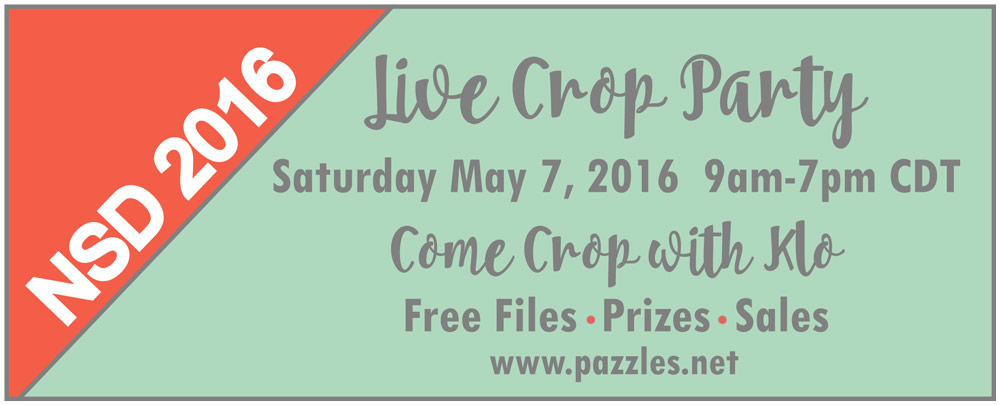
Be sure and join Klo for National Scrapbook Day. We are going to be having a 10 hour Virtual Cropping and Crafting day. We will be in the classroom, so have your camera and microphone ready so you can share your projects that you are working on.
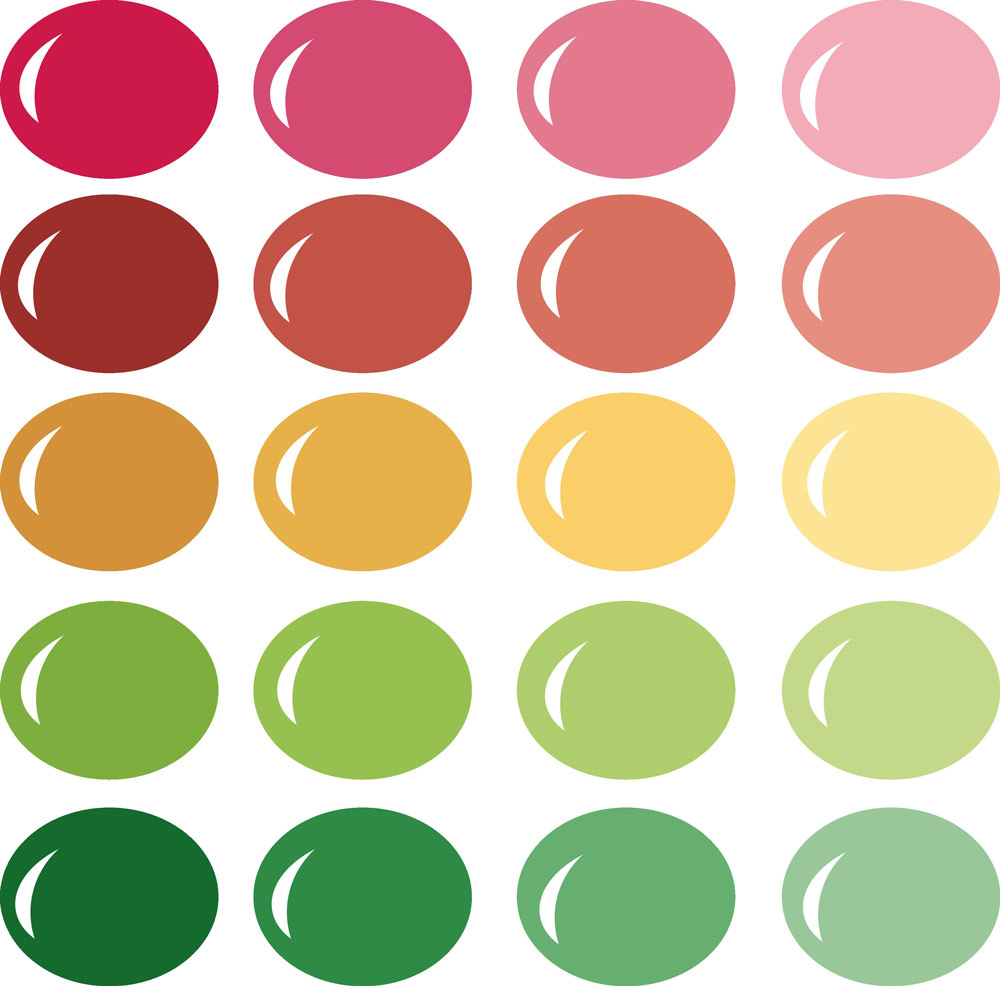
Based on the Coredinations ColorCore paper pack So Mod.
We are going to be learning how to use the Distressing Tool. This is a fun and creative way to add a little something different to your color core paper. Join us starting Sunday at 7pm (times are USA Central, Chicago Time). If you are not sure what time that is in your location, go to the World Time Conversion site to see what time you will join us. Just go to Klo’s Classroom and click on Enter Classroom, join as a guest
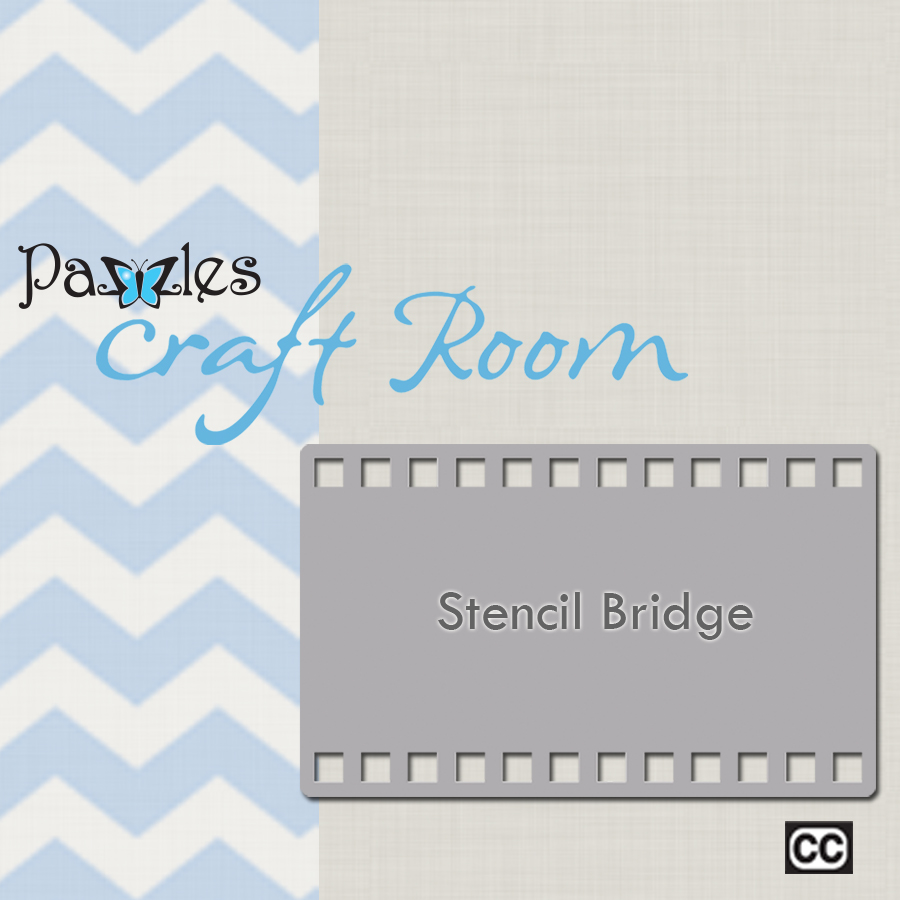
Creating your own stenciled projects is so easy with the InVue Software. You can turn most any image into a stencil using the Stencil Bridge option. You have the ability to make the width of the stencil bridge and the angle. Have fun creating projects, doing paint stencils or whatever you choose. Stencil Bridge This video will show you how to easily create a Stencil Bridge. You have the ability to choose the size and angle to create the look you want.

When my daughter asked me if I could make a sign for her front door for her new pre-school/daycare, I immediately said yes. I love to work with vinyl. It cuts so nicely and is so easy to work with. I found the saying that she wanted to use, then picked out the fonts I had on my computer and created this piece. I bought a 12 x 12 chalkboard piece from Joann Fabrics. I added paint to the edges and then put the vinyl on it. Of course, I couldn't stop there, because not everyone that naps is a child, so there are a number of different options for everyone in your life, including you.
Just a reminder that there is no class this week. Have a safe weekend! In the meantime, be sure and watch the videos and past classes. Also, if you haven't gone through the projects or gallery in awhile, now is a great time to catch up.
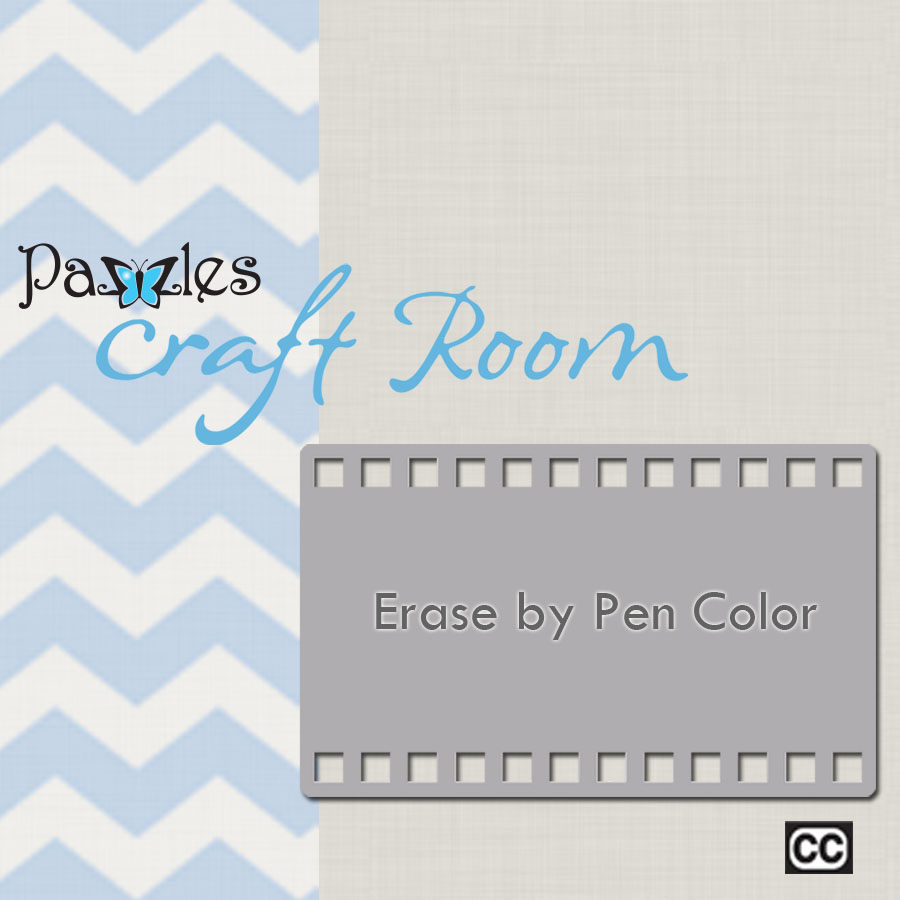
The Erase by Pen Color allows you to erase a single pen color on your page all with one click. This is a quick way to remove a lot of same pen color items from a page. Erase Control Point This video will show you how to quickly erase a single pen color on your page all with one click.
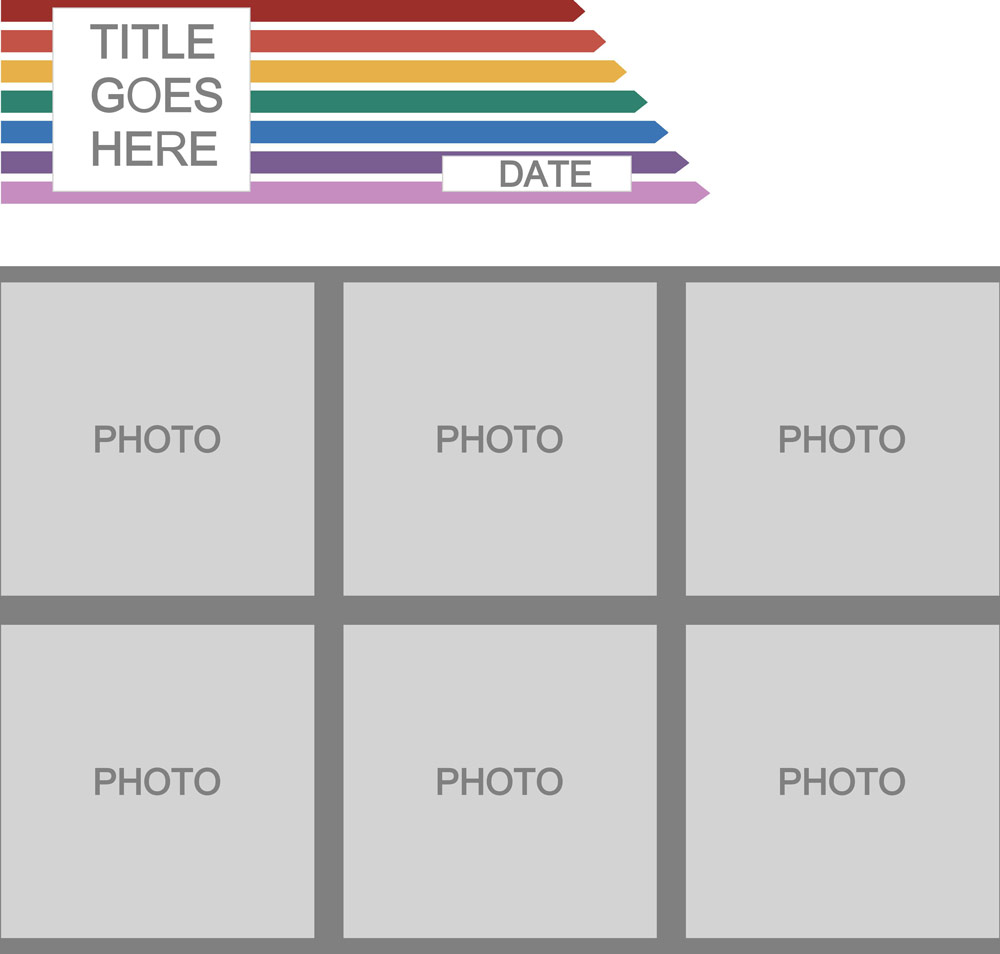
This month's template is for a 1-page layout, giving you room for 6 photos that are 3.75" x 3.75". This could easily be converted to use for a 2-page layout and 12 photos. Here are the instructions to put the Document Template file into your InVue software: Download the Document Template and save to your computer. (It is named 6-photos1.pvgt) Open the location of the downloaded file.
We are going to be learning how to use the Engraving Tool. You can use it with metal, glass and acrylic. We will show you how to get your placement correct and how to add that special touch to your project. You won't want to miss this. Join us starting Sunday at 7pm (times are USA Central, Chicago Time). If you are not sure what time that is in your location, go to the World Time Conversion site to see what time you will join us. Just go to Klo’s Classroom and click on Enter Classroom, join as a guest

The Erase Control Point allows you to erase a single control point on your image leaving a closed path. In todays video, we will show you had to quickly and easily do that. Erase Control Point This video will show you how to quickly erase a single control point on your image.
There will be no Designer Chat this evening. Thank you!
We are going to be learning how to use the Piercing Tool. You can use it to add dimension to a design or to have it be the complete design. You won't want to miss this. Join us starting Sunday at 7pm (times are USA Central, Chicago Time). If you are not sure what time that is in your location, go to the World Time Conversion site to see what time you will join us. Just go to Klo’s Classroom and click on Enter Classroom, join as a guest
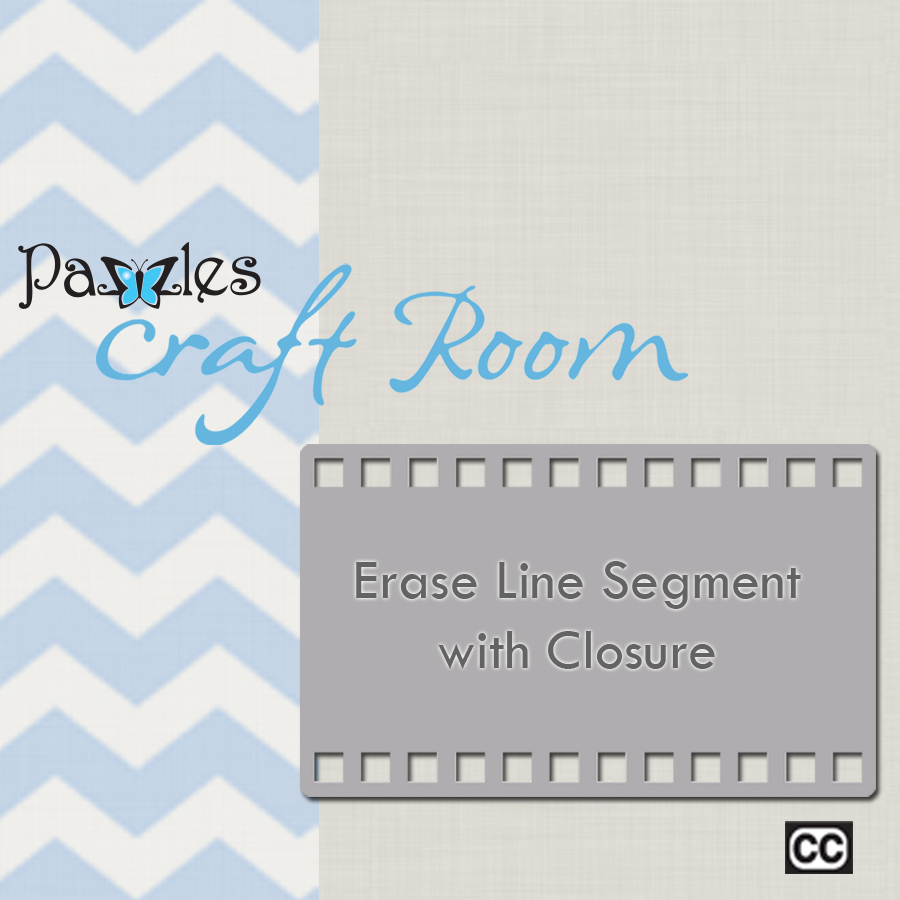
The Erase Segment with Closure allows you to erase a portion of your design and automatically close the paths that are left. In todays video, we will show you had to quickly and easily do that. Erase Segment with Closure This video will show you how to quickly erase a segment with closure.

We are so excited to announce our Design Team for the 2016-2017 year. We had so many amazing submissions, which made our decision very difficult, but here are our returning and new Design Team Members. Join us in congratulating each of these ladies. We look so forward to them sharing their talents with each of us. Returning Design Team Members:
Just a reminder that there is no class this week. Have a safe weekend! Happy Easter! In the meantime, be sure and watch the videos and past classes. Also, if you haven't gone through the projects or gallery in awhile, now is a great time to catch up.
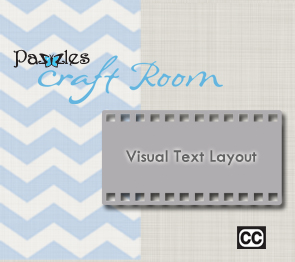
Visual Text Layout is a way for you to adjust the spacing of letters, to move them up and down and to rotate, creating the text layout you desire. Titles and words are one of the most commonly designed and cut images that we use our Pazzle Creative Cutters for. You use titles for layouts and cards, words for wall art and letters in so many projects. This video will show you how to use the Visual Text Layout to make it easier to create the beautiful titles and words you desire. Visual Text Layout This video will show you how to use Visual Text Layout. It will show you how to use the spacing and rotation of both individual letters or entire words.
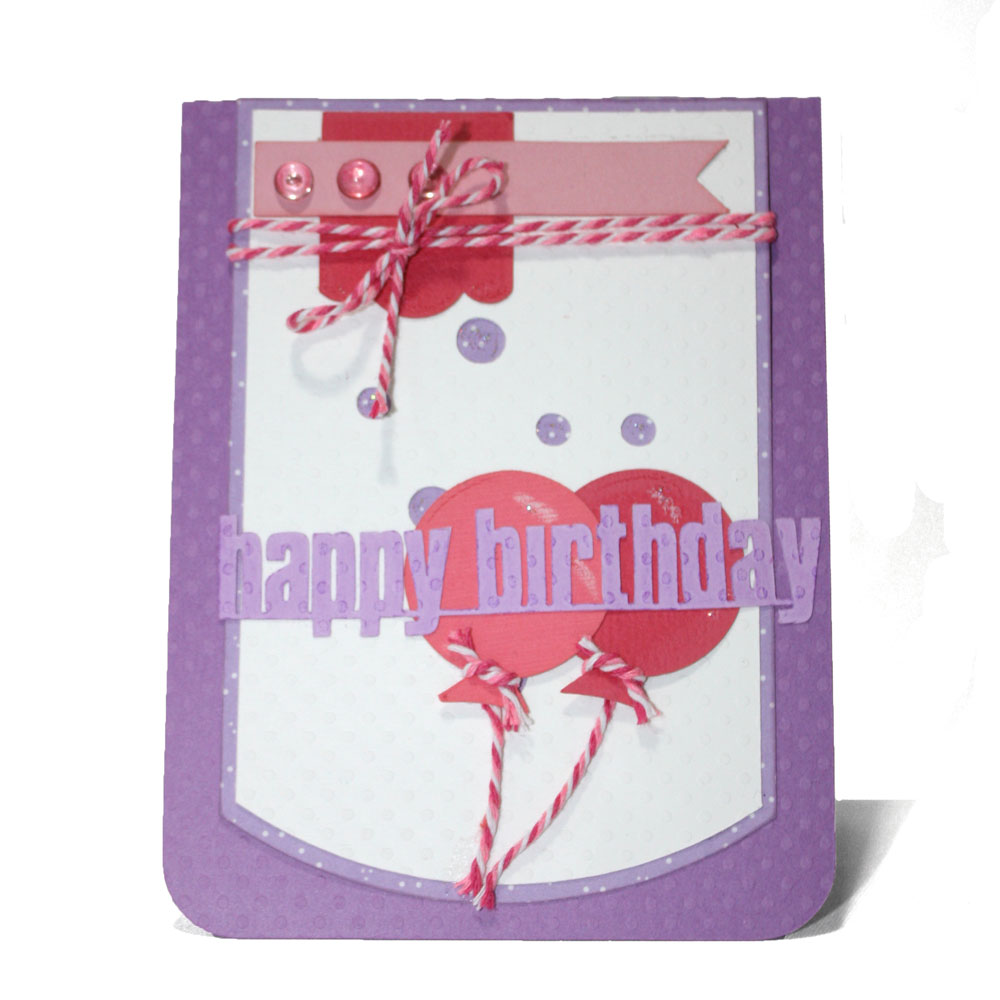
When it came time to create a card for my oldest granddaughter, D'aijha, who will be turning 14 years old next week I knew I had to do something in purple and pink with just a little bling. If something is purple, pink, or sparkles, then she loves it. With the freedom my Pazzles gives me, I was able to really customize this card to her personality.
With all of the terrific Single Stroke Designs available, along with the Single Stroke fonts, I knew it was time to do a Pen Tool Class. This won't just be showing you how to use the Pen Tool, but we will be doing some really fun techniques to use the Single Stroke Designs to their full potential. Join us starting Sunday at 7pm (times are USA Central, Chicago Time). If you are not sure what time that is in your location, go to the World Time Conversion site to see what time you will join us. Just go to Klo’s Classroom and click on Enter Classroom, join as a guest
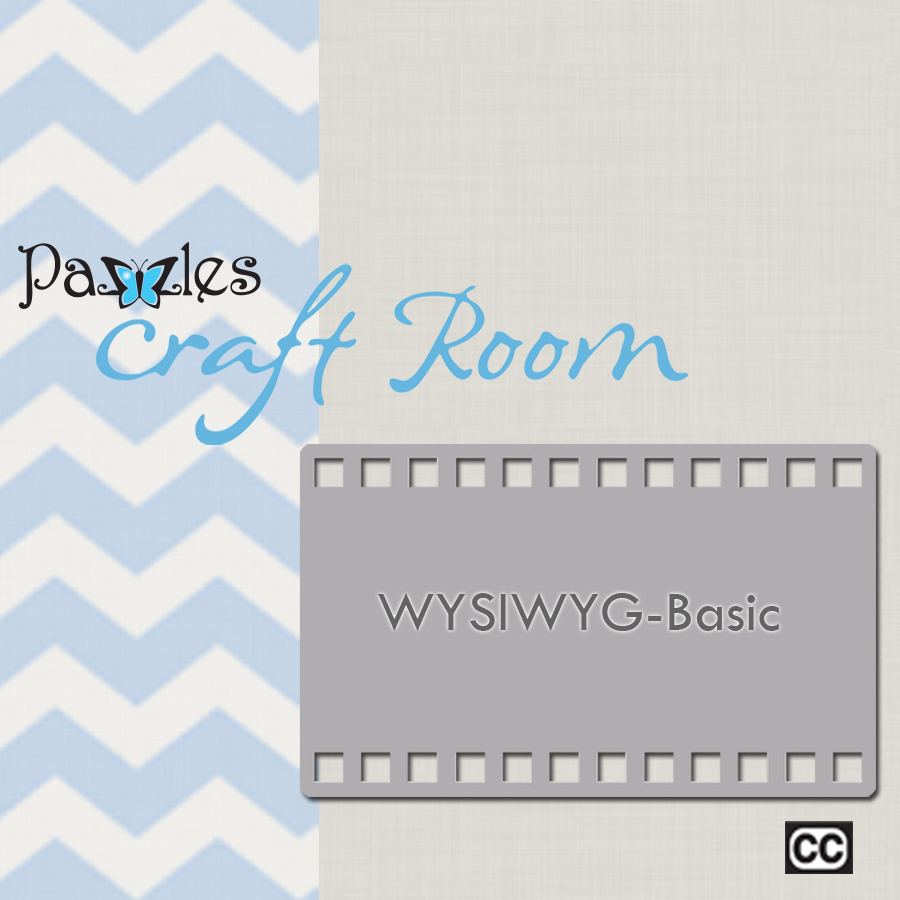
Perhaps one of the most anticipated features to be added to the Pazzles InVue software since its inception is the WYSIWYG (What You See Is What You Get). WYSIWYG allows you to visually create a design and then turn it into a cutting file with a click of a button. This video will show you the most recommended and basic options of WYSIWYG. Selection Tool:WYSIWYG-Basic This video will show you the most recommended and basic options of WYSIWYG.
This month's template is in honor of Pi Day. I realize it is not the actual Pi sign, but I thought it would be fun to do a play on words and make a Pie Shaped Template. This template could be used for a game night, cooking, or any other fun and creative thing you would like. Use the pie pieces to put photos on or add creative journaling. The sky is the limit