Spring is in the Air ...
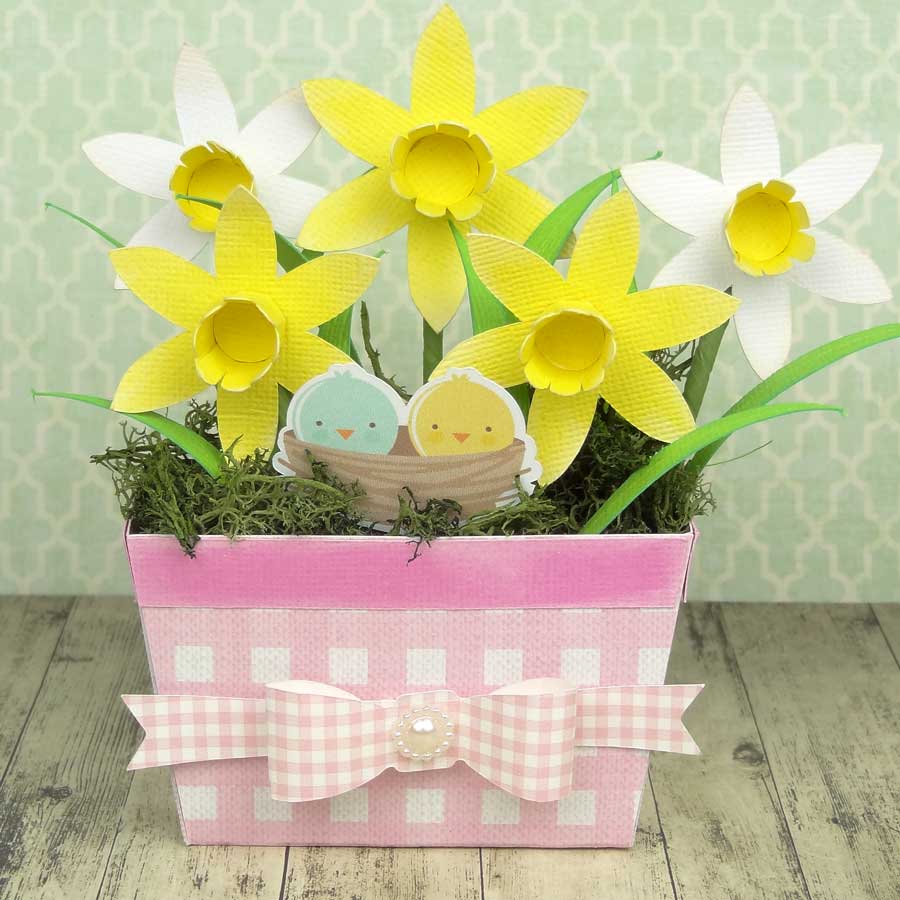
A daffodil planter to brighten your home and mark the beginning of spring! All files for this project came from the Craft Room library!
A daffodil planter to brighten your home and mark the beginning of spring! All files for this project came from the Craft Room library!
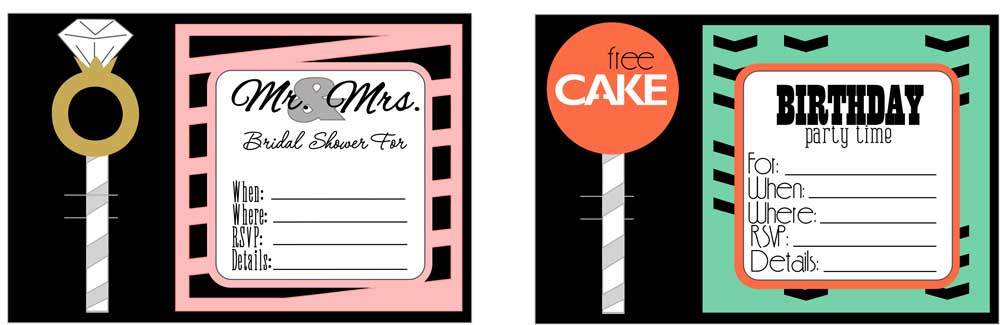
Whip up a set of cool simple invites the next time an occasion arises. Includes nvitations for 10 different occasions that you can mix and match the pieces to.
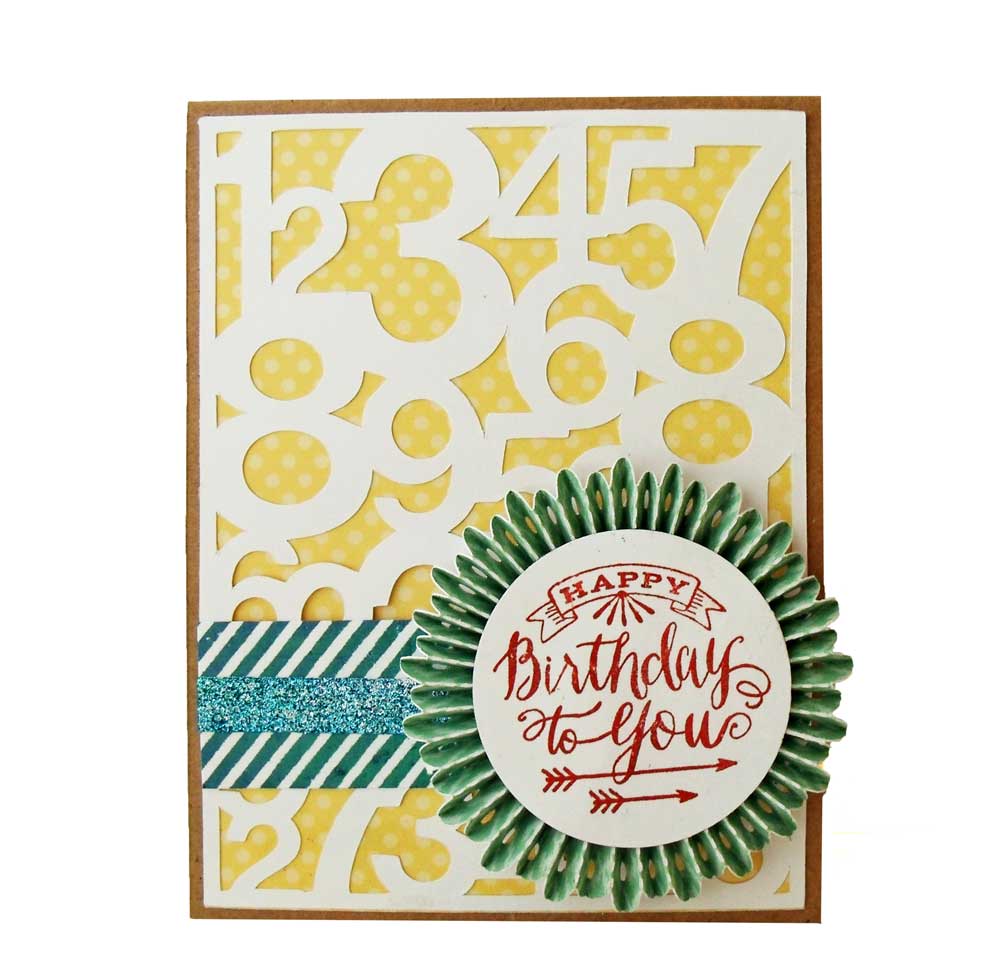
Hello crafty friends, Melinda here with you today sharing a super quick and easy birthday card. I started […]

I can hardly believe my daughter will be graduating this year. Eighteen years just seemed to fly by. I got thinking about graduation announcements last week in preparation for her big debut into the world and began to put together a list of how many graduation announcements I would need to create. It added up quickly. I wanted to create a fun project, but not have it be so difficult or time consuming to make, especially if you have a large list of family and friends to invite like I do. I think this announcement card turned out perfectly. To create the tassel take several pieces of twine or ribbon about 8” long and fold them all in half. Secure around the top creating a loop. Feed another string through the loop. Poke a hole in the top of the hat and feed the string through the top of the hat. To secure it place, I used Scotch tape to make sure the strings would stay in place and hold the tassel.
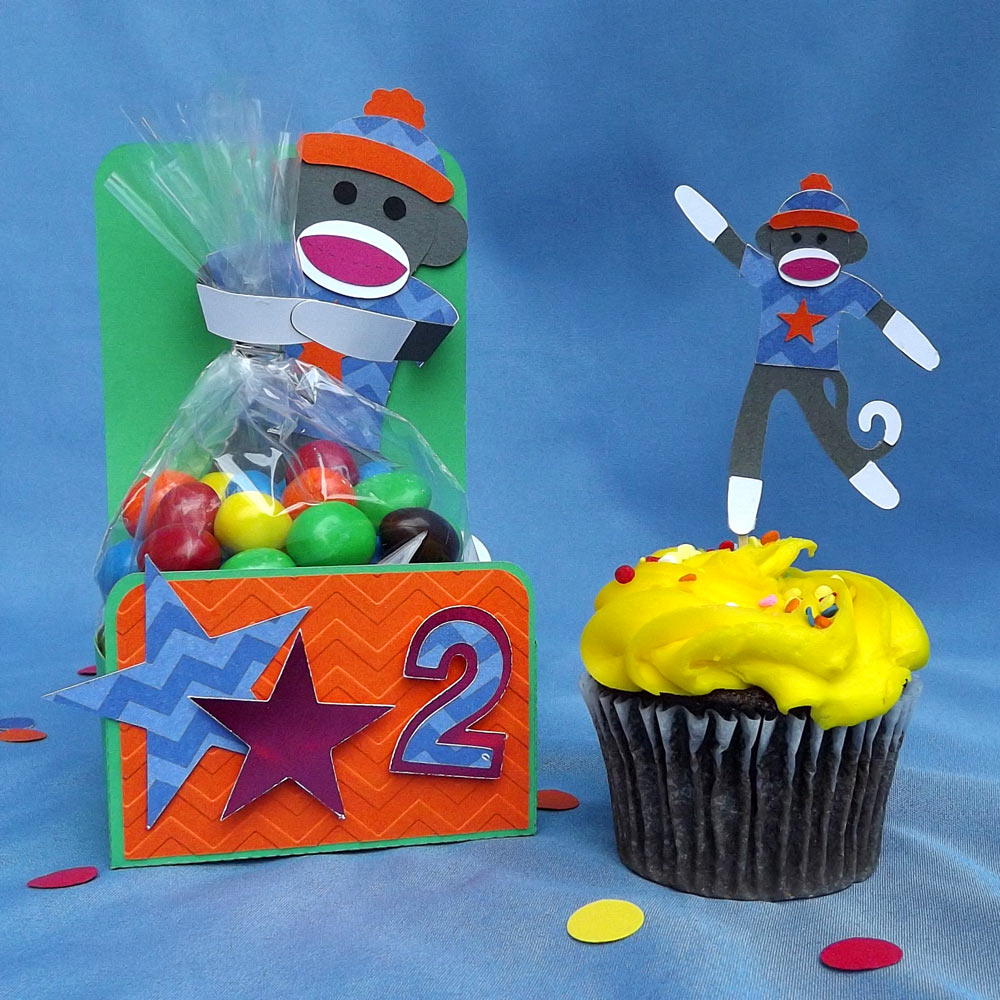
This Monkey Business Cutting Collection made me smile. They make me think of giggly, horsing around fun. Of course that lead me to thinking about birthday parties and kids running around like monkeys. So, why not a monkey themed birthday party? Though I chose to paper piece my little monkeys, I could have easily print and cut them if I was having a larger party. It’s also amazing to me how you can take a very plain gift bag and make it look fantastic! I used the stationary box for the goody bag base. Since I wrapped the monkey’s arms around the bag I added the white part of his arms to the backside so they would show on the front. I adjusted the size of the monkeys for the cupcake toppers and just added a toothpick to the back.
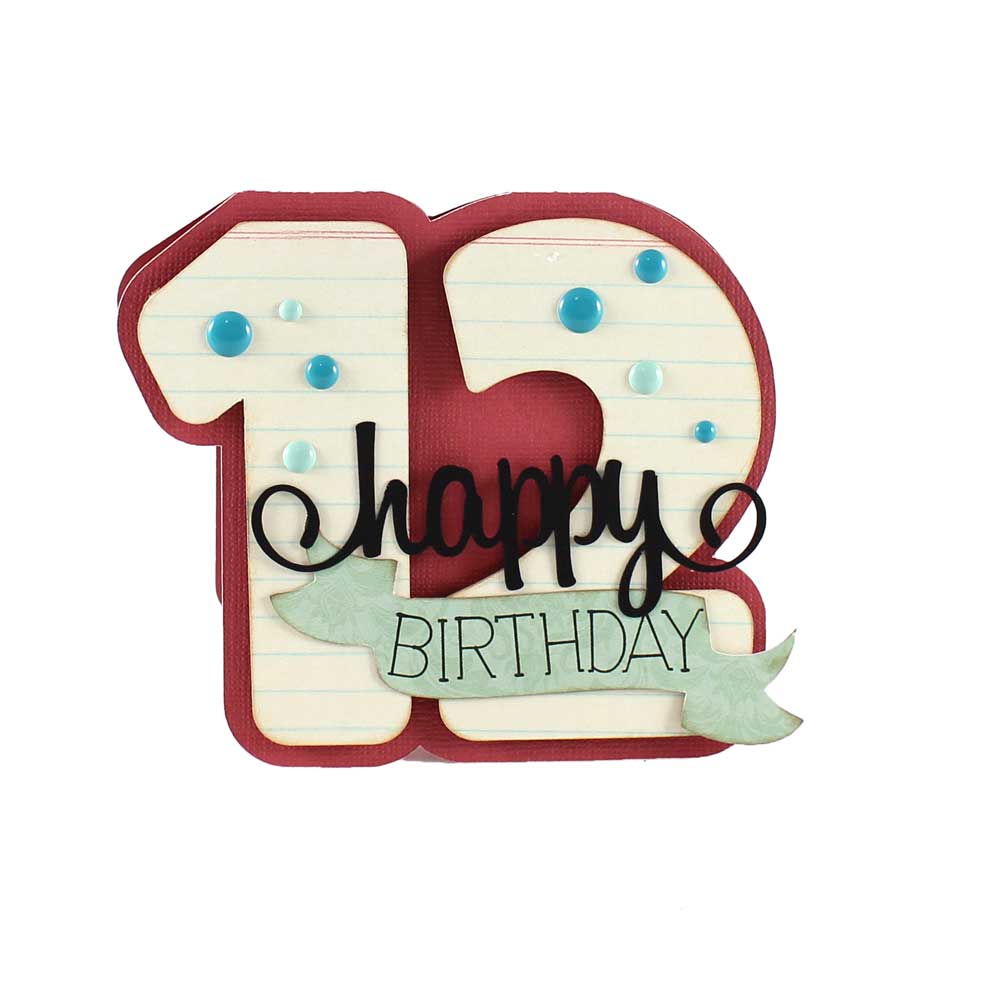
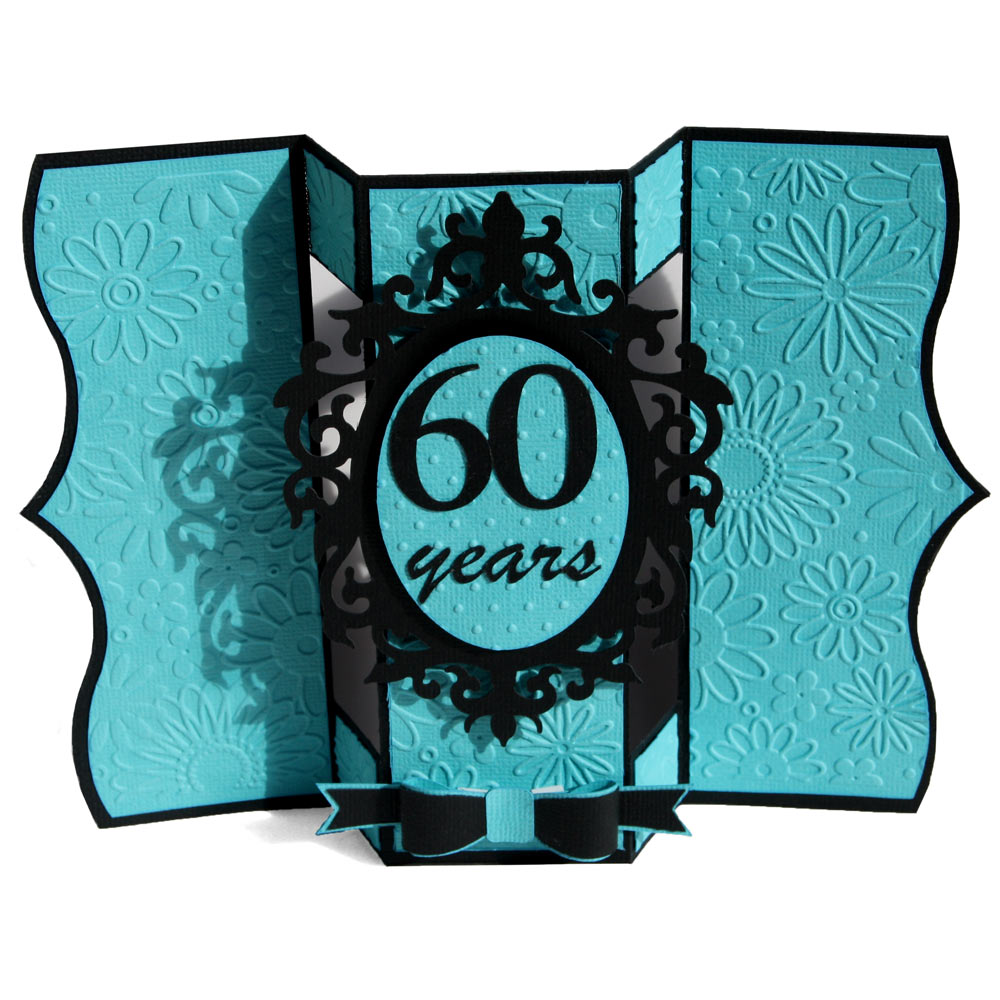
We're finishing up our typography week with Number Shaped Gift Tags. I love shaped cards and I know many of you have asked for more shaped cards in the Craft Room. Today I am bombarding you with 25 number shaped cards. The downloadable files include numbers 1-20 and 30,40,50,60 and 70. The files are sized for gift tags, but you can certainly enlarge the file and make them as regular sized cards. These cards can be used to mark a child's birthday or special event. The simple graphic design of the number card makes it perfect for teenagers too. I've included 30,40,50,60 and 70 to include significant birthdays and to mark special anniversaries.
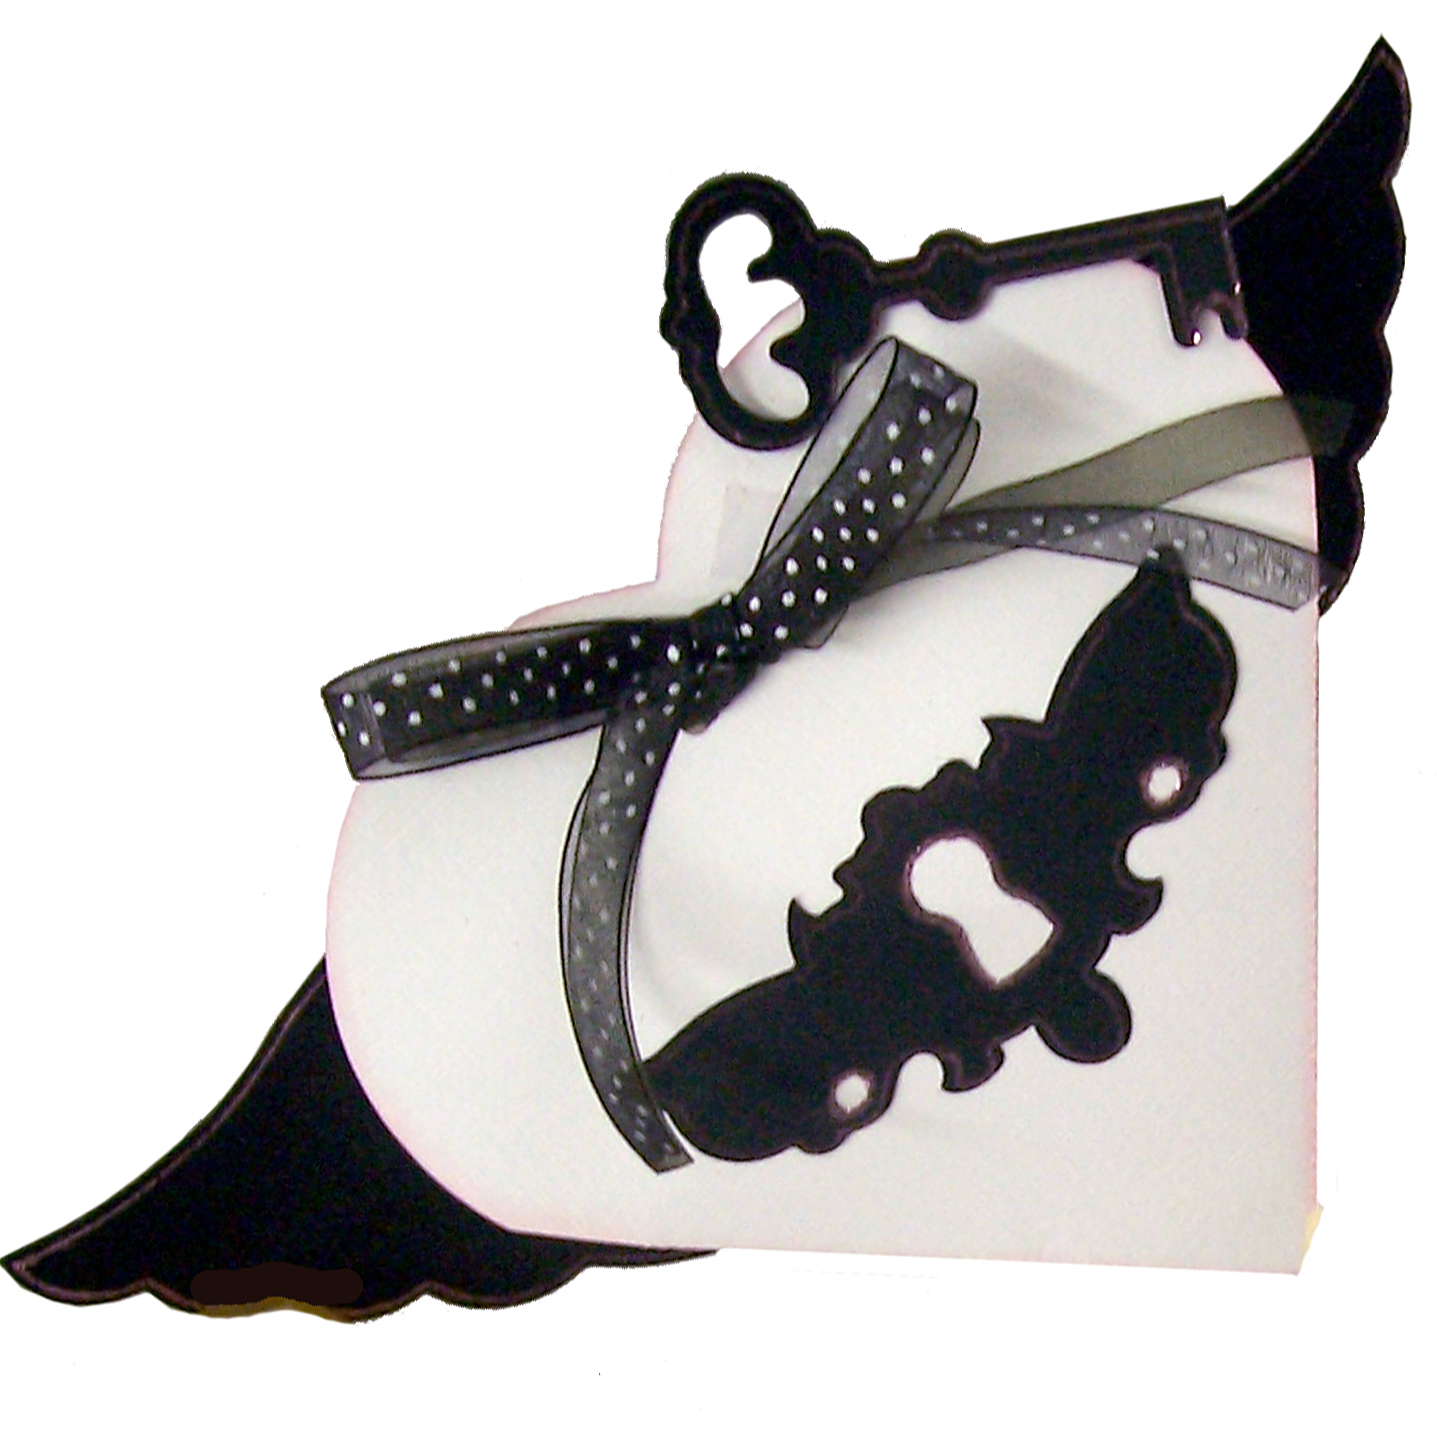
A beautiful winged heart box that would be perfect for anyone you want to show that you love this Valentine's Day. This box will make the perfect case for any gift you want to give!
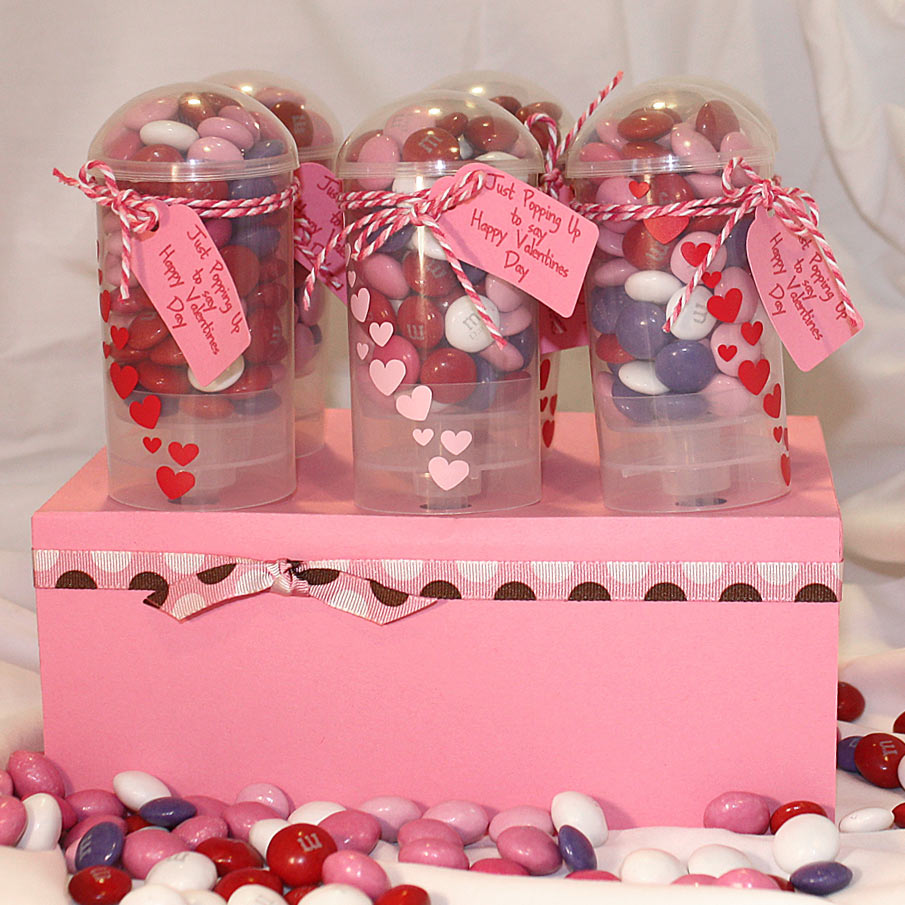
These Push Pop Valentines are quick and easy to make. Just a little bit of vinyl on the outside, fill with the item of your choice, add string and a tag and you are all done. Also included is a holder to keep them all in before you give them away.
It's a new year and a new reason to celebrate! My family has lots of winter babies, so right after the rush of Christmas it's time to get my act together and make something special for the January celebrations. Of course anyone who knows someone with a January birthday knows they have the perception of being forgotten, so I like to make a big deal out of winter birthdays. This birthday banner in a box is a fun way to give a gift card or small gift. The banner is attached to the lid, so it comes out as you open the box. Using washi tape to adhere the banner inside, allows for the recipient to remove the banner and hang it up for the celebration.
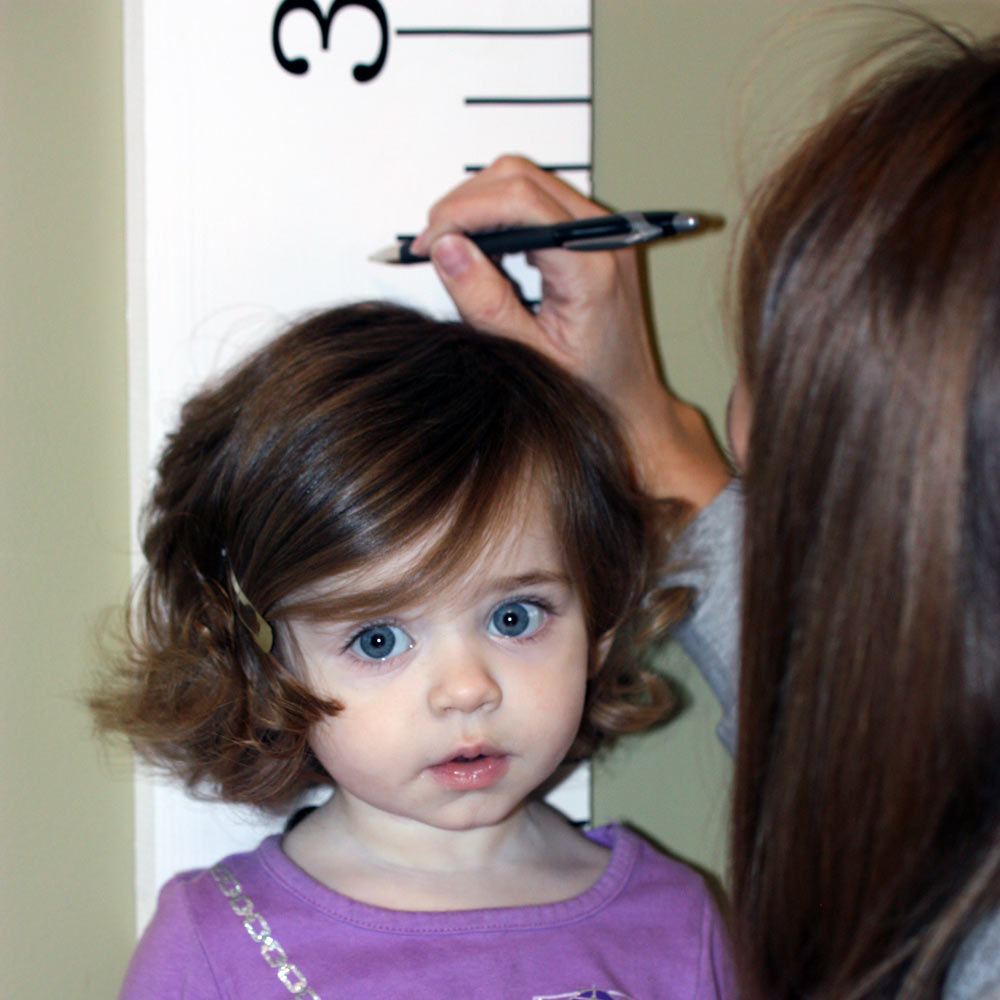
This ruler for your wall is perfect for a new mom, grandparent, teacher or anyone that you think might want to 'measure up.' No need to spend up to $100 dollars for this wonderful addition to any home or classroom when you can personalize your very own.


I saw an idea like this in a little bakery a few weeks ago and couldn’t resist the chance to “bake” my own. Oops, I meant make my own! It was scrumptiously cute, and the perfect way to showcase a cupcake. Add a cute note to the towel hanging from oven door that lets your friend know how much you care. For your next birthday bash let your loved one know how special they are, and let his oven cupcake box warm their heart.
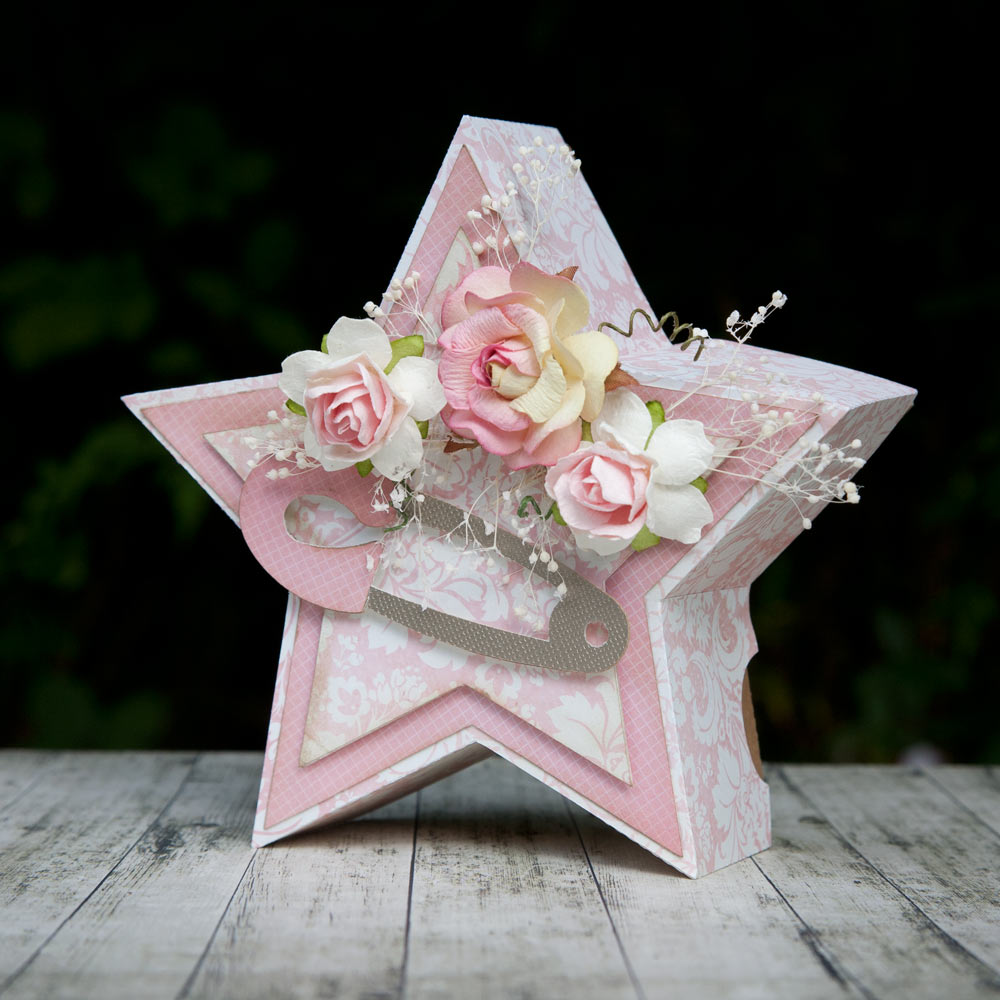
Joanna here again, with a Star Shaped Gift Box. For those of you familiar with my projects you will know that I love making Print and Cut projects as well as 3D items. There are several colleagues at work who are expecting babies and these days they seemed to be so well prepared before the birth, and let everyone know the sex of the baby. Selfishly, this helps enormously when making new born gifts. The Star Shaped Gift Box is a simple cutting file, but I love the depth of the box and how the base of the box is cut out of one piece of paper. I cut the base of my box using Kraft cardstock to give it more strength. This enabled me to indulge in my pretty pink papers for the top of the box.
August is such a crazy month for our family with birthdays what feels like every other day! It’s not just our immediate family, but many friends as well. It’s a busy, but happy month. I may be my own worst enemy, but for some reason I don’t often re-create the same card design. I like to do unique designs for each person. However, there was a card I made earlier this year that looked so striking I used it for my inspiration for this one. You can’t go wrong with the Fun Folds Card Collections – for this project I’ve selected the Shutter Card with the oval on the front face. I have omitted the oval and replaced it with the Vintage Frame file instead.

My niece just had her wedding shower this month and asked me to create an invitation for her. The shower was Mad Hatter Tea Party themed. Of course I said yes, and this is what I created for her. I used the Panel Gate Fun Folds Card Base for the base of the card. I printed the Hearts Overlay and the Elegant Layered Frame with the words “Open Me” and “Pull Me” inside the frames onto an 8 1/2x11 piece of cream colored cardstock, then used the print and cut feature to cut the Gate fold card out.
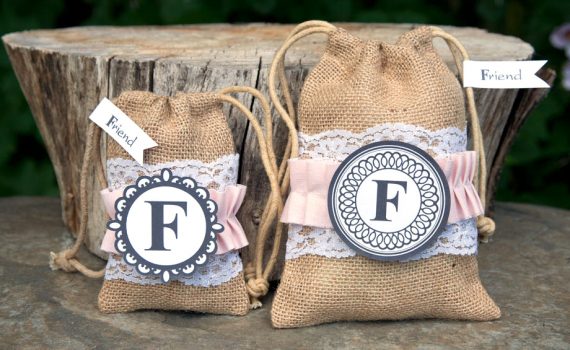
Create beautiful monogramed tags and place over burlap bags for an elegant country gift. Perfect for wedding favors!

The Traveling Circus Cutting Collection is headed your way. Get ready to be thrilled and amazed under the big top! We've got lions and elephants, clowns and circus peanuts waiting for you. This fun collection has flat images for your scrapbook layouts and cards and dimensional items for you to plan your own circus themed bash. The circus tent and circus train can be used as circus party favors. The circus peanut party initiation was designed for print and cut, so making multiples is a breeze. Simply print it out on your home printer and use your Inspiration to cut around the edges.
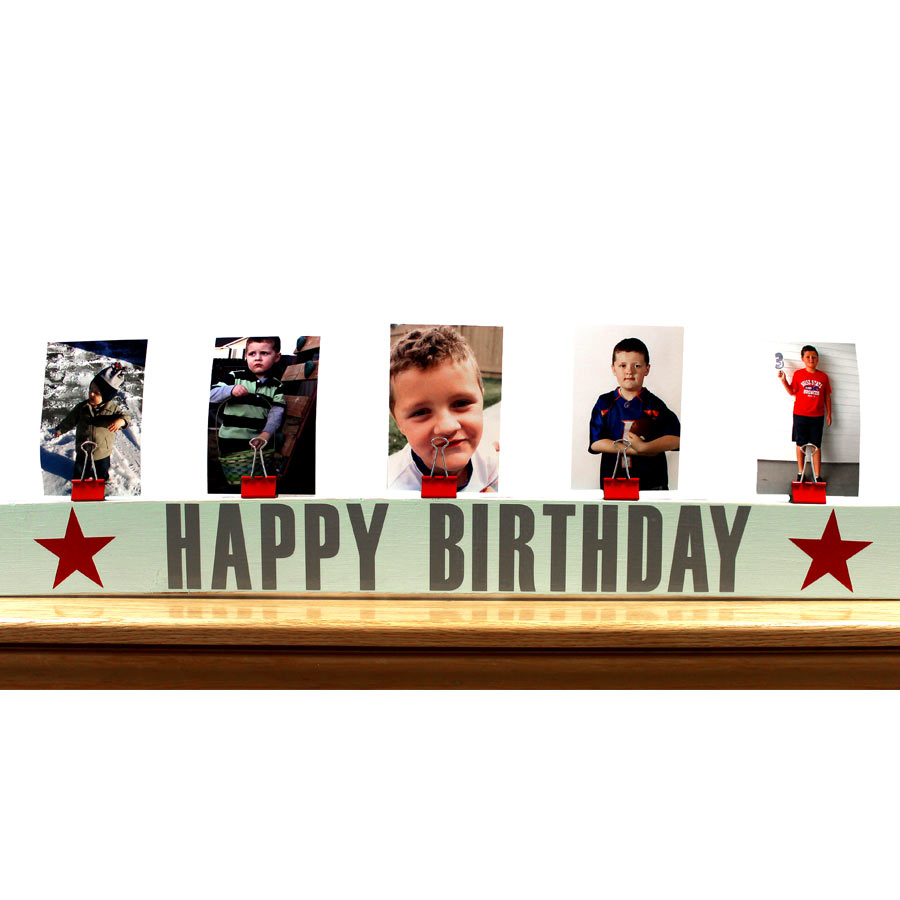
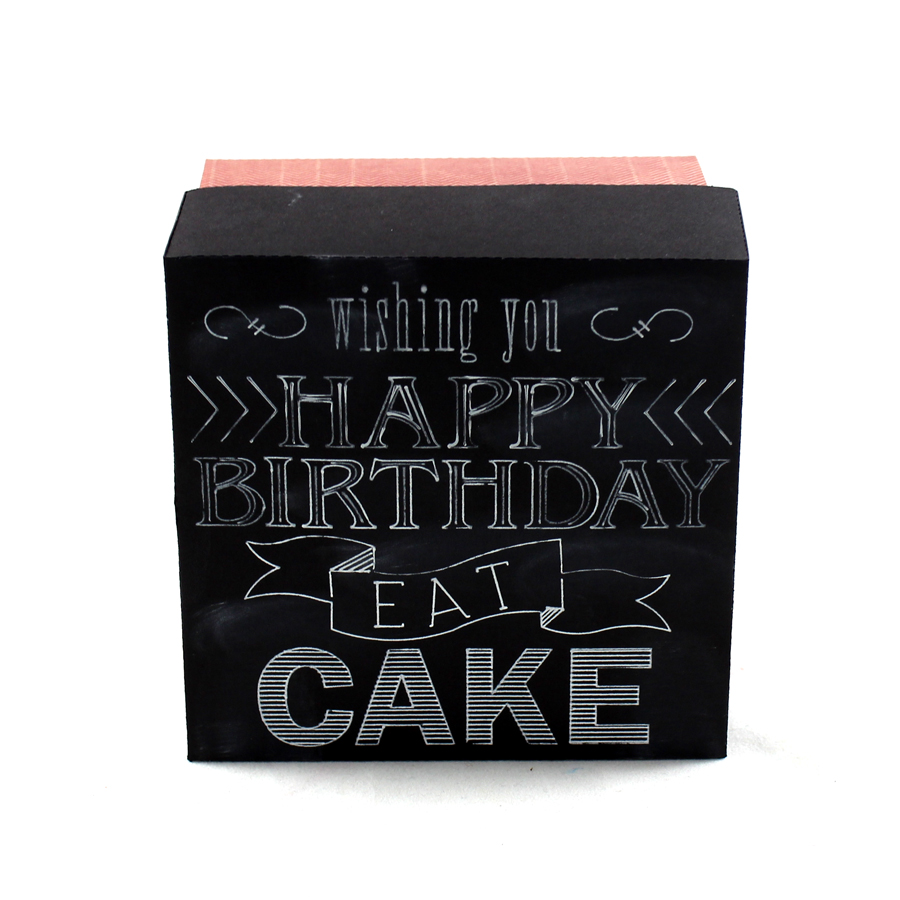
Birthdays are a big deal at my house. My mom always made birthdays special with a handmade decorated cake and our favorite box of sugary breakfast cereal waiting for us. It was the only time we got sugary cereal and it was a huge deal to open that box. I'm carrying on the big birthday celebration at my own house. When a birthday comes along we celebrate! I spotted this birthday sign idea on Pinterest a few years ago and I've wanted to make one. Vinyl week happens to coincide with my son's birthday month, so it was the perfect time to whip it up.
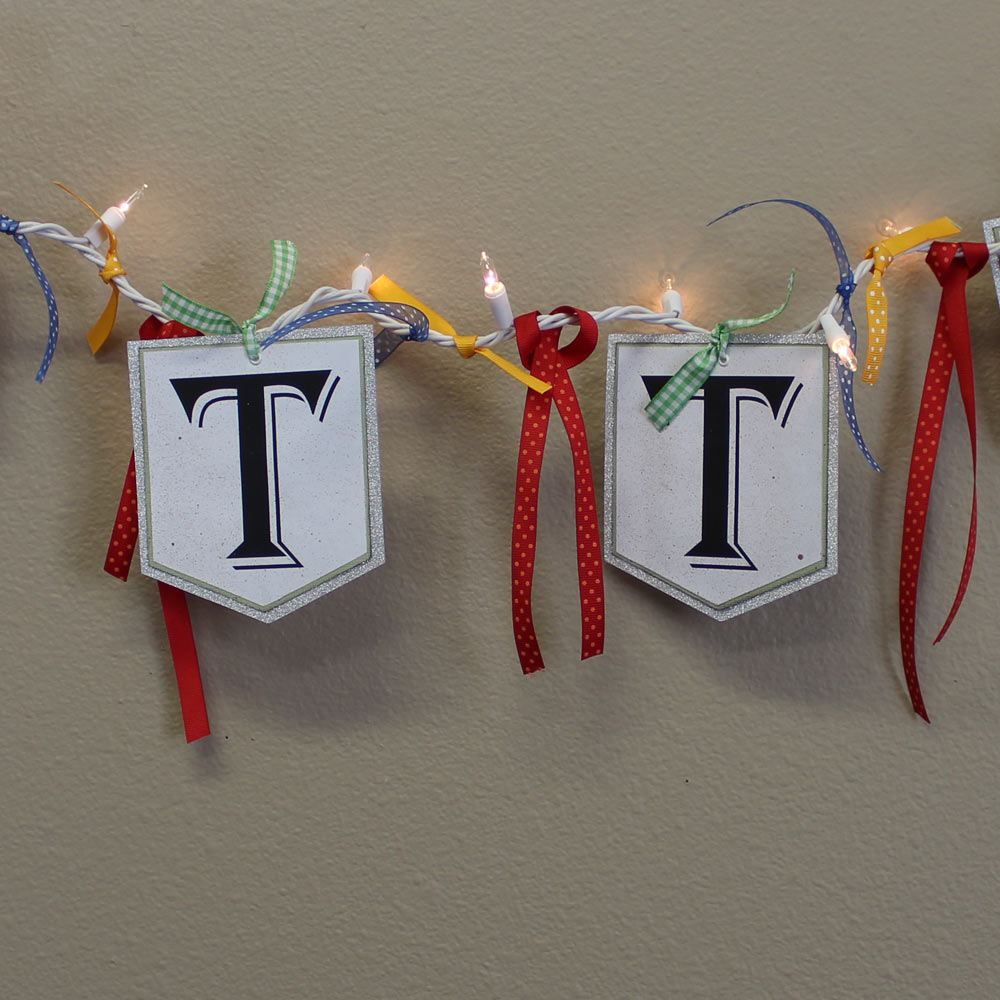
I recently helped host a baby shower. I wanted something that helped showcase baby’s gifts and came up with this string lights banner. I wanted to use a thin font that had extra details and pieces that I wouldn’t typically use for paper crafting, yet the font worked like a charm using vinyl! I used some scraps of ribbon in an assortment of colors, and tied them along the string of lights. I think it turned out cute, and was a great way to “light” up the special day.
One of the cool new features in the InVue software is our new Pazzles Project Patterns. You have to see this in action to understand the full possibilities, but let me assure you-it is awesome! The InVue software comes with four Project Patterns and we will be adding more each month. Essentially you open a Project Pattern and you see a sketch (layout or card). Several pieces of the sketch are "replaceable". You click on the replaceable shape and then select a predesigned coordinating image from a drop down menu. The image automatically replaces the selected shape and resizes the new shape to fit perfectly. Here is an idea of what can be done. When you open the project it will look like this:

Includes all of the pieces a teacher needs to get her students' day started. Keep track of the month, day of the week and the weather. Record and celebrate special occasions with birthday cupcakes and lost teeth.
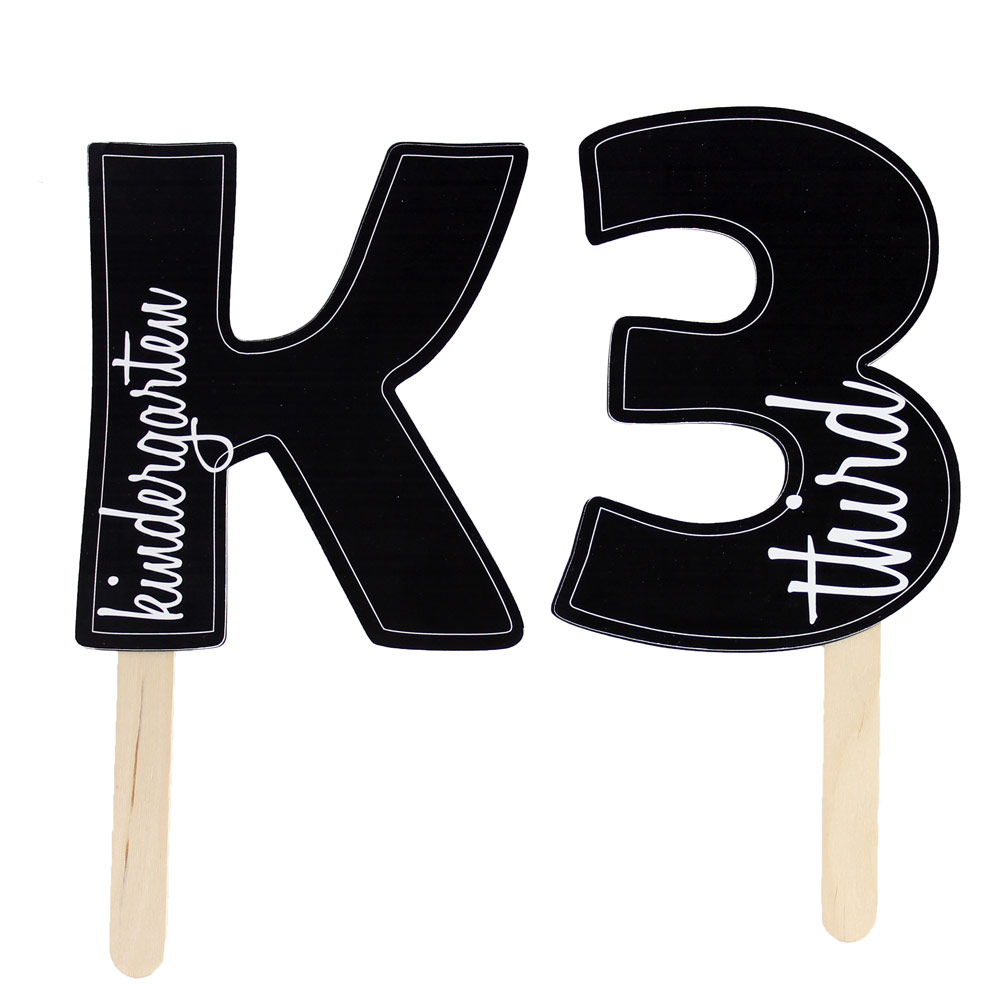
It's that time of year again. Time to put on the new fall school clothes even though it is still 95 degrees outside, do your child's hair extra special and take that traditional first day of school photo. When I was a child, we held up the appropriate number of fingers to designate our new grade, but thanks to Pinterest, first day of school pictures have become much fancier. After the first day of school outfits have been planned, the next step is to cut out these first day of school photo props. We've got grades K-12 covered.
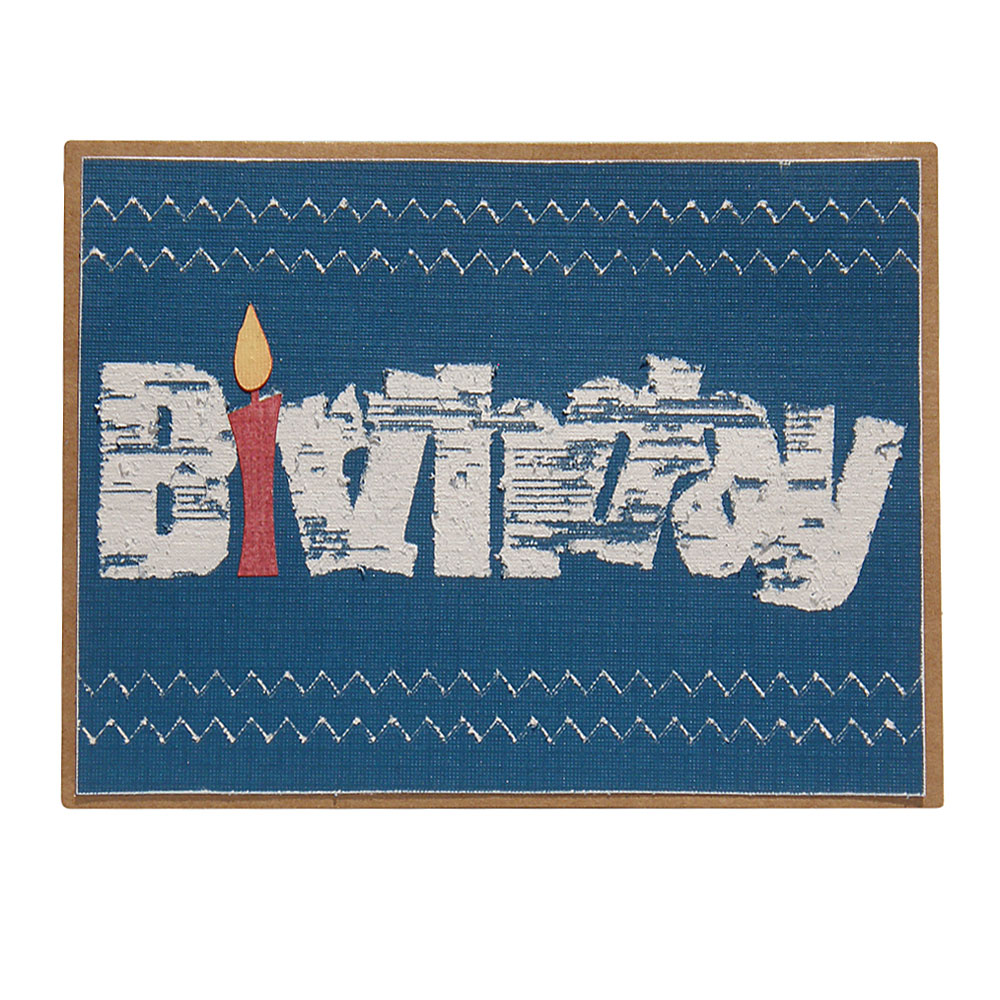
My Design Team project for this week was to use a Pazzles Tool. I use the Pen Tool all the time, so I decided to use a tool I have had for years but haven't used much, the Distress Tool. Now my hubby's birthday is coming so I figured I’d make his card. I found the Birthday Title file in the Craft Room Library and thought that it would be perfect. The first thing I did was ungroup and move the candle and flame off to the side. I then made a rectangle the size I wanted the topper to be. Then using the engraving fill with S sweep, I filled in the rest of the file. I then resized the whole file, candle and all, to fit within the square topper. I find it much easier to fill the file before making it smaller to fit my card. For a little extra I added zig zag lines with the scissors tool to the top and bottom.

Have any bundles of joy that will be arriving soon? Get ready to adorn baby in greetings of love using the newest Cutting Collection, Elegant Envelopes. Use your Pen Tool to address the envelopes to send out invitations and baby announcements and write your salutations on the inside. Find these cute Stork and Baby files in the Craft Room Library to help deliver your envelopes to let friends and family know your family is growing by two feet.
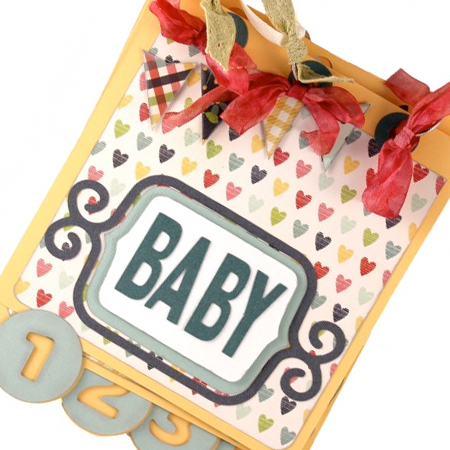
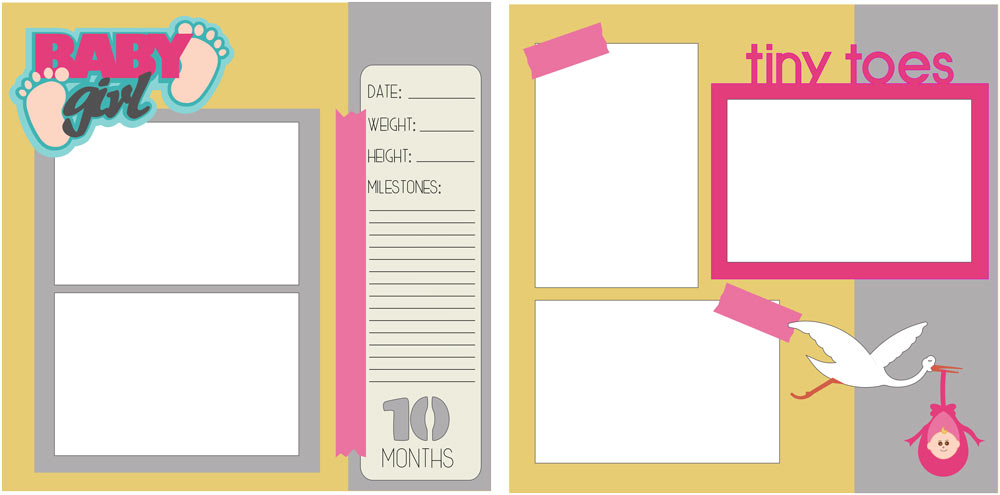
It's been a while since my babies were actual babies, but I get invited to lots of baby showers. I love to celebrate babies, and I love to tuck something handmade in with my gift. This mini album makes the perfect little something and can be customized in so many ways. Add a picture each month for baby's first year and give it to grandma for a brag book, or keep it as a memento for yourself. Switch it up and create only nine of the pages, so the mom to be can document her growing belly month by month. The mini album set includes tabbed pages and numbers up to 12 to add to the tabs. The Craft Room is full of baby themed cutting files, but I've included just a few more to use while embellishing the album. There is no right or wrong way to decorate this, just adjust it to fit your needs and have fun decorating each page.