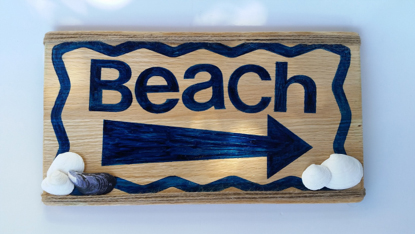
Summer Beach Sign
Whether you’re directing guests to the pool, the lake, the ocean or the plastic backyard kiddie pool you can make this fun sign with removable wall vinyl and some gel food coloring!
Whether you’re directing guests to the pool, the lake, the ocean or the plastic backyard kiddie pool you can make this fun sign with removable wall vinyl and some gel food coloring!
Whether it is the beginning of the year or the end of the year, this sweet gift will be a great way to show appreciation to the special teachers in your life.
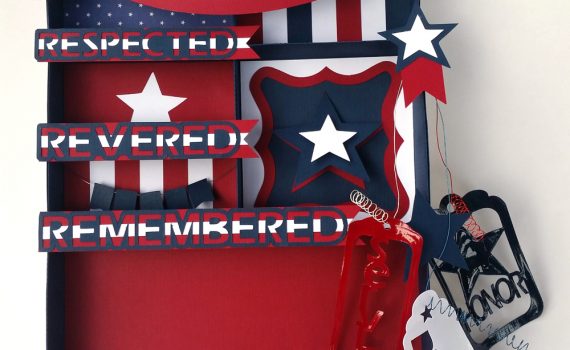
A shadow box to display photos of your cherished military family members or friends, or remember all service members, who have given their lives in the service of their country.
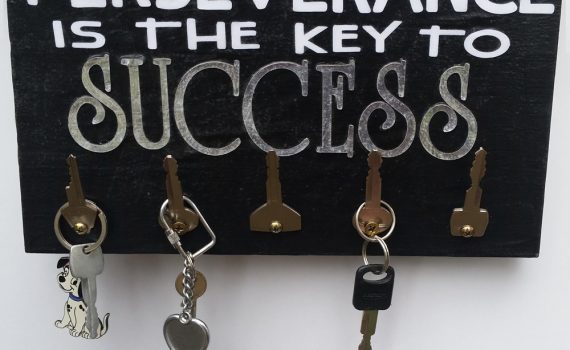
Re-purpose a scrap board and some old keys for a handy and useful gift. Give it as a graduation gift and match their school colors (or new car!) or as the perfect house warming gift!
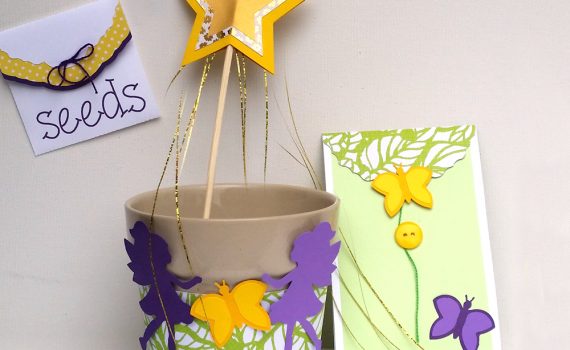
Create a wonderful party for a special young green thumb in your life with Invitations, decorated Seedling Pots, make-and-take Magic Seed Packets, Magical Faerie Wands, and a little potting soil.

Decorate your home or workspace for St. Patrick's Day with a pot o’ gold centerpiece candy cup, wearable giant bow tie and moustache photo props, shamrock cup sleeves and a pinch me pennant banner.
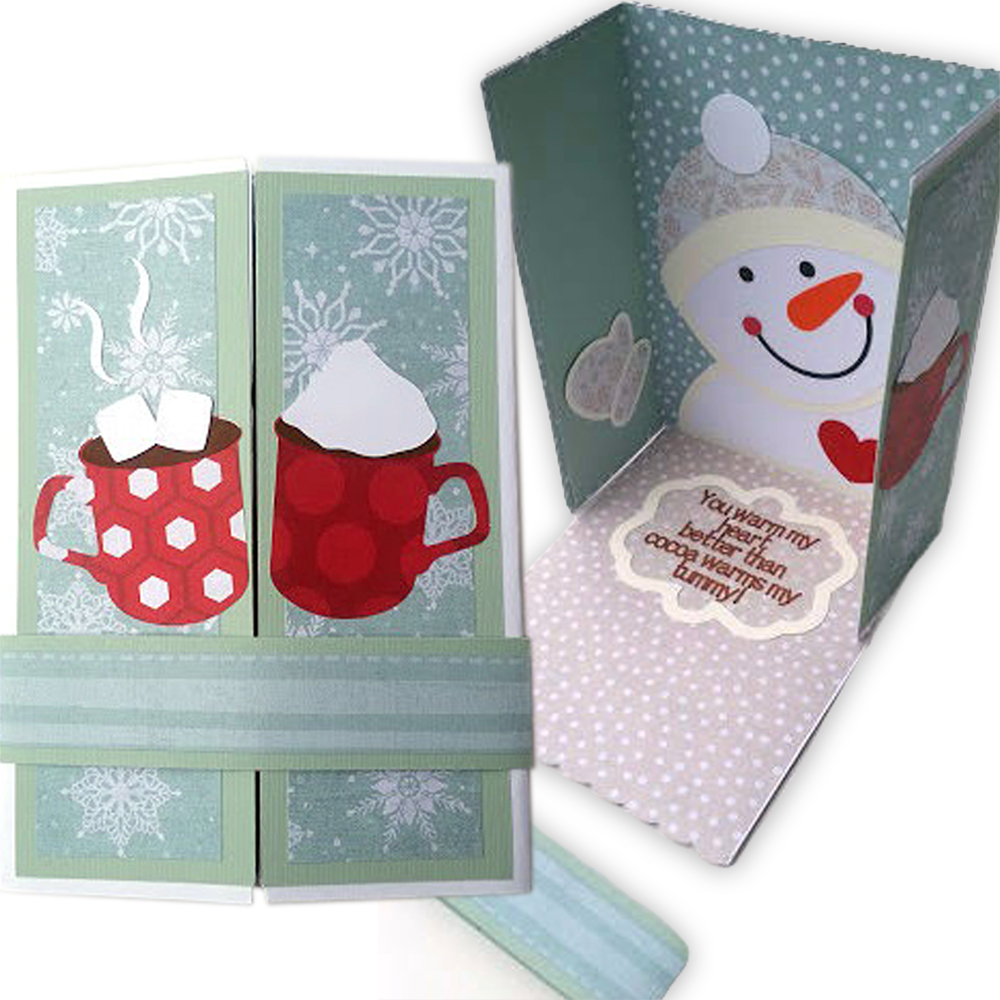
This adorable winter card fits two packets of hot chocolate inside for the perfect winter treat.
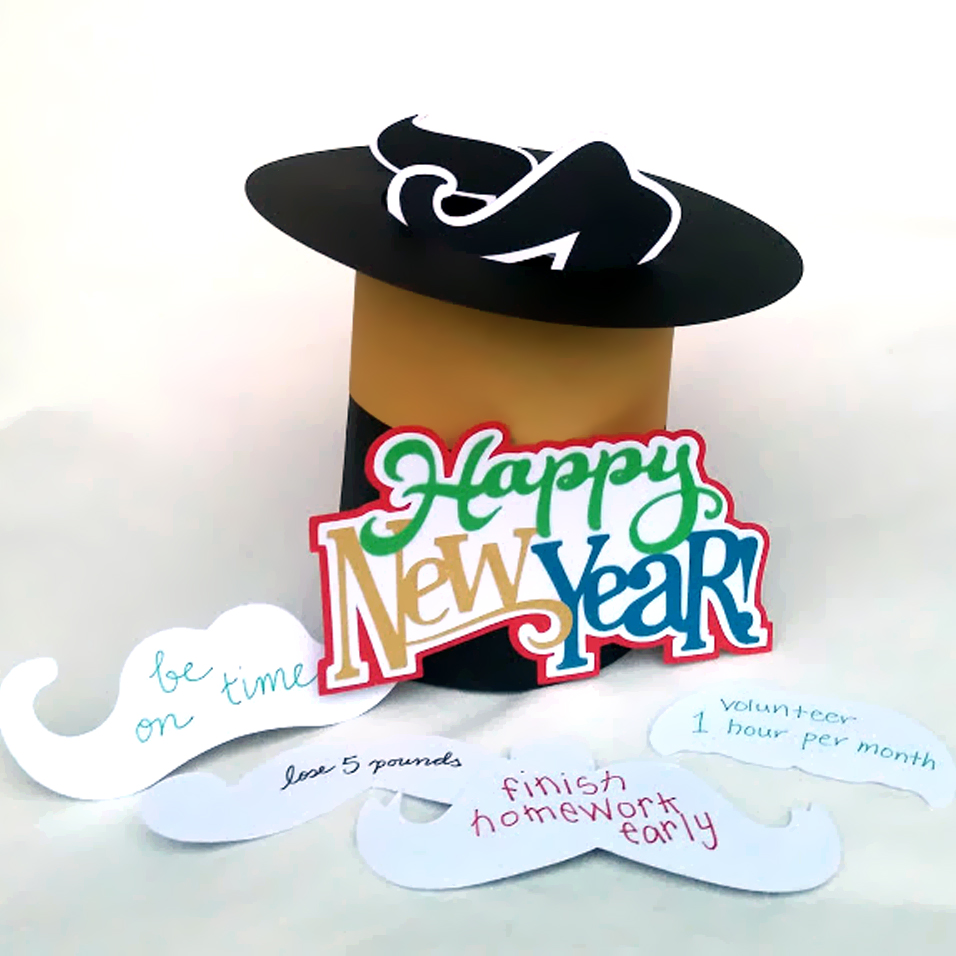
Three games for you to play with your guests on New Year's eve - all made with your machine! Instructions for how to make and how to play each game are included!
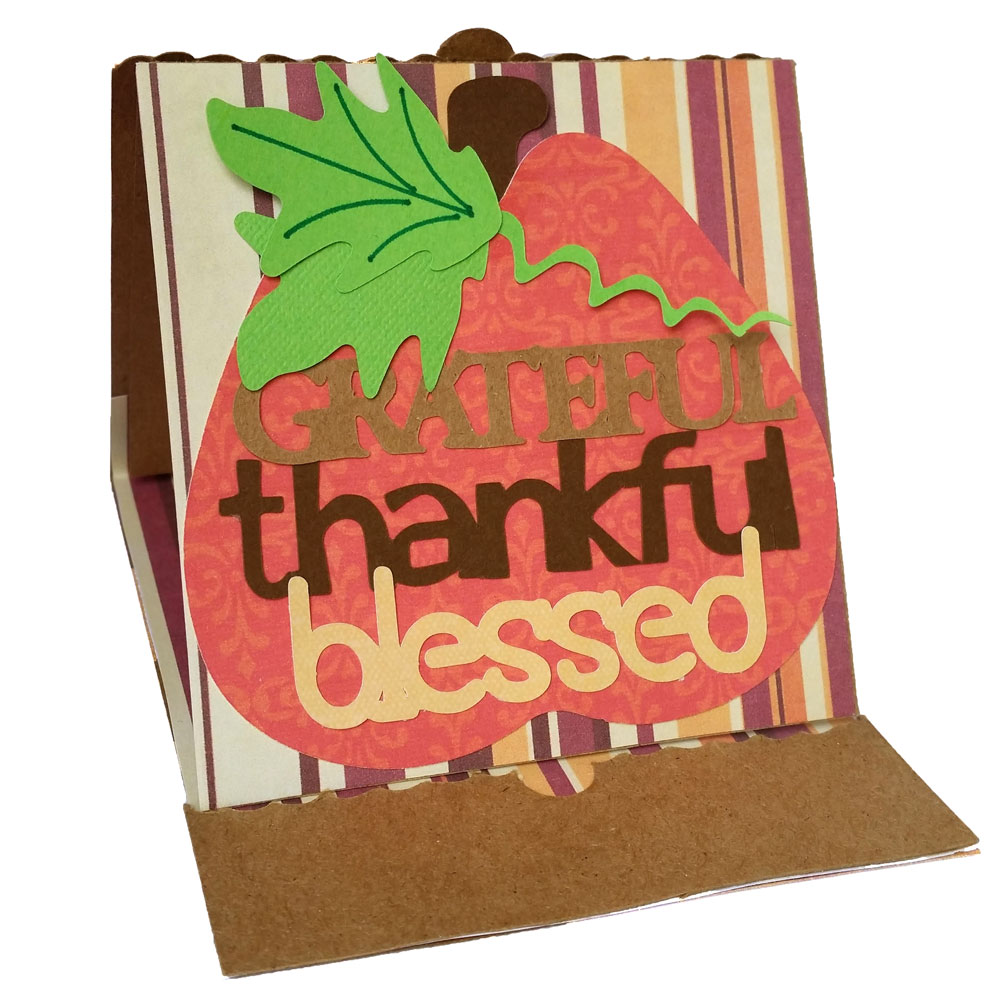
A greeting card with a built-in festive sign your recipient can display to add to the warm fuzzies encompassed in this blessed celebration of gratitude and cooperation.
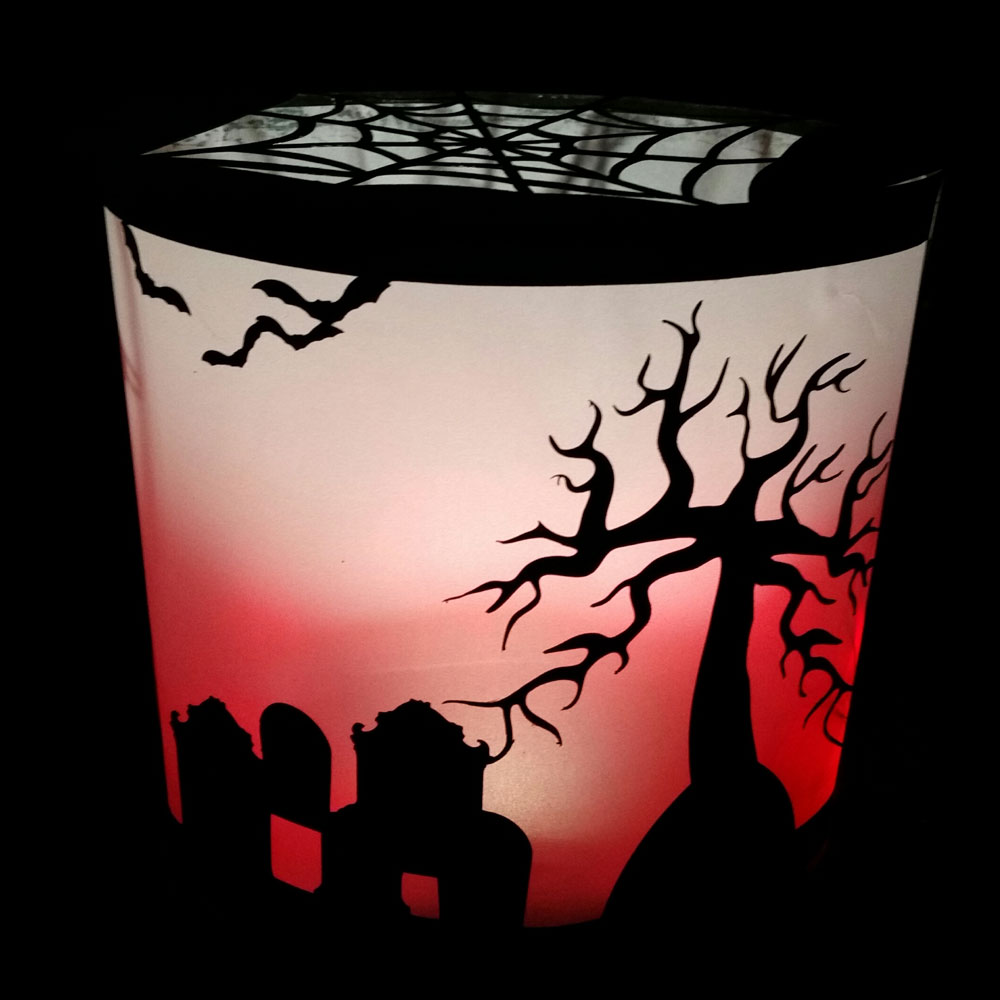
These are more like lamp shades, in that they have no bottoms or tops. They’re perfect for quick and easy decorating.

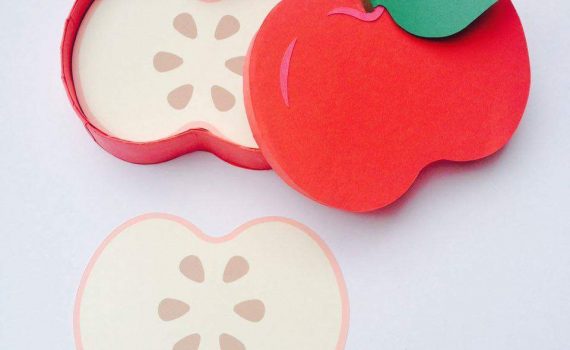
This project was created from the Early Fall Harvest themed files from the Pazzles Craft Room. I have noticed that ombre is very in and thought it would be fun to make a sign celebrating all the wonderful apple varieties we are blessed with, especially here in the Evergreen State. I had an ombre acid-free cardstock paper pad titled “Paint Chip” from Craft Smith with some of the colors already coordinated for me. I added the rest of the colors from card stock in my stash. Components: Backing - two 10 by 7.5 pieces of cardboard (like from a small shipping or moving box, or a cereal box will do)
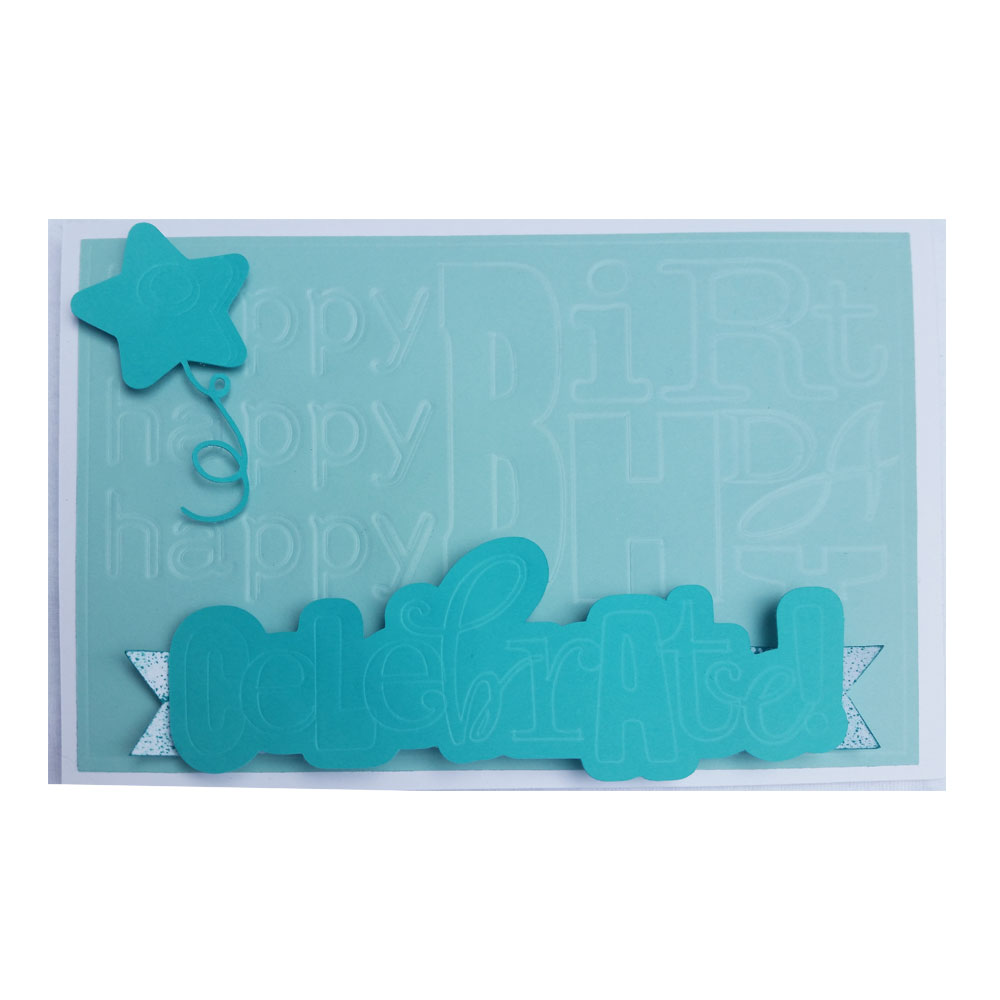
In keeping with the statistics, August is filled with lots of birthdays for my family and friends, so I decided to use the large end of the Pazzles Embossing Tool and some cute files from the Pazzles Craft Room Library to create a debossed birthday card in the Inspiration Studio Pro 2014 software. The 5x7 inch landscape-oriented card is in five pieces: 1-The 10x7 inch card base (on white cardstock) which folds to 5x7 inch with a kiss cut line. 2-The card front (on sea green cardstock) which is a 0.20 inline of a 5x7 rectangle, debossed with a 0.10 inline and with happy happy happy BiRtHDAY (fonts list at end), 3-The banner mount (on white cardstock), which is the straight banner from the Ribbon-Banners file sized to about 6.6 inches wide by dragging the corner handle, and modified by moving the left pair of kiss cuts a bit to the right to make them the same distance from the left tails as the right kiss cut pair is from the right tails 4-The dimensional sentiment (on teal cardstock) from the Miss Kate Cuttables Celebrate Title, with debossed letters and cut around the whole word (on the largest outline of the word which is darker gray), 5-A star balloon (on teal cardstock) from the Miss Kate Cuttables New Years Balloons file, debossed on the circles and edge accents and cut out with its string.
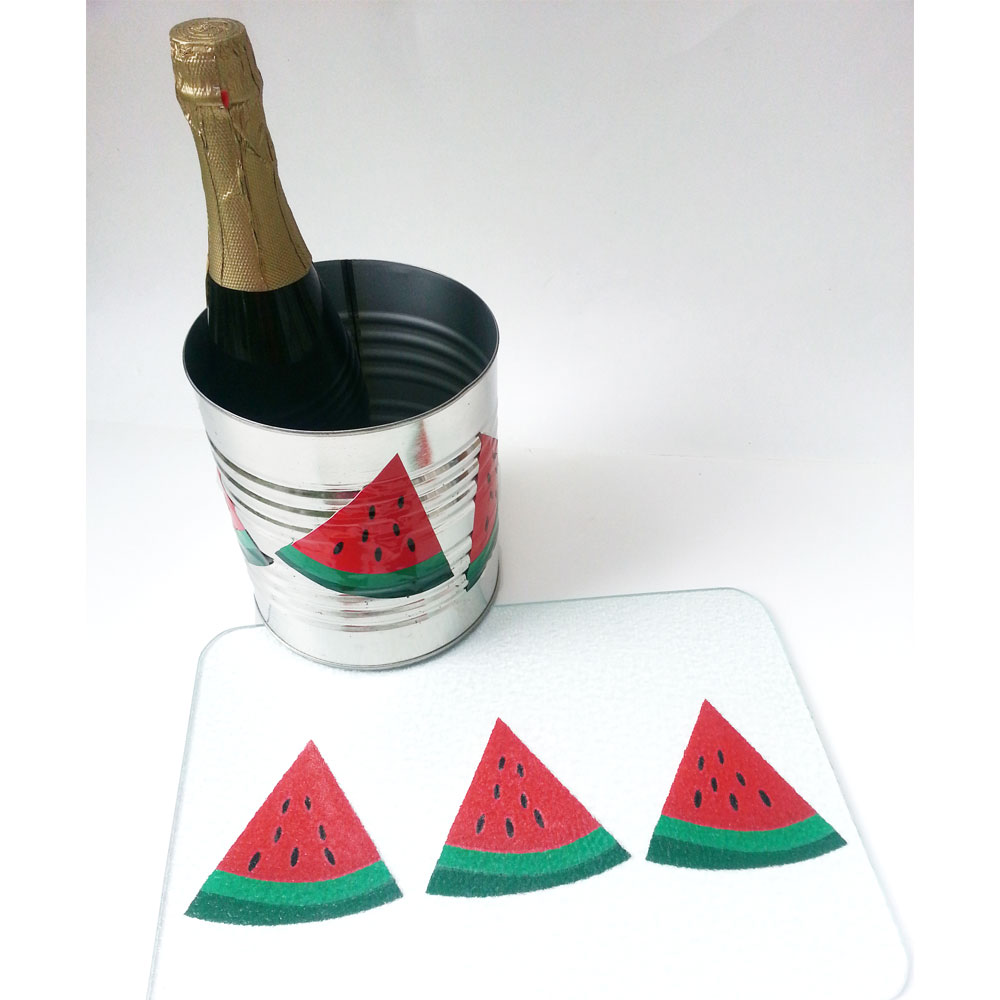
For this quick summer project I grabbed an empty #10 can (that never made it to being a stomper for my kids AND that was opened with a safety opener to avoid sharp edges!). I also grabbed a glass cutting board that I got at a thrift store and have had for quite awhile and use regularly. I washed them up, dried them, and spray painted the can only (inside and out) with clear Krylon to seal it so it won’t rust and any rust already present won’t get onto other things. I used the new Backyard Summer Collection: Watermelon wedge to create layered vinyl embellishments for a shabby chic ice bucket (or plant pot, or plastic utensil/napkin holder, or vase, or throw some colored tissue inside and fill it with mini muffins for a housewarming or hostess gift. . .) and matching, washable cutting board. I resized the entire watermelon wedge to about 4 inches square, separated the parts and created a 0.02 inline of just the red wedge. I then created a 0.04 inline of the new smaller red wedge and the light green rind piece and cut 3 sets of these from white vinyl to layer directly behind the red wedge and light green pieces on the can; the white pieces were only used on the can. I cut six sets of the whole watermelon wedge (using the smaller red wedge, not the original) from the corresponding colors of vinyl and adhered them to the can in this order: white wedges, red wedges, dark green (outer) rind, white (of lighter green/inner rind piece), light green inner rind and the black seeds.
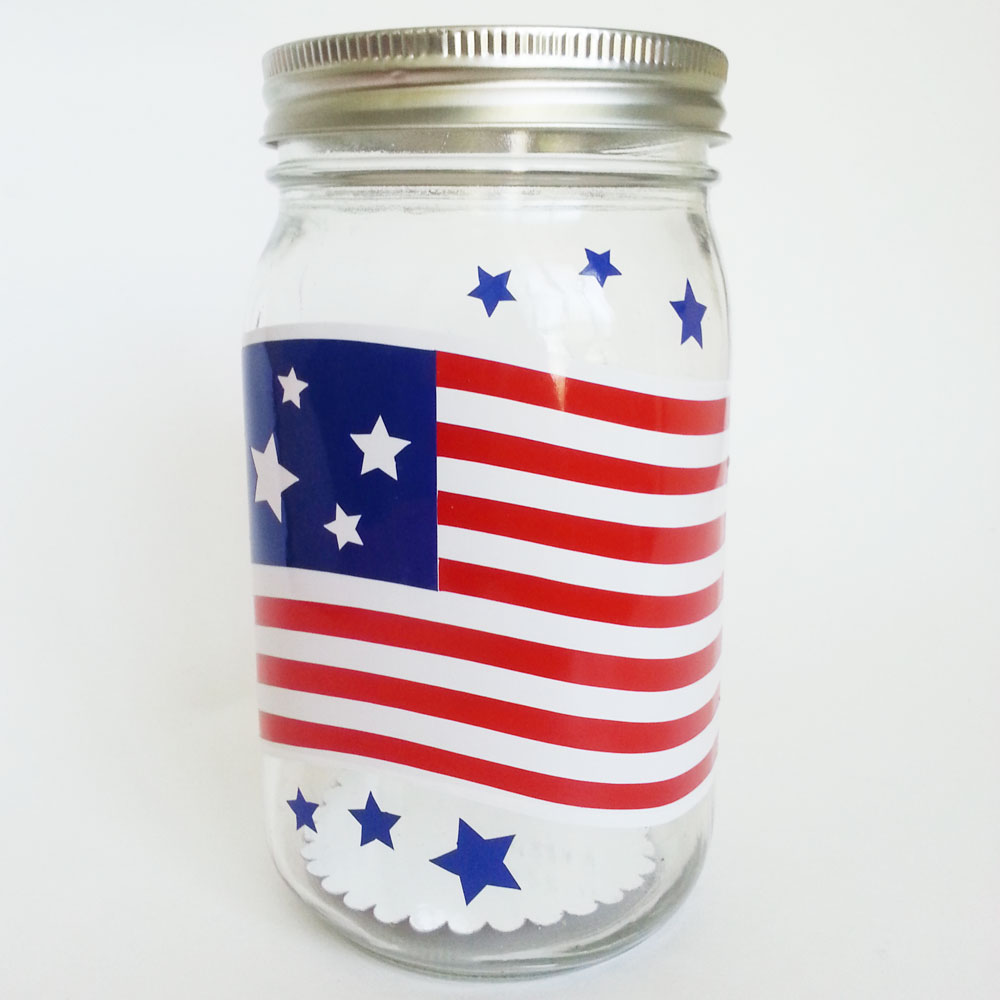
For this layered vinyl project I used the three layers of flag from the MK July 4th Set. I would recommend getting the Wall Vinyl Transfer Tape from the Pazzles Store to make placing your vinyl onto the Mason jar easier (due to the many stripes which are a little delicate), but the Pazzles Jewels Vinyl was forgiving and came unstuck when I needed to carefully reposition or remove bubbles (which I would recommend adjusting immediately because this amazing product is permanent and even dishwasher safe!) I adhered the red layer first, then the white, then the blue, using the cut out stars from the blue flag field as embellishments above and below the flag on the jar.
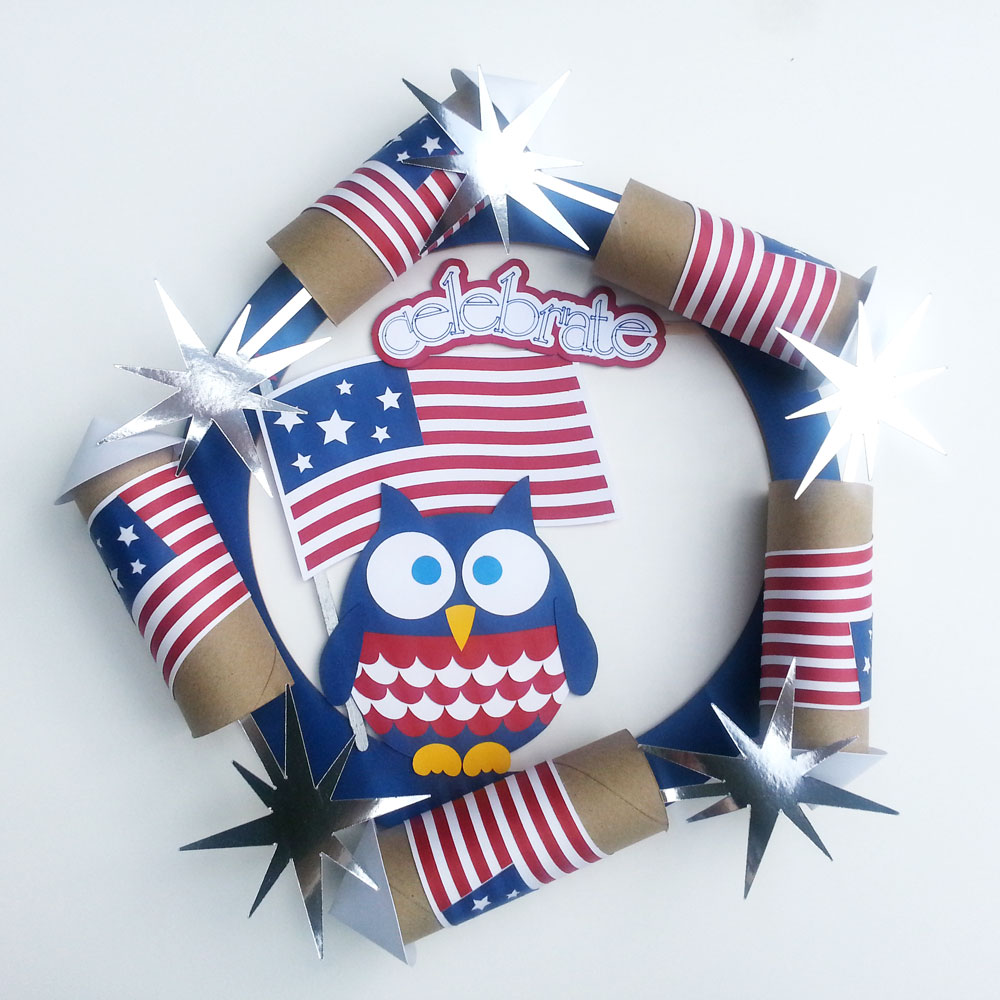
Create a patriotic wreath using cereal box and images from the Craft Room Library.
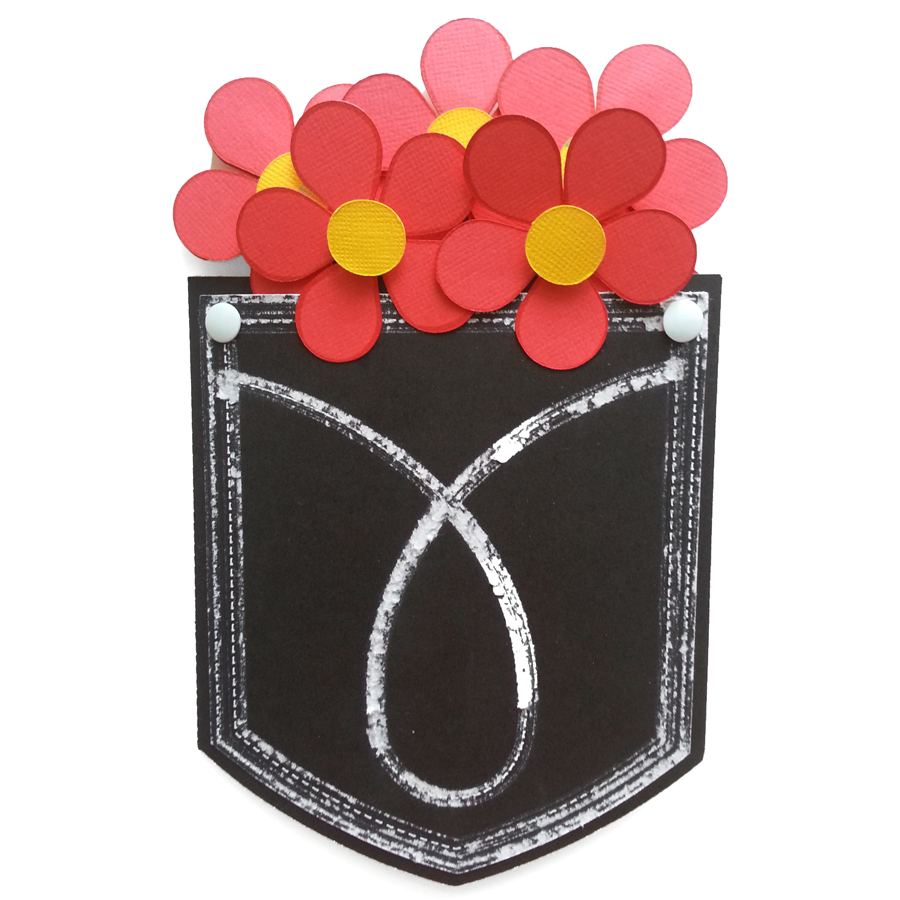
My Design Team assignment for this month was to make a project using the Pazzles Distressing Tool. I’ve had my Distressing Tool awhile but only just now discovered how fun it is! The basic ideas that came into my head when deciding what project to do were either vintage themed or denim themed, but you don’t have to limit the possibilities to that. I’ve been enjoying seeing all the spring flowers pop out, especially the itty bitty ones, and they made me think of a pocket full of posies which is part of a nursery rhyme I used to sing with my kids when they were very little. Thus, a search through the Pazzles Craft Room Library later and the Pocket Full of Posies Shaped Card came to fruition.