Design Team


Project Rewind: Paper Lanterns

Today we have a project rewind. Design Team member Krista Petersen-Hong has taken and old project and made it new again! Instead of rewinding, I want to help you un-wind! Although our world is very modern and sterile, we can still get a glimpse of nature and its simplicity. I really like how Michelle used the 3D bird cage to make these beautiful winter lanterns. I have taken the same 3D pattern and made a lantern for enjoying the summer evenings. I left the top off the original pattern (snow & holly on Michelle’s lantern) and replaced it with leaves that I found in the Inspiration Studio Library and white flowers that are made with a hand punch. I chose a rustic color for my lantern and added brown inking to give it a rusted, weathered feel.

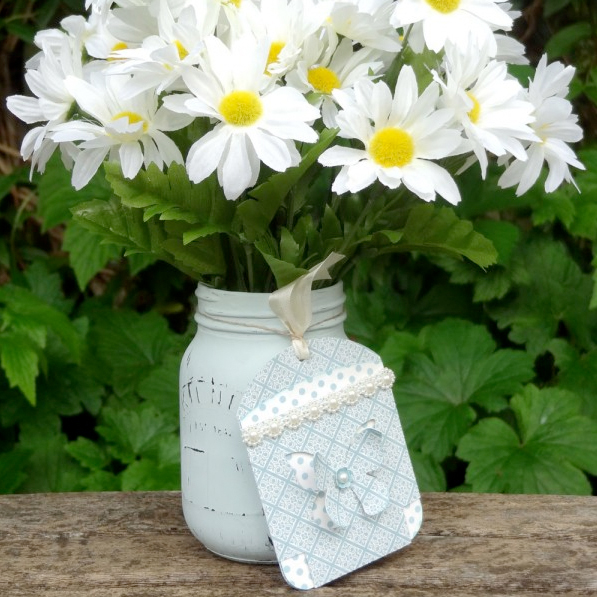
Mason Jar Tag

Mason Jar Butterfly Tag

I love giving handmade gifts to my friends and I always think a handmade tag or card just makes the gift complete. For my Design Team project I decided to have a go at painting a jam jar, popular brand names are Mason or Kilner. They can be bought cheaply from Home Décor stores in the USA and here in the UK. I looked up a few tutorials on the internet, on how to decorate my glass jar to accompany my flowers and tag.


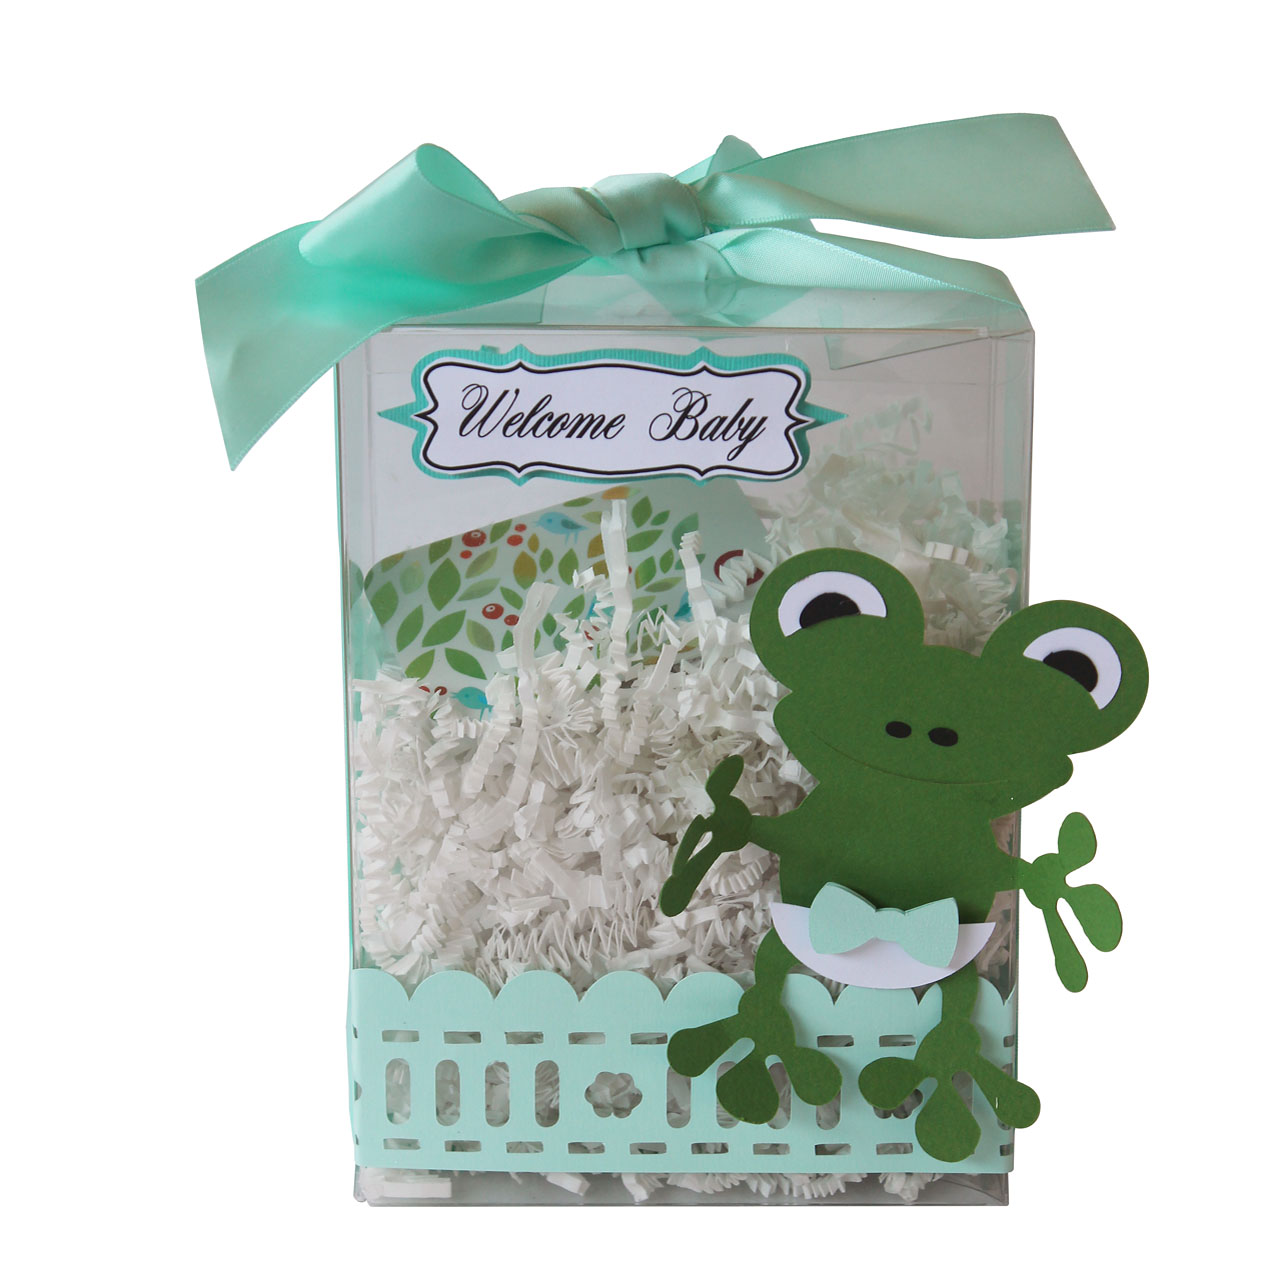
Baby Shower Frog Gift Box

Baby Frog Gift Card Box

Gift cards are great for baby showers, as this allows for the mom to be to buy exactly what she needs. I thought it would be a great idea to dress up a packaging box I had saved. I used the Baby Frog, Ribbon Slot Borders and Scallop Mat files which can all be found in the Craft Room Library. Tuck cash or gift card inside this gift card box and you are ready to go.


Baby Bootie Shower Favors

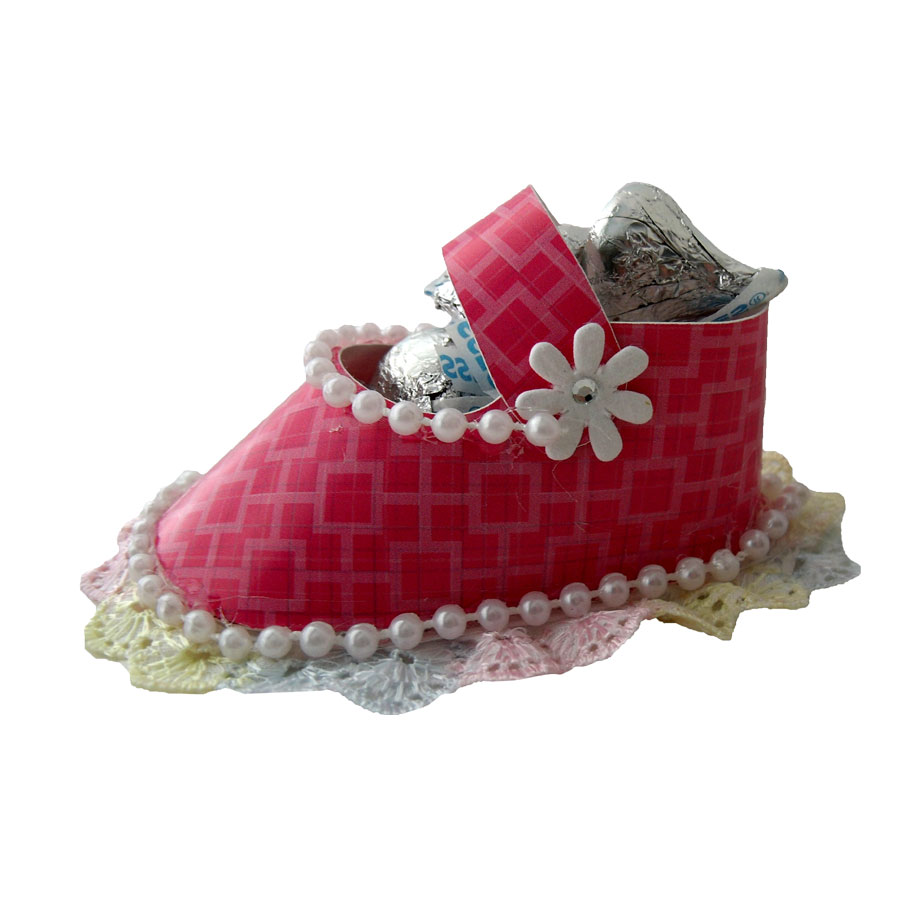
I used the cute little baby bootie file from the CD51: Party CD to create the adorable bootie favors. I used some Die Cuts With A View papers from the baby girl stack. I simply added some lace and pearls around the bottom and a pretty flower with gem for the "snap". I filled it with some candy kisses and they were ready to go! For my hot air balloon favor, I used the free Berry Basket file for the base. I hot glued two bamboo skewers and then inserted them into the balloon. The balloon is from the On the Move Hot Air Balloon file.


Baby Week: Baby Shower Banner ...

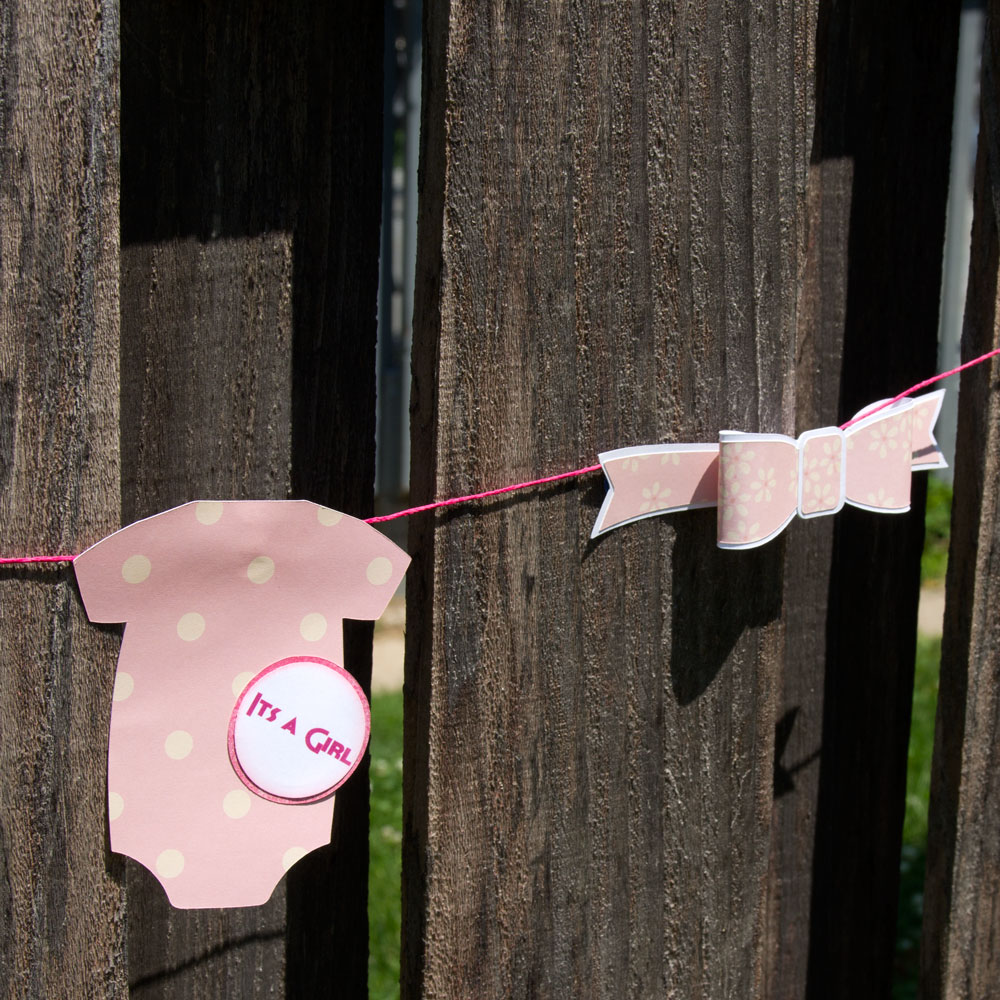
I hope you are enjoying celebrating babies here at Pazzles. The cuteness is limitless! I have used the Dimensional Bow from the Craft Room to create a darling pink banner to welcome a baby girl. At first I was going to use only one layer for the bows. I was worried that the bows would come out too big, but I am glad I used other layers. So Cute! You can always change the size, but I went with the imported size. This file is so easy to use. You will want to make extra bows to spread throughout the room! In the center of the banner, I have used the Onesie file from the Craft Room to announce the baby’s sex. It is strung together with a coordinating, but bright, hemp string.


Baby Shower Wreath

Baby Week: Baby Shower Decoration

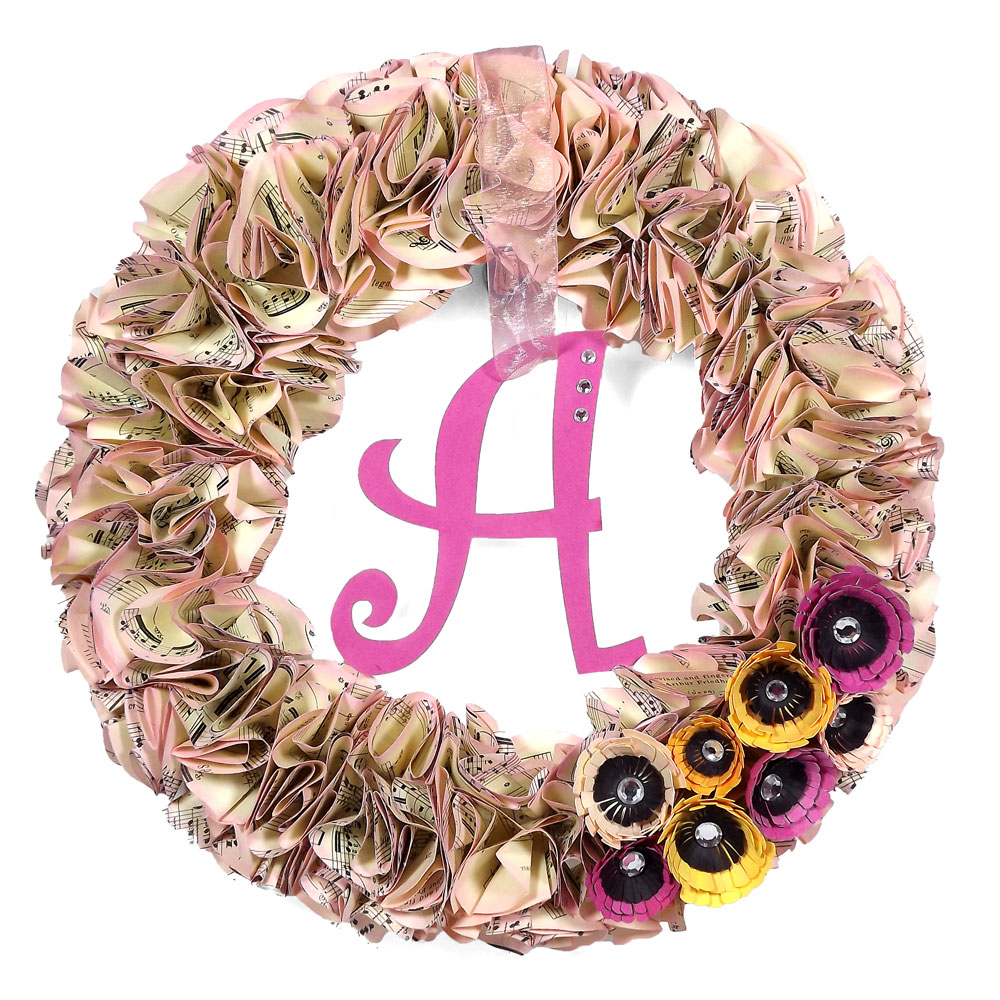
This wreath will welcome your guests as they arrive to your baby shower. It will set the tone and get your guests excited before the baby shower even starts! Once all your guests arrive you can move your wreath inside and use it for an indoor baby shower decoration too! It can easily be changed from girl to boy with just a little tweaking. Instructions: I cut about 130 3.25 inch circles. Yes, I know this sounds like a lot but it goes super-fast using your Pazzles Creative Cutter! I used a 90 year old music book for mine but you can buy a cheap book at a thrift store, use printed scrapbooking paper, print your own on your printer or just buy colored copy paper. I think it would be precious to use an old nursery rhyme book. *NOTE: The paper you use for the circles needs to be the thickness of copy paper or the pages of a book. You don’t want to use cardstock for this project. The paper needs to be flexible as you are gluing them very close together and cardstock creases easily, giving your wreath a more angular look. Instead, we are going for a softer feel since it is for a baby shower.


Baby Shower Rattle Invitation

Baby Week: Baby Rattle Shower ...

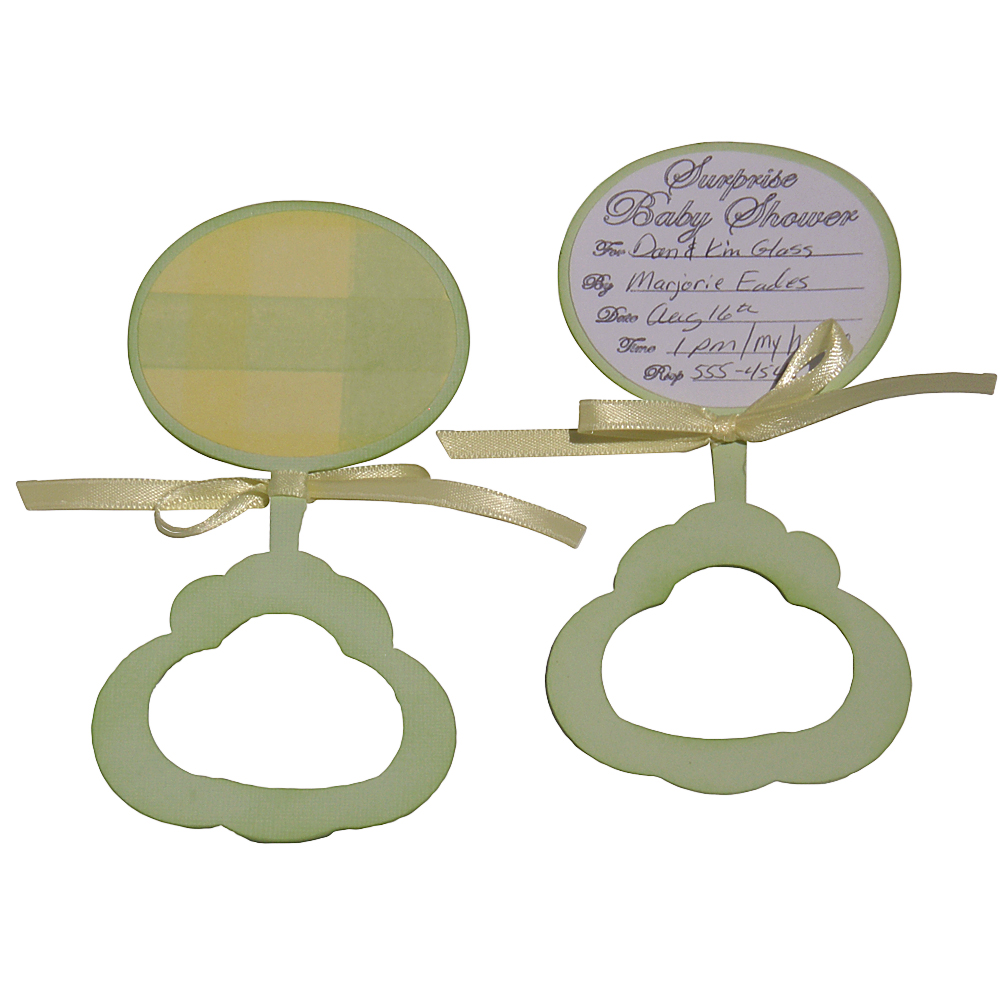
It’s Baby Week and who doesn’t love babies? So for you I have created a shower invitation using the Baby Rattle file. The first thing I did was to resize it to fit in a standard invitation envelope. I then added two circles, one for the front and one for the back. The front one was for information (i.e. who, when, rsvp) which I did with the Pazzles Pen Tool. I used Edwardian script font and then hand wrote the information, but you could do the whole thing with the Pen Tool. The back circle was for decorative paper. I added some inking and a bow and it turned out great. It's very simple and very fast. You could do a lot of these in no time at all and you can get six out of one piece of 12" x 12" cardstock. Tip: make sure you make an extra one for the mom to keep in the baby book.


Baby Week: Onesie Shower Invitations

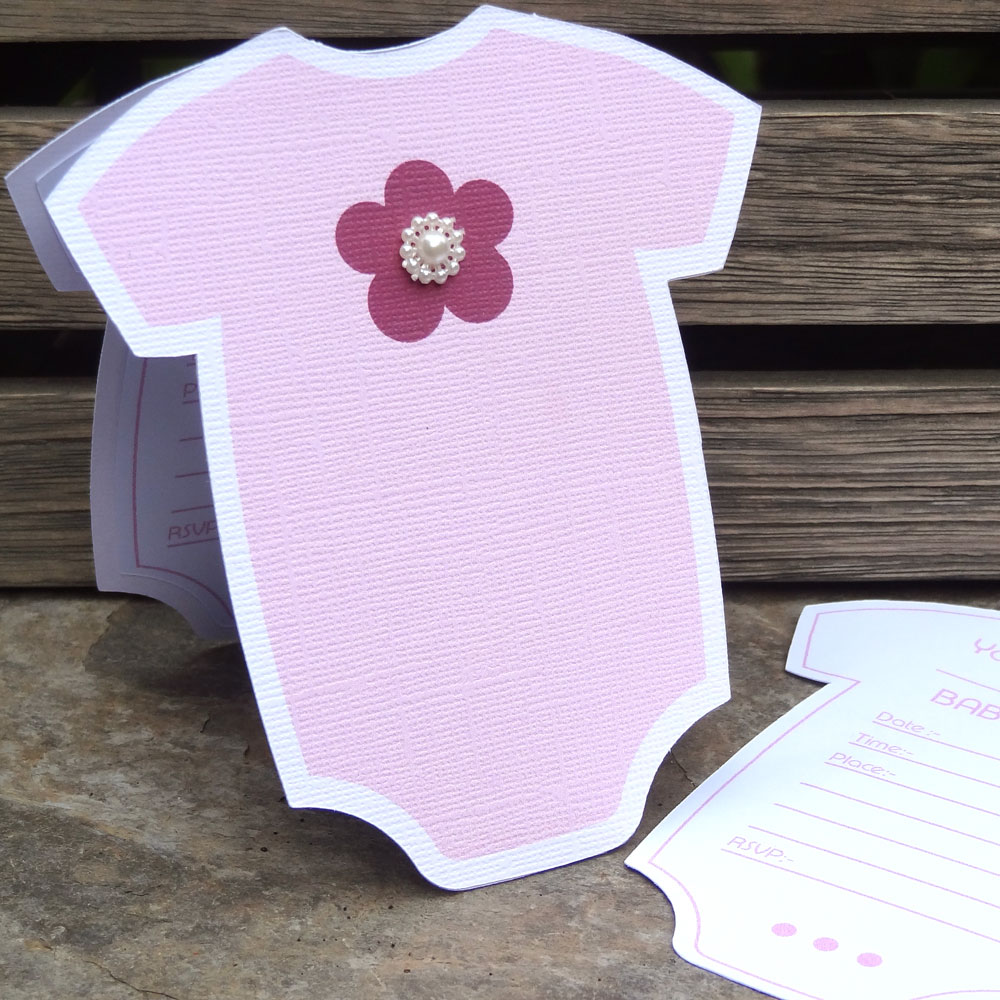
Hello fellow crafters, Joanna here today highlighting some Baby Shower printables using Print and Cut with your Pazzles. I thought I would share with you how versatile using the Print and Cut technique with your Pazzles can be to create even more creativity. You could of course paper piece some of the elements such as the onesie with your favorite papers. However, when sending out invitations in bulk it is easier and quicker to Print and Cut them. There is an excellent video tutorial How To Use Cutting Files for Print and Cut which will give you step by step instructions.


Daisy Birthday Card

Hello crafty friends, Melin here and today and I am sharing a fun card. I chose the DCWV Solstice paper stack for all the patterned papers along with white, cream and green Bazzil cardstock. I started by using my software to create my card's layout. I then used my software to cut out the Ladybug Flower file, the Ribbon Slot Borders and the Square Doilie file all from the Craft Room Library. I did edit the ribbon border to remove some of the extra dash lines and then threaded some ribbon through the ribbon border.


Goodbye Braces Celebration

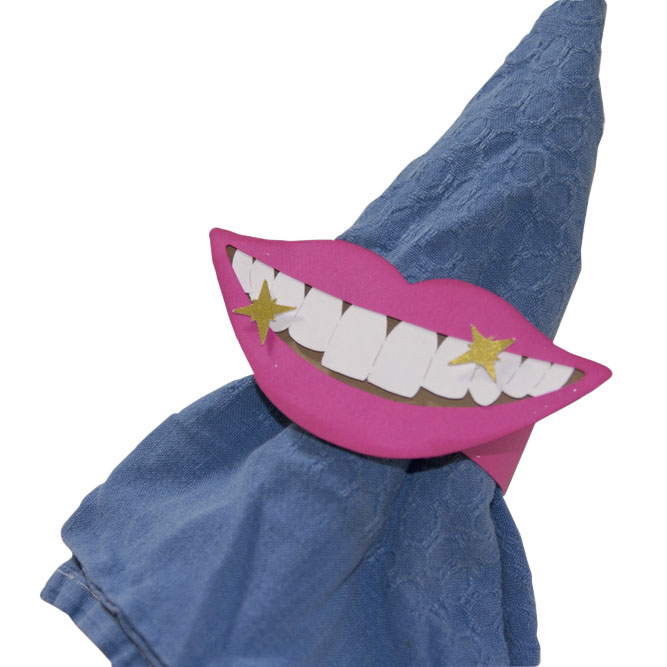
Ha! I love this. By now you know that I like dimensional creations. I like the challenge of taking a Pazzles files and doing something out of the ordinary with them. When the Perfect Smile Card appeared in the Pazzles Craft Room Library, I could not resist it! Do you have a young (or not so young) person in your life that is finally getting their braces off? Here is a cute and easy idea to celebrate that occasion. I used that Perfect Smile to make napkins rings! I just cut a 7" by 1" strip of coordinating paper for the ring and attached the smile.


Up and Away Glitter Balloon ...

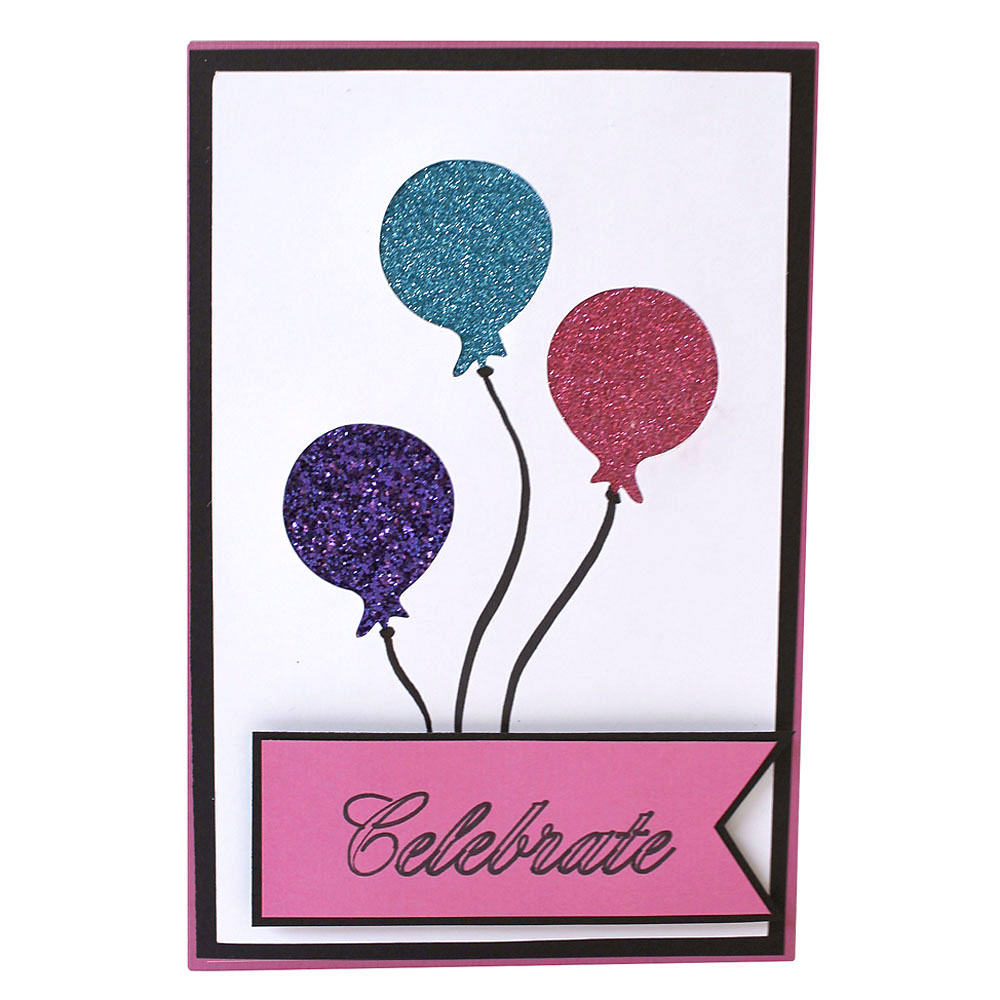
Sometimes you just need a quick and simple card. For my card I used a 9 ½" x 6 ½" base. I used the Balloons cutting file as well as the Pocket Scrapbooking Banners which can be found in the Pazzles Craft Room Library. I decided to remove the balloon cut out and add a glitter balloon cut out instead. I then went ahead and created a sentiment using the Pocket Scrapbooking Banners and my Pen Tool. I drew some balloon strings and in just minutes I had a card ready to send out.


Pop Up Friend Card

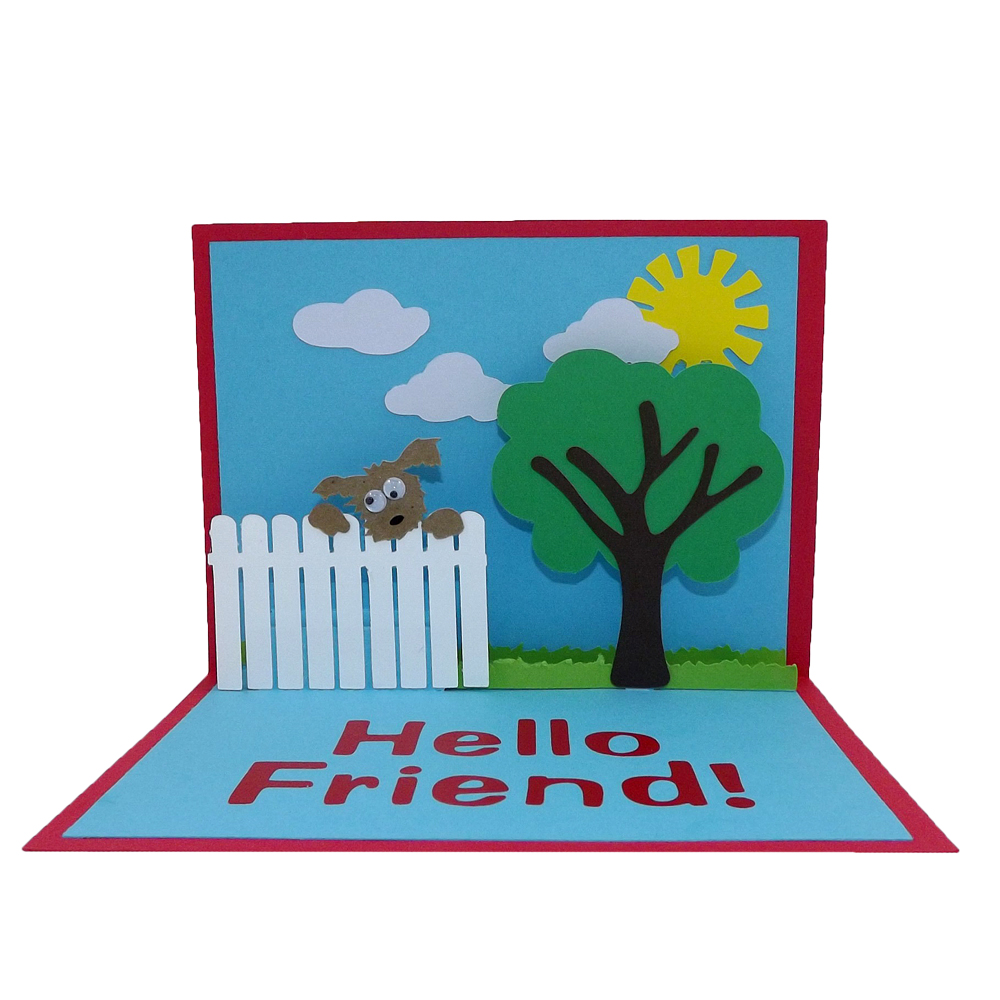
Pop up cards are so much fun! I love looking at the face of the recipient when they open the card and see it come to life! This card was made by following the Basic Pop Up Cards Video. The little dog hanging over the fence is hoping to get a pat or two, or maybe a treat!


Polymer Clay Pendants With the ...

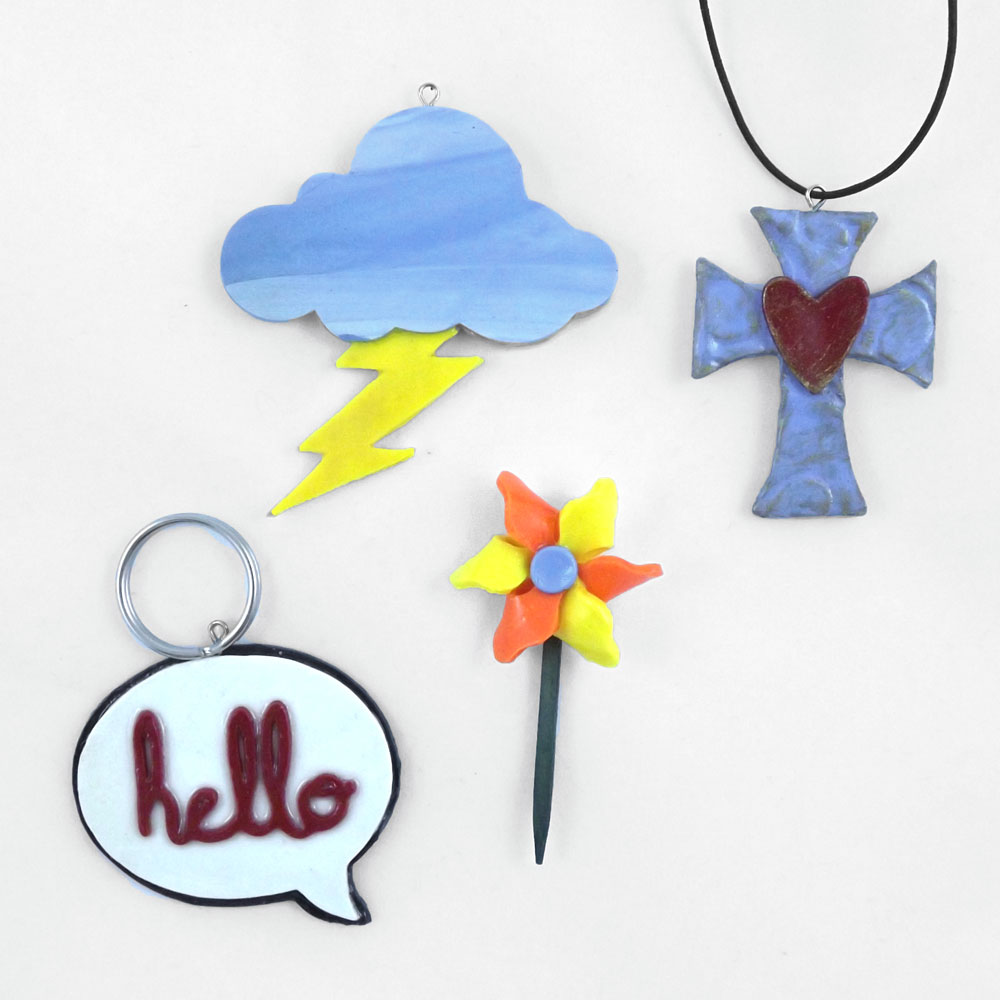
I am so excited about this project! I made these pendants using the Pastry Tool, Pastry Mat and polymer clay. Just like all other types of mediums you cut on your Creative Cutter, the possibilities are endless! It’s amazing the detailed cuts you can get using clay! To get started, watch Klo’s Polymer clay video for some fabulous instructions. It is in the January 18th – 21st Marathon classes, sessions 10 & 11. The files I used are found in the Craft Room Library and are listed at the end of the instructions. First, I rolled my clay out using a pasta machine using a thickness of 5. I placed my rolled out clay on my Pastry mat and patted it down until I was sure it was firmly stuck to the mat. Then I chose my design and cut it out. I used a pressure of 13 and a speed of 2. The blade is stationary so you do not have to adjust it. I cut two of my design out and layered them on top of each other so I would have the thickness I wanted and also to hide the jewelry pin inside.


Chalkboard Art Card

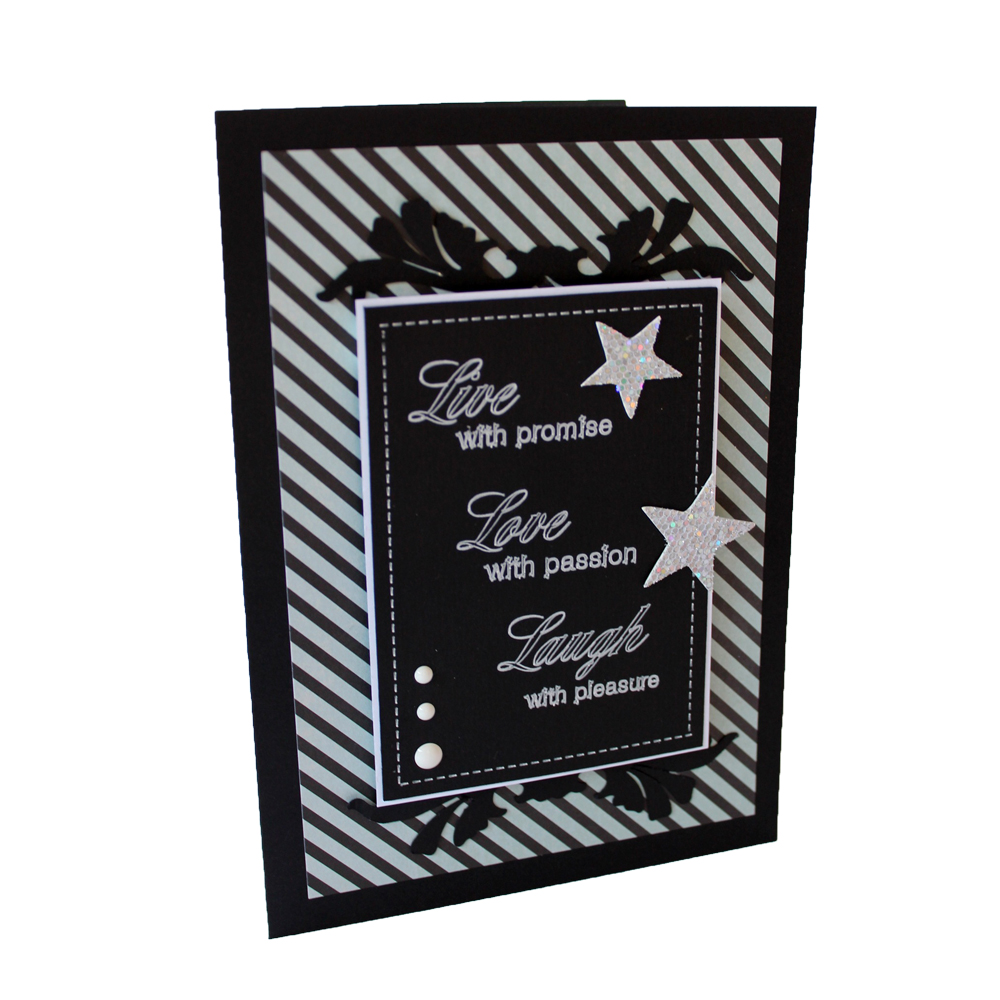
I just love the chalkboard look on cards. Inspired by a lovely saying that I found online, I created this note card using my Pen Tool. I created a perforated outline for the note card and then set my text in place. For my card base I used a 7" x 5" base. I used the draw tool to create two stars.


Beautiful Layers With Spellbinders Digital ...

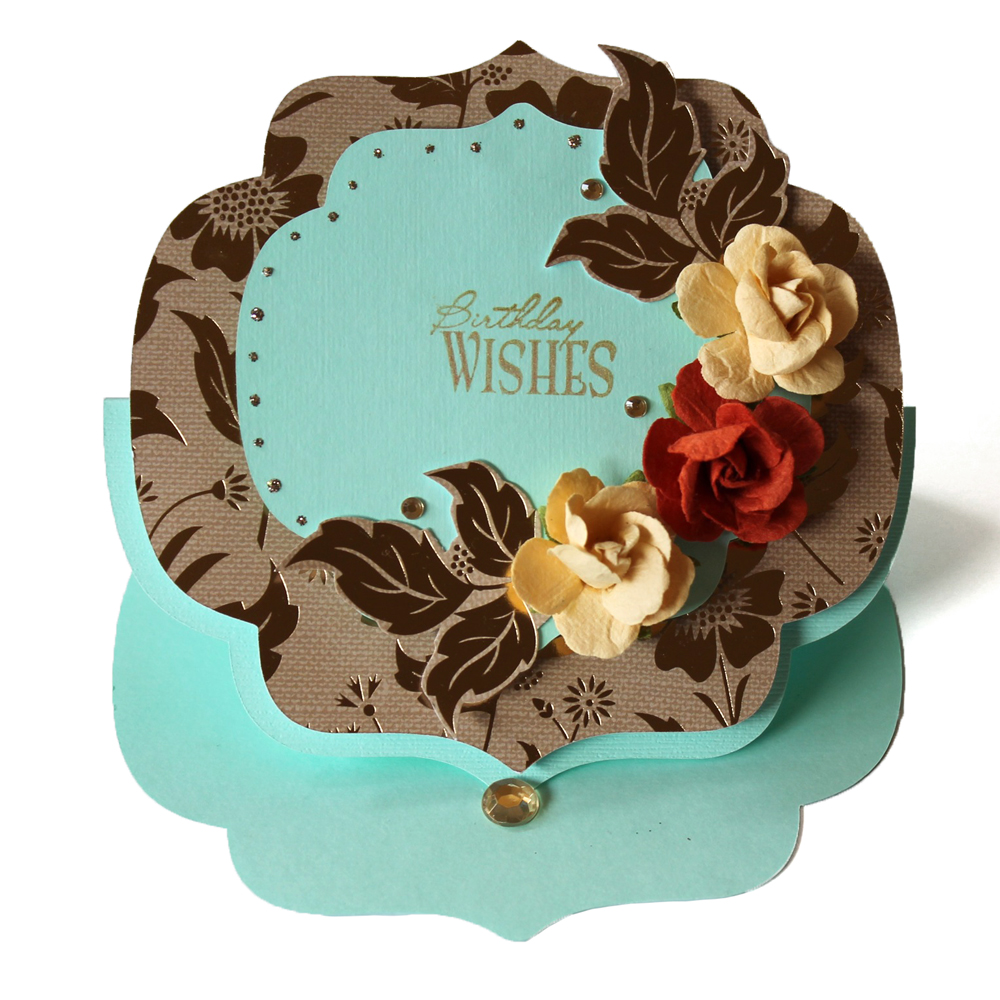
We have some fantastic projects to share today courtesy of the Pazzles Design Team. I asked Angie Contreras and Melin Beltran to share something they made with the Spellbinders Digital Die Collections, and their creations are beautiful. Angie used the Nestabilities Label 9 files to create a shaped base for her card. With several layers of nesting shapes, she was able to easily cut out the matching layering pieces as well. I love the fresh trendy shape and colors of this card.


Peek A Boo Window Kite ...

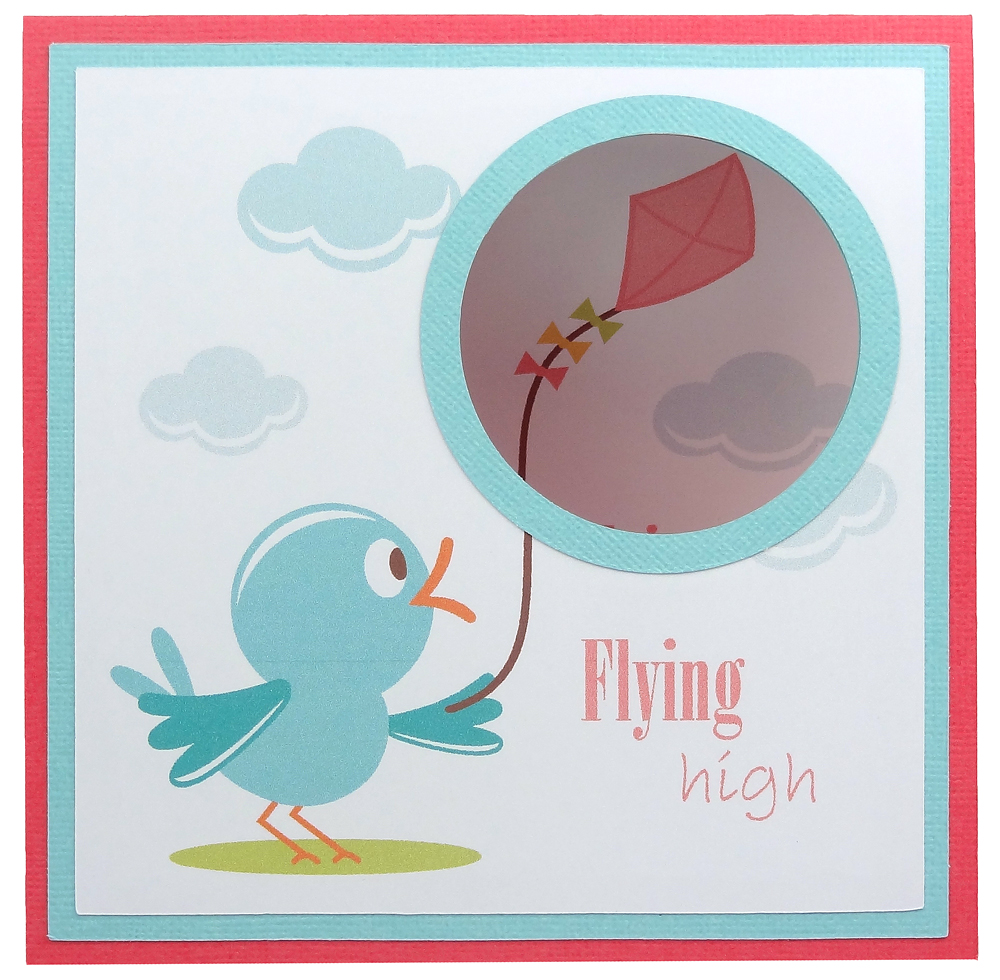
Hello ladies, today I am sharing an aperture/window card. These are incredibly easy to make and using your Pazzles you can create perfect alignment of the aperture when layered onto a card. I drew my 5” x 5” layer using my software. I aligned my Bird Flying Kite file and arranged it onto my 5” x 5” square layer. I drew a circle aperture in my Pazzles software and arranged it over my kite. I print & cut my design having watched the video tutorial Using Cutting Files for Print and Cut, which explains how to use registration boxes.


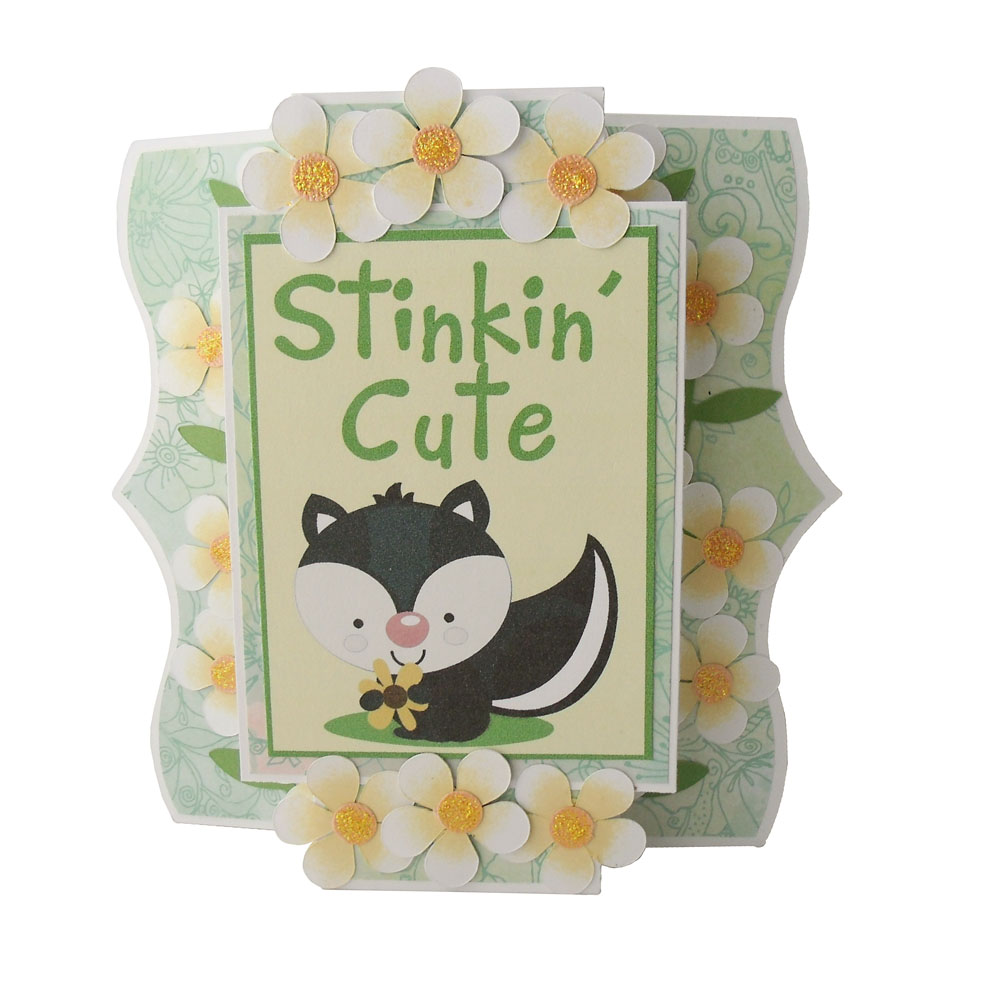
Stinkin Cute Fun Fold Skunk Card

Stinkin Cute Shutter Card

Hello crafty friends, Melin here and today I wanted to share a really quick and simple card you can make with some great Craft Room files. I started by using the Fun Folds 2 Shutter Card base. I cut that in plain white cardstock. I then cut the panels in some DCWV Floral Fair patterned paper. I cut several of the Creamy Flower file in plain white cardstock. I also cut several of the centers in some Bazzil Tangerine Bling. I then used the stem from the Long Stemmed Swirl Flower file for my stems and leaves. I used some Buttercup Ink from Close To My Heart and sponged the ink in the center and worked my way out. I left the tips of the flowers white so they would have some character and depth. I then added the circles to the centers and then added some Yellow Stickles to the centers.


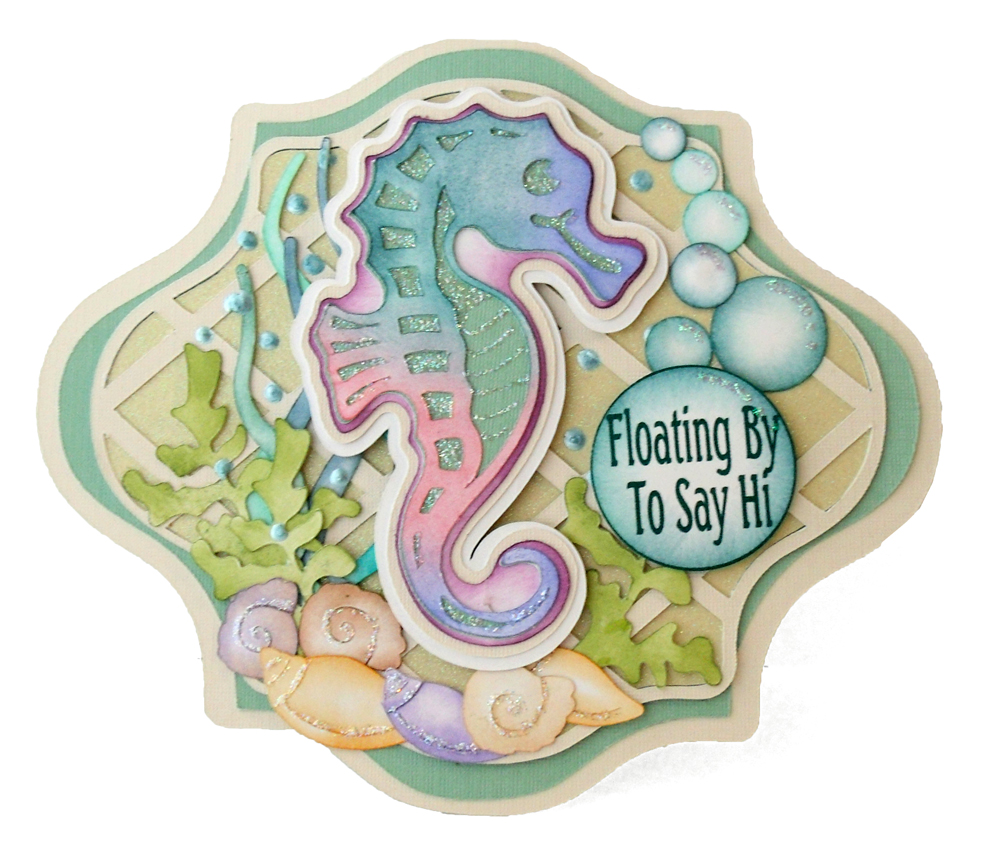
From The Sea Shaped Card

Hello crafty friends, Melin here today sharing a cute card I created with some of the latest Spellbinders Digital Die Collections. I used the Labels 13 S4-248 set to create my card base. I simply created a duplicate of the largest layer and welded them together at the top. I then cut one of the smaller layers using some of the very pretty paper in the DCWV Linen Closet cardstock stack. I then proceeded to cut out another smaller layer, and then used that same sized layer and my lattice tool to create a latticed layer. I glued that on top of the bottom layer that was cut with some pretty glitter paper from the same stack.


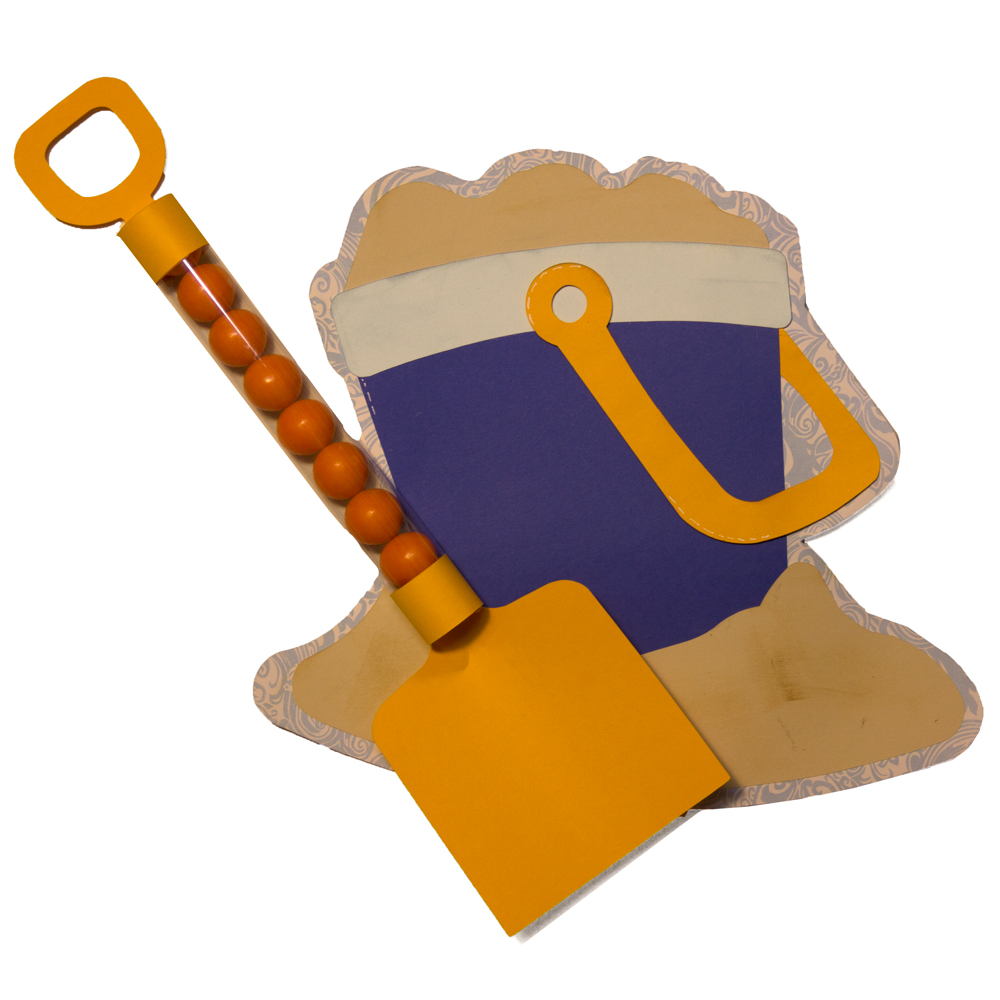
Gum Tube Sand Shovel Favor

Are you having a sizzling summer? Then it’s time to cool off at the beach. Grab your sand bucket, shovel and let’s go! Today I want to show you an idea for a party favor or gift box. I started with the Pazzles Craft Room file Sandy Bucket. There is sand, a bucket and a shovel. You will see that I altered the original pattern just a tad. I wanted a separate shovel that was more or less 3 dimensional. I enlarged that pattern so that I would have a finished creation large enough to hold a gift as well as the gum tube that I used to make the shovel. To make a sand bucket, I needed to increase the size of the Takeout Box (5-A from the software library). Because the box is so large, I had to cut it by making it two pieces. I also cut the box without its top.


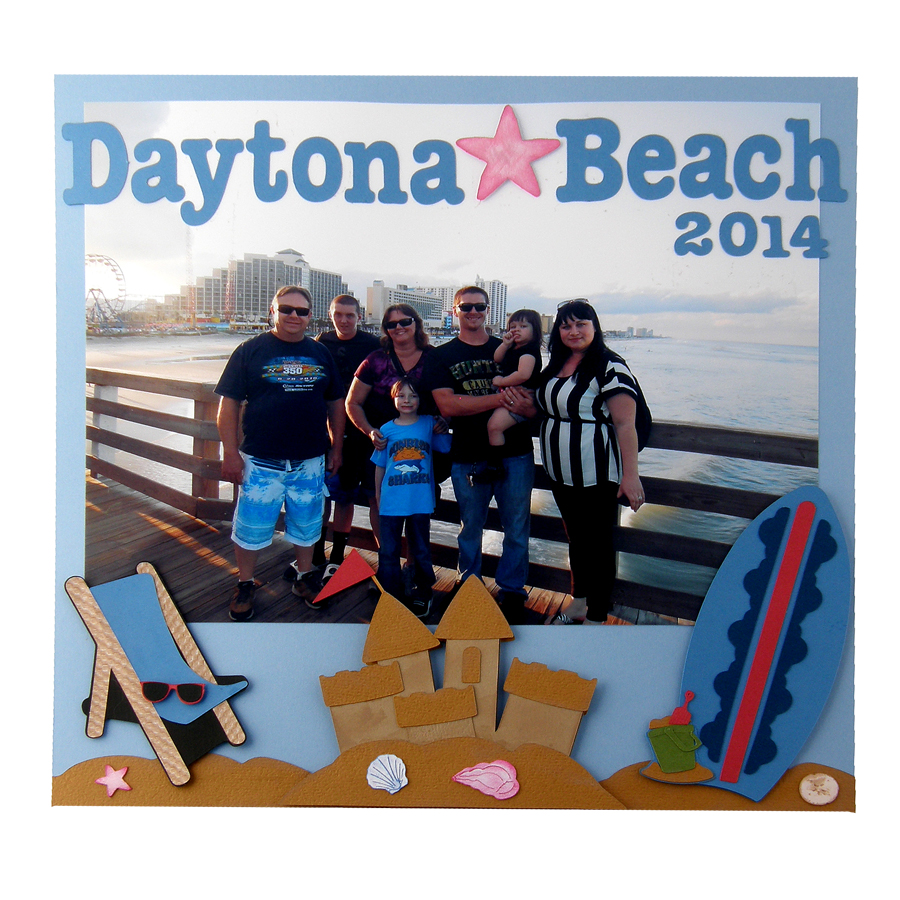
Daytona Beach Scrapbook Layout

We go to Daytona Beach once a year. This year I got a fantastic family picture to scrapbook. I knew I wanted the picture to be as large on the layout as possible, so I printed it at home at the biggest size possible which is 8.5" x 11". Next I went to the Craft Room and found tons of beachy files to play with. I used Beach Chair, Bikini Starfish, Sandy Bucket, Simple Shells, Tropical Christmas and Sand Dollar cutting files. The really neat thing about this layout is that I was able to design it in the software complete with picture, so I would know what it would look like when it was all done.


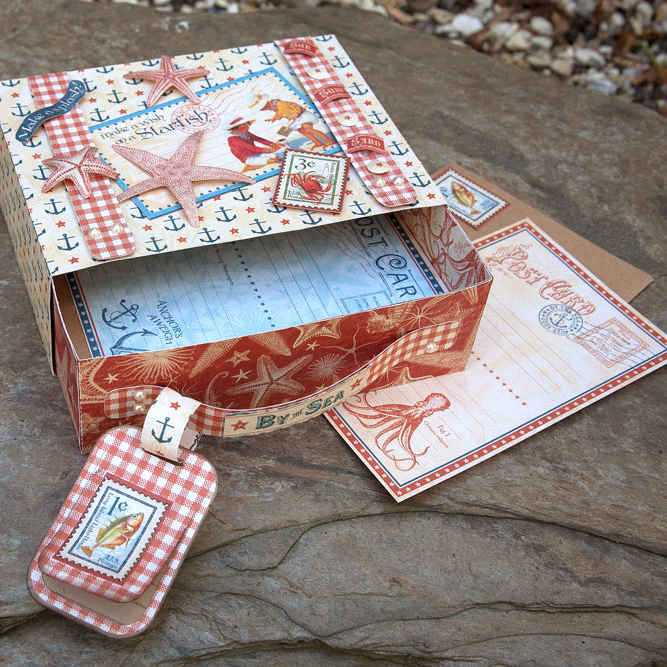
Suitcase Box Postcard Holder

So, the summer holidays are almost upon us and as a family we are thinking about going away for a few days to the beach. With the advance in phone technology the art of sending postcards to friends and family seems to be diminishing. However, I think it is much more fun and personal to send a written postcard to loved ones highlighting the family summer activities. For my project I have used the Suitcase Box found in the Craft Room Library. I have used papers by Graphic 45 from By the Sea paper collection which includes a double-sided sheet of Seaside themed postcards. I decided to enlarge my suitcase so that I could place my postcards and Kraft card envelopes inside. As a Craft Room member I found the video tutorial on How to Resize a Box extremely helpful for this project.


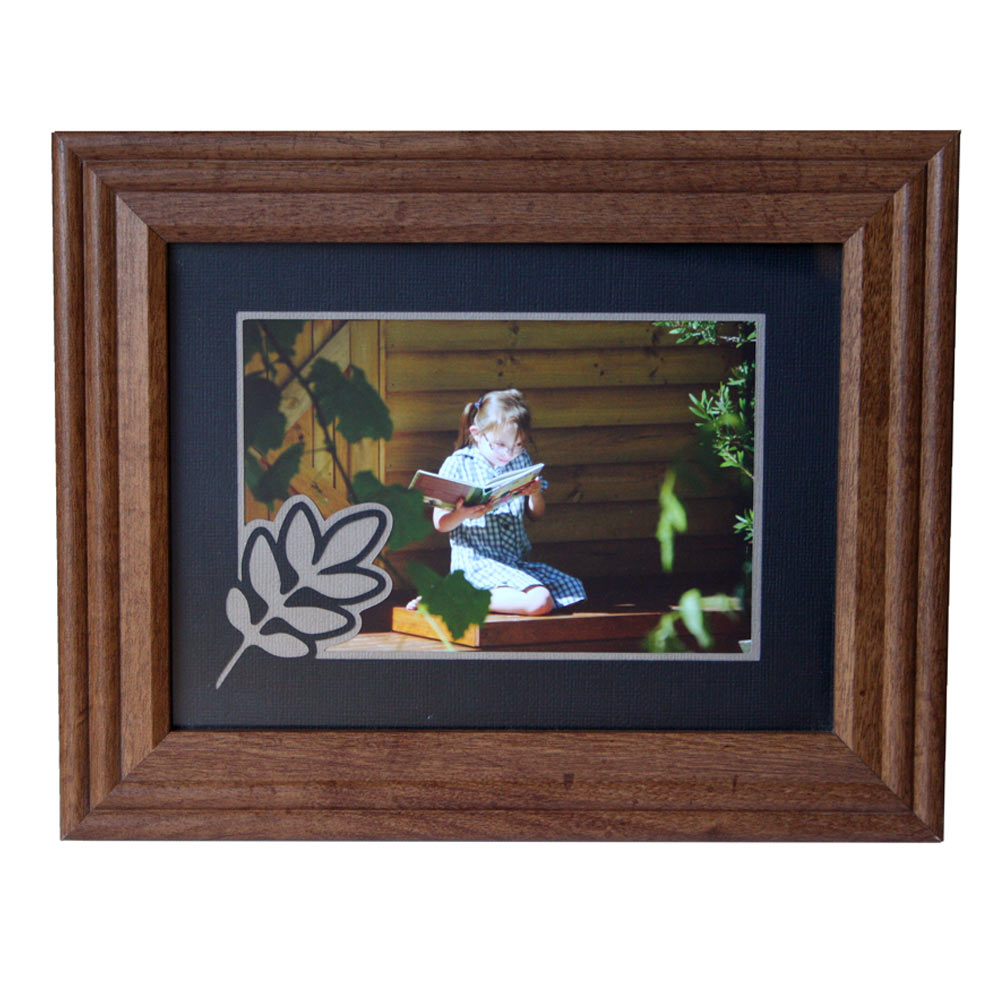
Photo Mat For Picture Framing

Decorative Photo Mats for Picture ...

Creating photo mats with my Pazzles Inspiration is something I hadn’t attempted yet. I had watched the How To Make Photo Frames , but not created a project based on it. Whilst perusing my photo collection of the children, I came across a favorite of Charlotte sitting out in my parent's garden reading a book in the sunshine after school. The book is called Charlotte in London, and I love seeing her engrossed in a story just like I was as a child. I would be up late reading my Enid Blyton books instead of sleeping! Charlotte remarks that her favorite smell is the smell of an old book, after picking up my old books. The photo was taken by my dad, and he framed it beautifully with the branches and leaves softly out of focus in the foreground. Taking my cues from these leaves I simply added a leaf from the images pre-loaded into the Inspiration Software. I placed it in the bottom left hand corner and chose a soft brown and dramatic black for my photo mats. The black for the top layer makes a statement in any frame and the soft brown complimented the timber frame and the natural colours of the photograph.


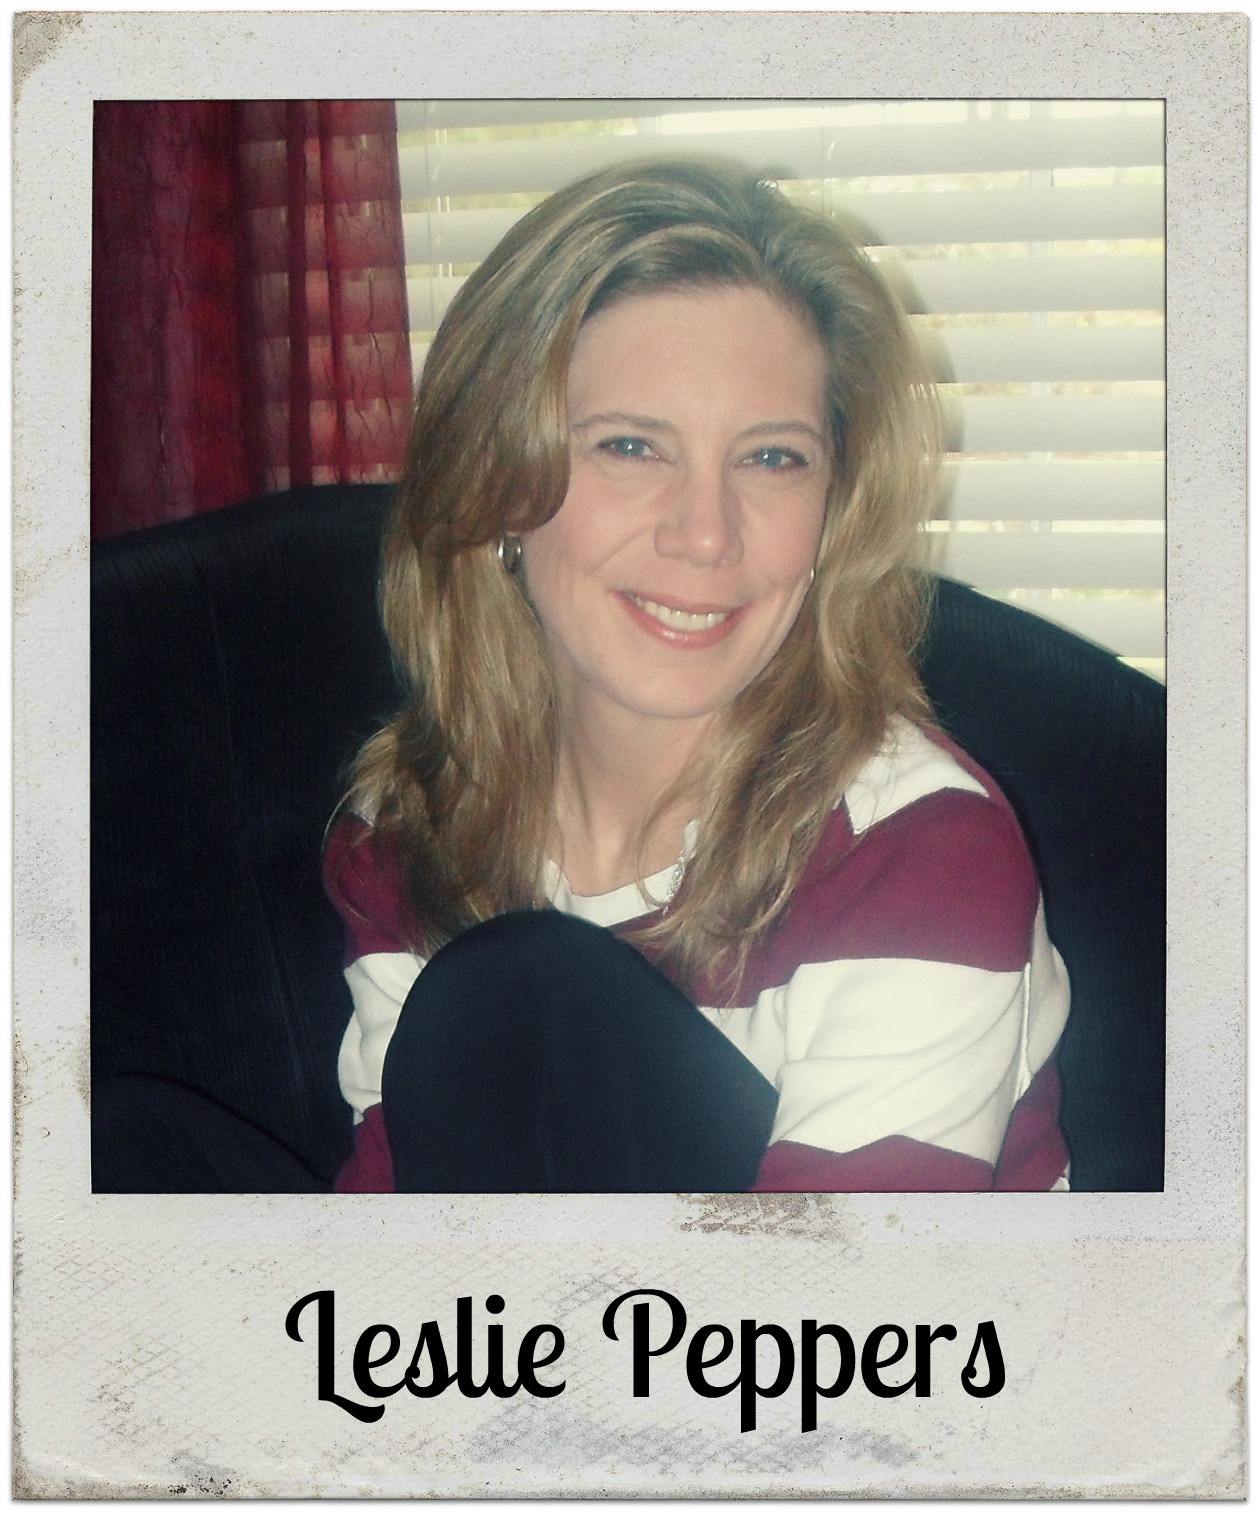
Guest Designer Leslie Peppers

Please help us welcome our June Guest Designer Leslie Peppers. Father’s Day is slipping up on me so quickly! I don’t know where the month of May went, but suddenly we’re in June and summer’s right around the corner. I was inspired to create this card using the Pazzles Craft Room Library file Scallop and Lattice Borders. I cut the lattice border down to my card width using the scissors tool. The font used was Bernhard MT Condensed. I used a pattern paper and tore the bottom edge to use as a backing for my title. I finished it off with some chipboard elements. I have attached the cutting file for you, and I hope you enjoy!


Page 12 of 17« First...1011121314...Last »