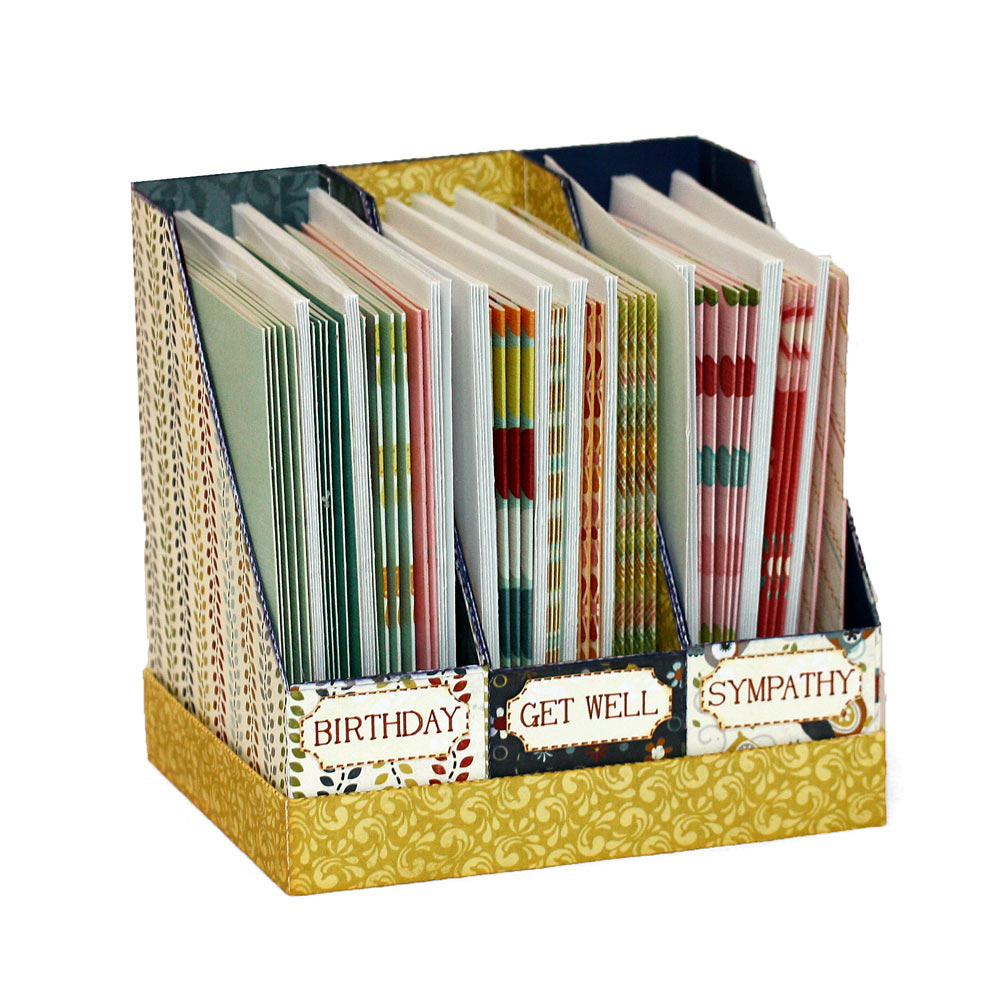
Cards Envelopes & Tags


February Challenge Reminder

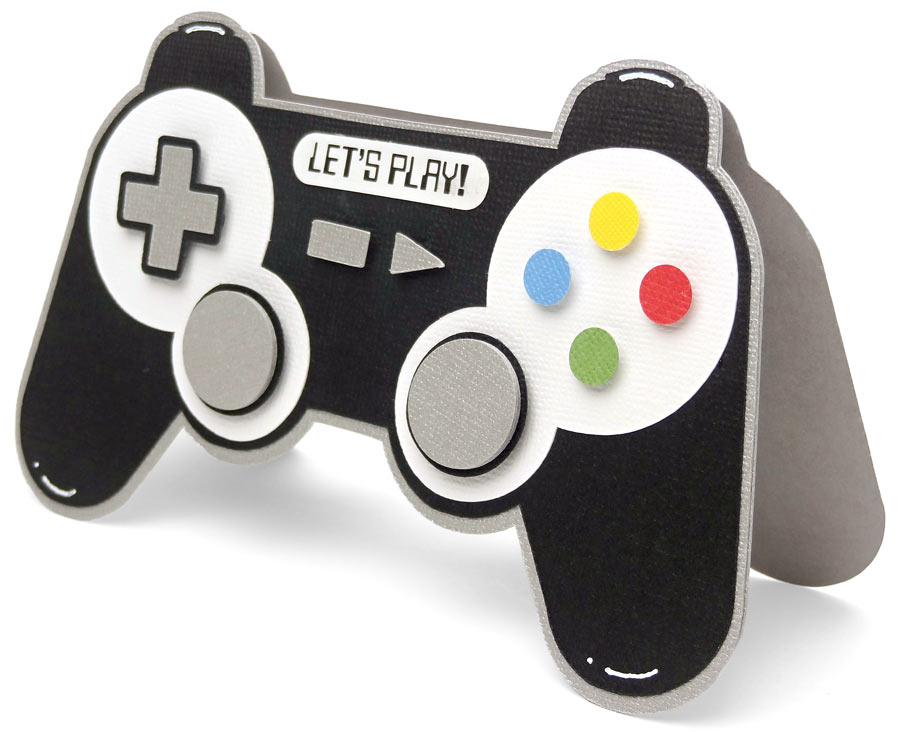
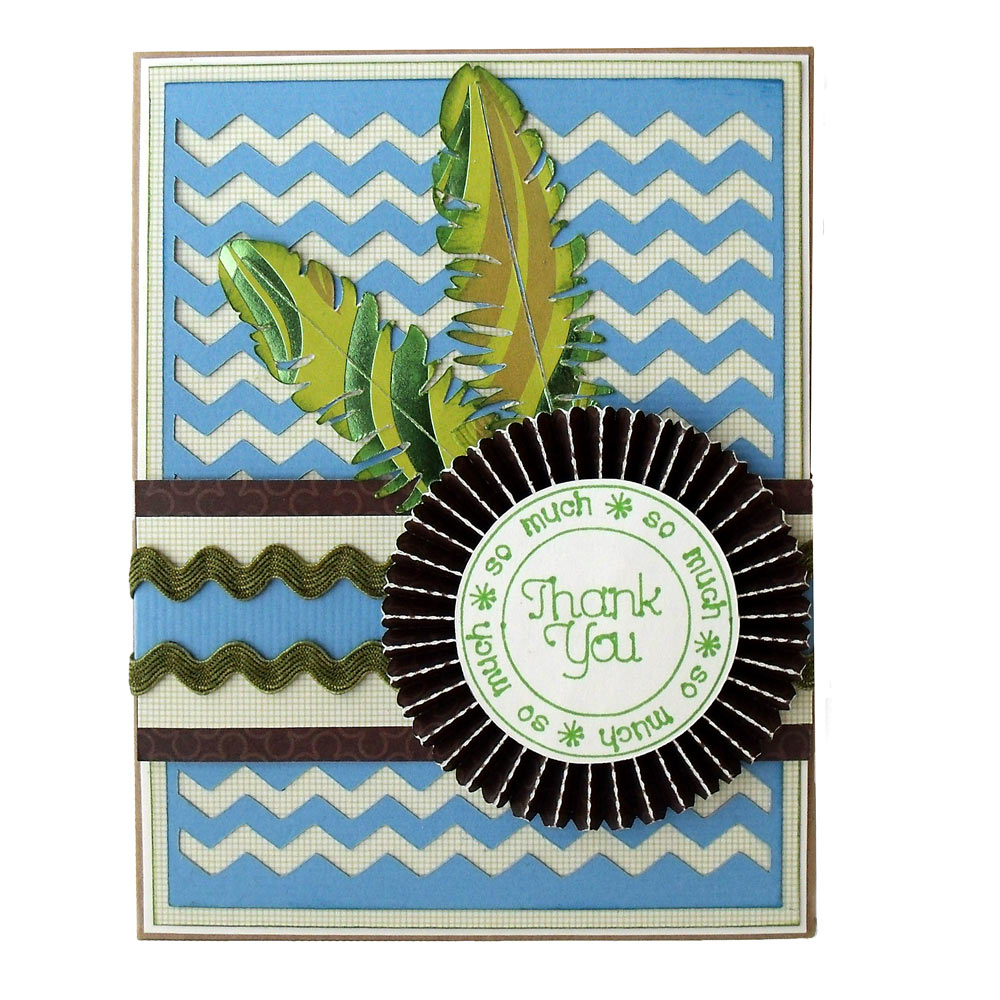
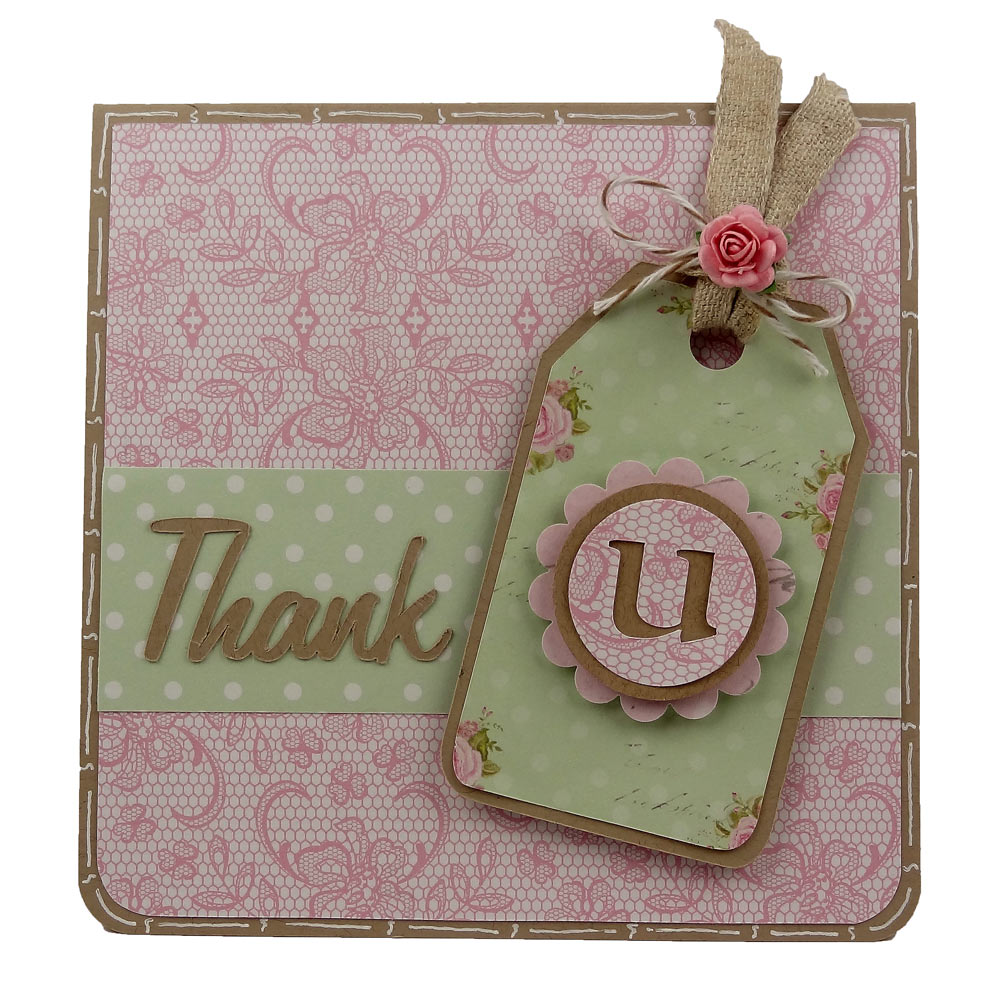
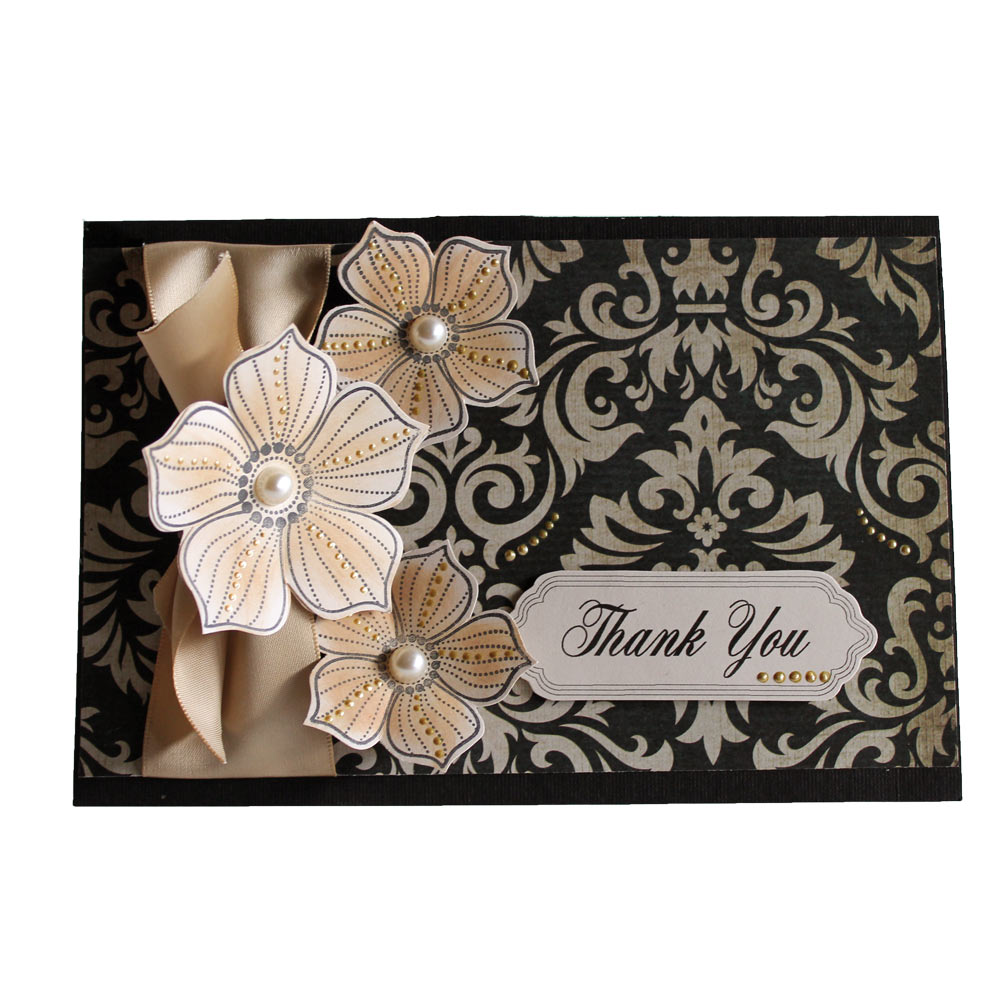
Have you had a chance to play along with our February challenge? I'll admit the Bendi card idea was new to me and now I cannot wait to try it. As a reminder the February challenge is to use the Bendi Card Large or Bendi Card Small files in the Craft Room to create a card. In the January 5, 2014 Klo's Classroom, Klo showed how to create a bend-fold base from written instructions. She also showed how to change lines and have a little more fun with the file. We have a few beautiful samples to share with you from the Pazzles Design Team. Melin Beltran


Coffee Cup Circle Card

I wanted to create a special birthday card for a friend who loves coffee. I decided to create her card using the coffee theme. I used the Scallop Sunshine cutting file, Coffee Cup and the Let It Snow file, all of which can be found in the Craft Room Library. I enlarged the sunshine cutting file to 6 inches and mirrored and welded it to create a shaped card.


Shadow Box Book Card

One of the trends I saw at CHA (Craft & Hobby Association Show) this year was altered books. There were so many different variations of these that I loved. I saw many old books with pictures and journaling painted right over the text. I saw mini albums made of old book bindings and pages covered with paint and gesso to make a blank slate. Altered books were everywhere and I've had book projects on the brain ever since. Today's project is a combination card and shadow box that is shaped like a small book. I've created the book file for you and filled it with a fairy scene. The bits and pieces of the scene are all existing Craft Room Library files, however I've pulled them into the project file and sized them accordingly for you.


Customized Patterned Paper Valentines

One of my favorite things to do with my Inspiration Studio software is make my own custom patterned paper. I first change my mat size to 8.5 x 11 because that’s the size of my printer. I then import files I'd like to use. The one I used here is Heart and Bow from the Craft Room Library. I removed the bow, leaving just the heart. I thickened my lines, duplicated it several times in different line colors and stacked them slightly askew. Then I grouped and duplicated them, made some bigger, and some smaller placing them all over the page and rotating a few in different directions. I then resized some hearts very small, multiplied them, filled them in the different colors, and added them to the spaces as filler. When my design was complete I just printed it out on white cardstock using the borderless option on my printer. I really enjoy being able to make my own custom paper designs.


Office Folder Valentine Mailbox

I loved Valentine's Day as a kid. Waiting for candy and cards to fill my carefully decorated cereal box adorned with pink and red hearts was such fun! My favorite was waiting to play "Heads up Seven Up" during our classroom party. Those are truly treasured memories. Create this file folder Valentine and let coworkers fill it with Post-It note greetings. It's a perfect mailbox for the office. Don't forget to check and see if "You Got Mail"!


Tic Tac Toe Valentine

Tic tac toe game valentine. Put a personalized note inside with the Xs and Os and tuck the heart shaped tab closure to close the envelope.


Folded Heart Card

Pick a special person to be your Valentine and create this little belly band card to wrap your sentiments of love in.


Steampunk Card

Hello friends, Melin here with you today sharing a masculine Valentine card. I used some Gold to go along with this month’s challenge to use Gold in your Valentine Card. Here is what I came up with. I started by cutting out my card base in kraft cardstock. My finished card size is 5 x 6.5”. I then cut a black mat, and then a kraft mat. On top of that I used all designer papers from the DCWV Industrial Chic Stack. I cut the majority of the pieces out in plain white cardstock. Then I inked and colored in the pieces with my various inks as well as a gold marker.


Love Is In The Air ...

There are so many wonderful cutting files in the Craft Room Library that I have come to the conclusion that there are simply not enough hours in the day to play. But that doesn’t stop me trying! I love the themed cutting collections and this is where I found the adorable Hot Air Balloon shape for my Valentine card. Once I imported the Hot Air Balloon cutting file from the On the Move Collection, I began to choose my papers. Sometimes this is the hardest part of a project! I decided to replace the pennants with punched hearts, so I removed them from my design. I then duplicated the image and moved it to the side of my visual mat and I rotated the balloon slightly to give more interest to the card. I welded the elements and then made an outline. I drew a rectangle box below and welded together the top half of the balloon and the rectangle to create my shaped card. I duplicated, mirrored and welded my shape to create my folded base card. (See Making Shaped Cards video tutorial). I cut out and adhered my cloud patterned paper to my base card. I then cut out some clouds out of white cardstock using the Heart Cloud cutting file and inked the edges in blue. I assembled all the layers of my balloon to the card.


Cut And Paste Sketches: Fancy ...

Lately I have been really into shaped cards. As electronic die cutting machines become more commonplace , shaped cards have started to get very popular. A unique base shape is such a great way to start off a card. It's easy to make your own shaped cards using the technique taught in our Making Shaped Cards Video, but I thought it would fun to create a fancy oval frame for the base of today's sketch.


Be Mine Valentine Collection

Tatum the party queen has struck again! She's created the cutest Valentine's Day decorations and little tokens of love to help you celebrate with your special someone. The Be Mine Valentine Collection features eight different projects that are easy to assemble and ready for your personal touch. My favorite from this collection is the wings. Tatum used a gold pen and the Pazzles Pen Tool to draw the feathers and then cut them out. The cutting file includes an additional cutting line so you can back them with chipboard for sturdiness, or add a vellum layer for softness. I'm already planning the projects I'll make with them.


Hot Cocoa Party Set

A hot cocoa party set for toasty winter gatherings. Includes mug shaped invitations, chocolate covered stirring spoons with spoon covers, and party banner.


Valentine Gift Set

I keep hand sanitizer in just about every room of my house. I think the bottles are boring and stick out like a sore thumb so I decorated them for Christmas and that got me to thinking…why not do it for every holiday or season? I used the subtract weld technique to create these fun Valentine’s Day covers. I used vinyl so splatters would not ruin the design. Now the bottles are a part of the holiday decor instead of an eyesore.


Embossed Bells Wedding Card

Hello crafty friends. Melin here again. Today I am sharing a card I created with the awesome Pazzles Embossing Tool! I had some thin metal in my stash and was waiting for the right opportunity to use it. Here is what I came up with. I started by using the embossing tool to emboss the beautiful Victorian Frame File from the Craft Room Library onto some white cardstock. I lightly inked the edges of the cardstock. I wanted the embossing to really show up. I trimmed up my mats and patterned paper and then machine stitched them. I inked the edges to give them a shabby, vintage look and added the Fancy Corners file to the edges of my mats. Then it was on to using the embossing tool on the metal.


Game Controller Shaped Card

It ceases to amaze me that no matter how many times I look through the Craft Room Library, I invariably come across a file that I have never noticed before! I have two young boys and they love playing their electronic games. I thought this would be a perfect card, in particular for my 15 year old son, as he does not appreciate teddies or footballs on his birthday cards!


Card Holder And Organizer

These adorable card holders are the perfect way to organize your cards. Now when you create cards you can make 3-4 at a time and you will have a safe and easy place to store them until you are ready to send them!


Easy Thank You Card: Layered ...

Today I am sharing a super quick and easy card featuring files from the Craft Room Library. I wanted to create a card that could possibly work for a masculine recipient. Here is what I came up with. My finished card size is 5" x 6.5". My base was from regular Bazzill Kraft cardstock. I started by cutting a white mat an 1/8” down from my base size. I then cut another mat from patterned paper an 1/8" smaller than that, using a small grid patterned paper. Next, I used the Chevron Paper Lace file from the library and sized it to 4.5" x 6". I cut it from regular blue cardstock. I then used the Downy Feather file and cut two of them from another piece of patterned paper.


Easy Thank You Card

It’s so lovely to receive gifts, but sometimes it takes a while to find a Thank You card that is as special as the gift received. I hate the shop bought cards as they seem so impersonal, and now that I have my Pazzles Inspiration I would much rather create one myself. So, I have decided to create a Thank You card using my Pazzles and just change the patterned papers, to suit the person who gives me a gift. I designed my simple base card using kraft cardstock and selected the Round Corner tool to give it a softer look. I learnt this by watching the Rounding Corners video tutorial in the Craft Room Videos.


Easy Thank You Card: Patterned ...

All this week members of the Pazzles Design Team will be sharing recipes for fast and easy Thank You cards. Angie starts it off today with a beautiful, elegant card. She pairs patterned paper with a simple sentiment tag to make a gorgeous card. It seems like I can never have enough damask patterned paper. I just love the elegance of it and love the variety of colors they come in. I decided to create some thank you cards using damask paper by Recollections. For my card I used a 9 ½" x 7" card base. I simply cut a piece of the patterned paper and adhered to my card base. I then stamped some flower images and cut around them. I chalked and added pearls for the centers and used liquid pearls. I then went ahead and used the Plane Tag cutting file which can be found in the Craft Room Library. For the tag I simply added the thank you sentiment and printed it. I finished my card by adding ribbon along the side.


Cut And Paste Sketches: Just ...

I like to have a few all purpose cards on hand for the times when I need a card quick. Today's Cut And Paste Sketch can fill in for a birthday, a get well card, or anything else you might need last minute. The Just For You sentiment applies to any occasion. The sentiment is cut from the top layer so whatever paper you have placed underneath shows through. Try a brightly colored patterned paper for a fun look. Add a character or a floral design on the circle piece, or add a die cut shape in place of the circle.


Snowflake Embossed Cards And A ...

If the weather outside is frightful, stay inside, and make some winter paper projects. Armed with a few pads of Core'dinations cardstock and the Pazzles Embossing Tool, I made a trio of cards to celebrate the wintry weather. We've long been a fan of Core'dinations here at Pazzles. Distressing the cardstock adds a special element to a project. Using the embossing tool and then distressing it, takes it to a new level. When you use the embossing tool you have two unique looks depending on the side of the paper you choose to use. The embossing tool actually debosses the front of the paper leaving an indention as it moves through the design. Once your embossing is complete and you pull the paper off of the embossing mat, the backside of the paper is embossed and the image is raised. By sanding either of these sides you get a different look.


Ornament Shaped Card

I recently added the NEW pen tool to my collection of Pazzles tools. I have got to say that I love the flexibility of using lots of different sized pens of all shapes and sizes. So, I thought I would have a try at creating my own word circle sentiment. I used a simple Christmas Ornament file to create the base of my shaped card which I cut out of red cardstock and layered with patterned paper. (See Making Shaped Cards video tutorial).


Fall Days Woodgrain Card

I came across some great cutting files in the Pazzles Library and was inspired to create a fall card. I needed something quick and cute, so I decided to use the print and cut technique. To create this card I used the Fall Days Title, Wood Grain Overlay 4x5, and the Banner Tag cutting files. I used Crystal Effects to give the wood grain more detail, as well as Stickles glitter on the Fall Days Title.


Cut And Paste Sketches: Pocket ...

Today's sketch is a pocket gift card holder that doubles as a tag. Hang it on a gift bag, or directly on the Christmas tree as a Christmas morning surprise. Remove the snowflake from the cutting file, tie the tag around a bottle of wine, and it is a perfect hostess gift for a Thanksgiving invite. Have fun creating with this week's sketch and be sure and share your creations with us on Facebook or in the gallery albums!


Page 23 of 31« First...10...2122232425...30...Last »