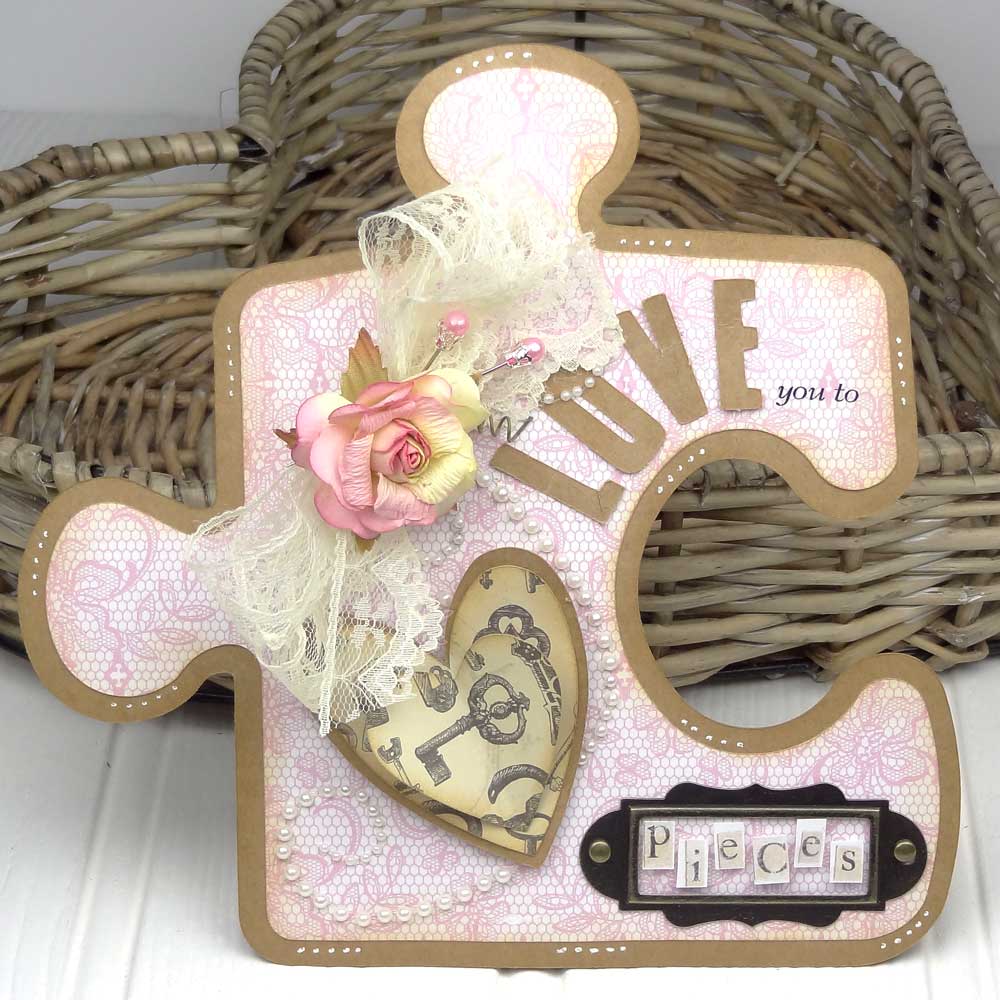
Puzzle Piece Valentine
This "Love you to pieces" puzzle card was made from a Pazzles Craft Room image with one simple modification!
This "Love you to pieces" puzzle card was made from a Pazzles Craft Room image with one simple modification!

This candy tube holder box is an easy adaptation of the Pencil Holder cutting file found in the Craft Room library. Just add circles to fit your tubes to the lid and add some hearts!
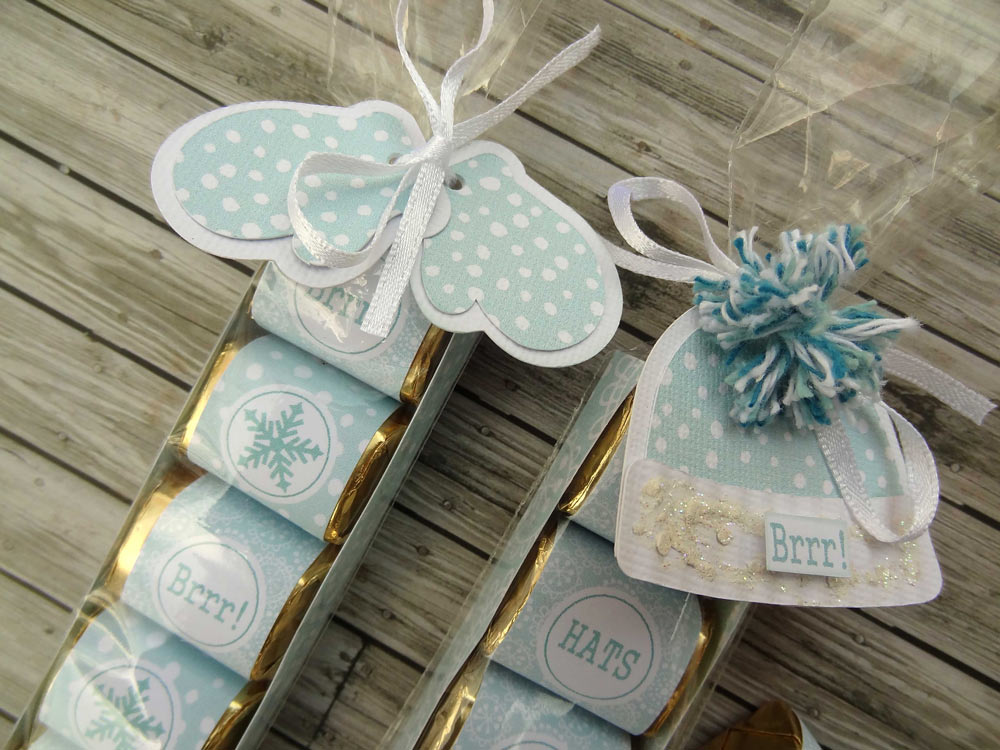
I see that Hershey Nugget Wrapper printables are really big in the USA, so I thought I would […]
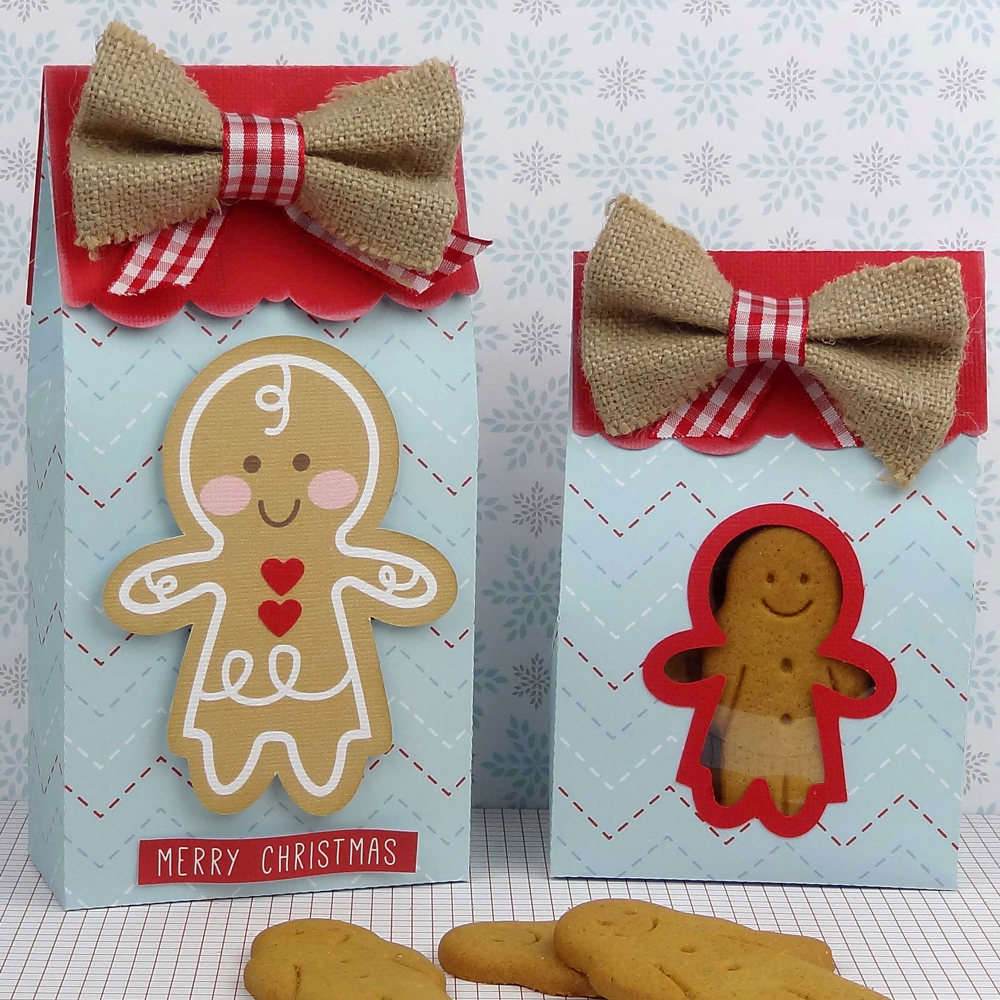
Hi, Joanna here, sharing my Gingerbread Christmas Gift Bags created using my Pazzles Inspiration. I just love making presents for my friends, and using files from the Pazzles Craft Room makes it so easy to make them unique. I created these 2 different sized bags using the Cereal Box found in the Pazzles Library. I have altered it slightly, using my software. Gift Bag 1, I made tall and Gift Bag 2, much shorter, but I love both sizes. I cut the bags out of good quality double sided patterned paper which gave a good weight to the bag. I added a folded flap to the tops of the bags in red cardstock, using one of the files included in the Lunch Sack Gift Bags Collection, and resized them to fit the two sizes of bags. I inked around the scallop edges which gave the look of snow on the roof of a gingerbread house!
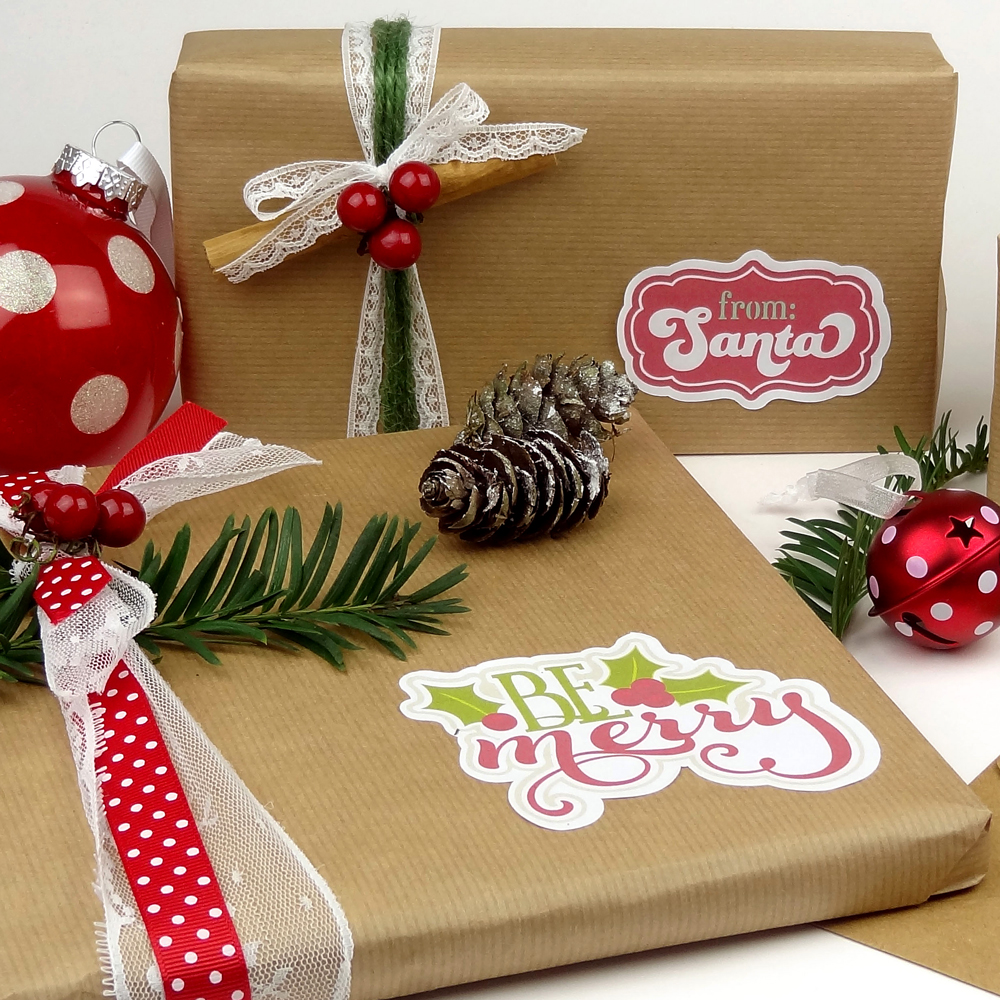
Joanna here with a quick Print and Cut project for you to make your own Christmas sticker labels. I decided to make several sheets of stickers to add as decoration to my brown paper wrapping using my Pazzles Inspiration Vue. I have used several of Miss Kate Cuttables files which I imported into my software. On the larger present, to the front left of the photo I used the Be Merry Title. You just need to spend a few moments layering up the elements. I constantly referred to the image in the Pazzles Craft Room, to help align everything up correctly. I also used a selection of the Christmas Tags in the Pazzles Library and followed the same process. I removed the ribbon holes on some of the designs as they were not required for stickers. Once the title and tags were looking how I wanted, I made an outline of the outer cutting line. As I was putting my stickers onto brown wrapping paper, I thought a white outline would make the stickers stand out on my presents.

Hi fellow Pazzlers, Joanna here with you to share two Christmas cards using my Pazzles Inspiration. One is a Print and Cut card that can be made in bulk and the other is using the same design but paper pieced. The second card is more time consuming to make, therefore you would possibly only wish to make these for your closest friends! I sized the cards exactly the same and used the rhinestone feature on both the base cards. Instead of using rhinestones which would be quite expensive I filled the rhinestone design with a red fill and red line colour, then Print and Cut my base card. Print & Cut Candy Cane Christmas Card I created my rectangle for the inside white card and made an outline for the red card. Check out the Video Tutorial on Creating an Outline, which will help you with this process. I imported the Candy Cane cutting file into my software, which I found in the Pazzles Library.
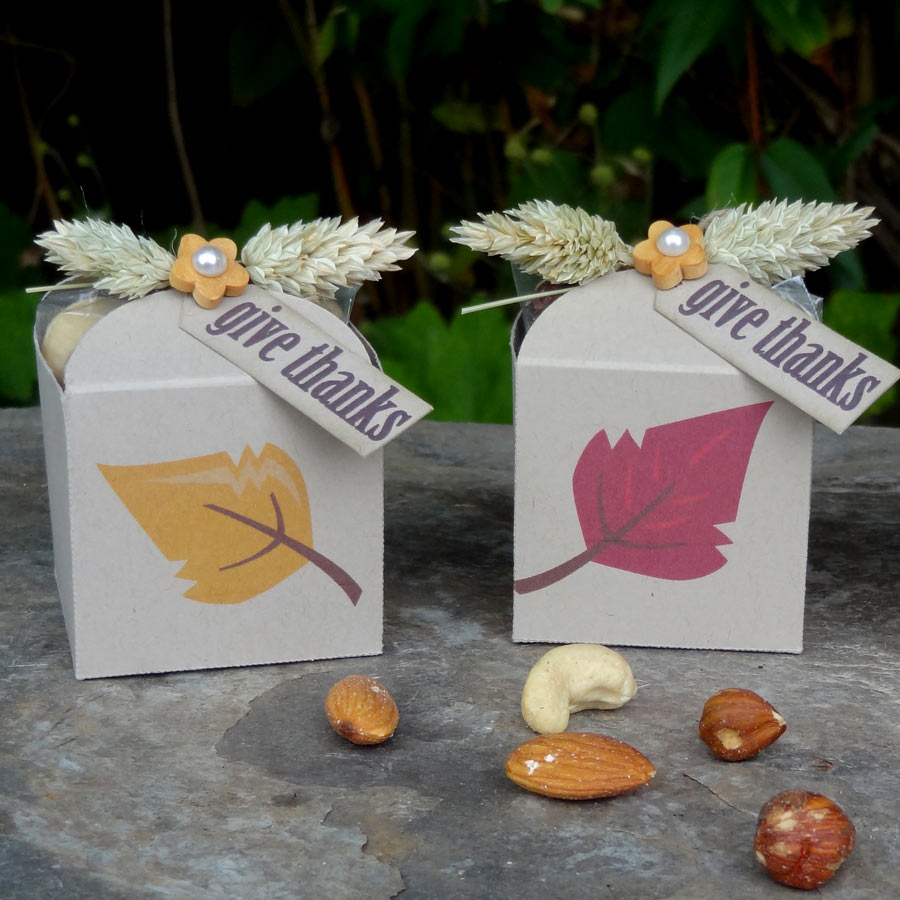
Here in the UK, the leaves on the trees are changing color and it is a strong reminder that Autumn is here. I thought I would create some Thanksgiving Favor Boxes for my friends from a selection of cutting files found in the Pazzles Library. I used the Rounded Box Top file and decided to place some printed leaves on the front of the boxes. I used the Fall Leaves by Miss Kate Cuttables which includes 3 leaves in the set. I imported the Rounded Box Top onto my visual mat and placed one of the leaves in the center of the front panel. I then used my InVue software to print the leaf onto my cardstock. Once printed I placed my cardstock onto my Print and Cut mat and cut the box out. I repeated this two more times switching over the leaves.
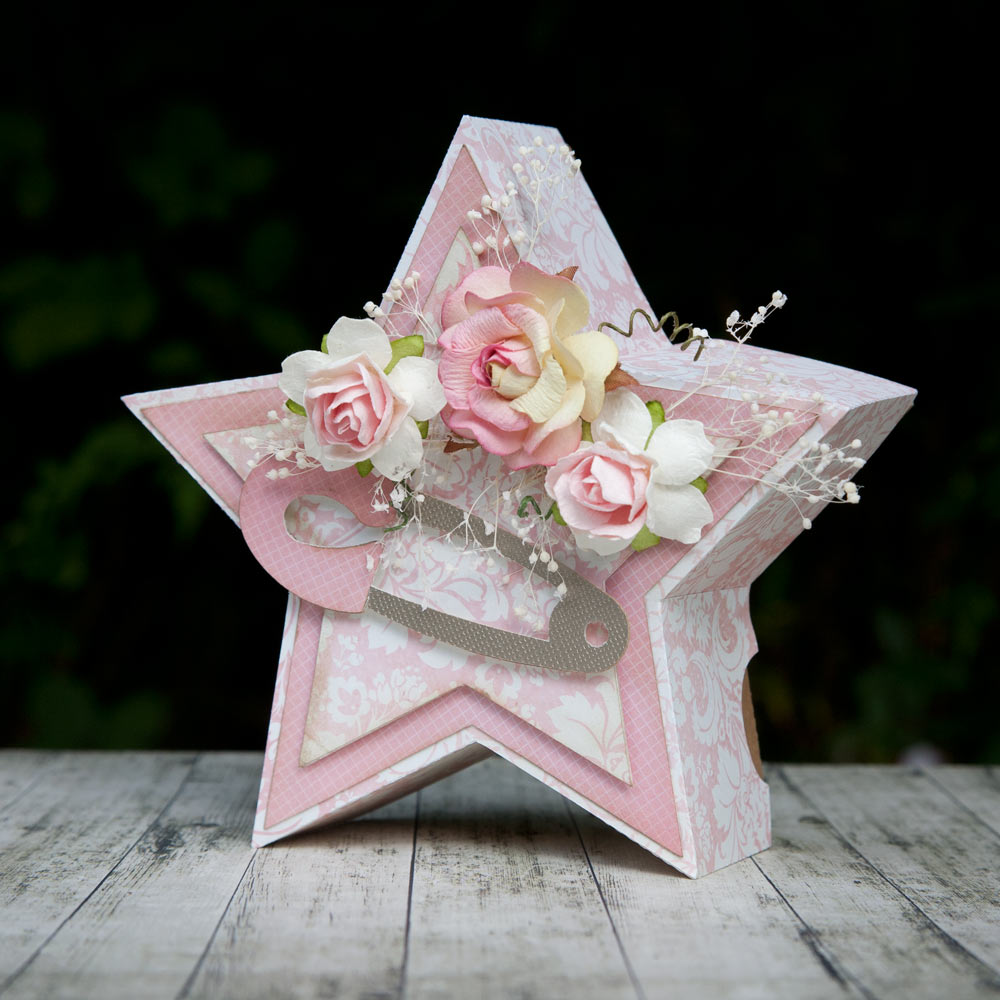
Joanna here again, with a Star Shaped Gift Box. For those of you familiar with my projects you will know that I love making Print and Cut projects as well as 3D items. There are several colleagues at work who are expecting babies and these days they seemed to be so well prepared before the birth, and let everyone know the sex of the baby. Selfishly, this helps enormously when making new born gifts. The Star Shaped Gift Box is a simple cutting file, but I love the depth of the box and how the base of the box is cut out of one piece of paper. I cut the base of my box using Kraft cardstock to give it more strength. This enabled me to indulge in my pretty pink papers for the top of the box.
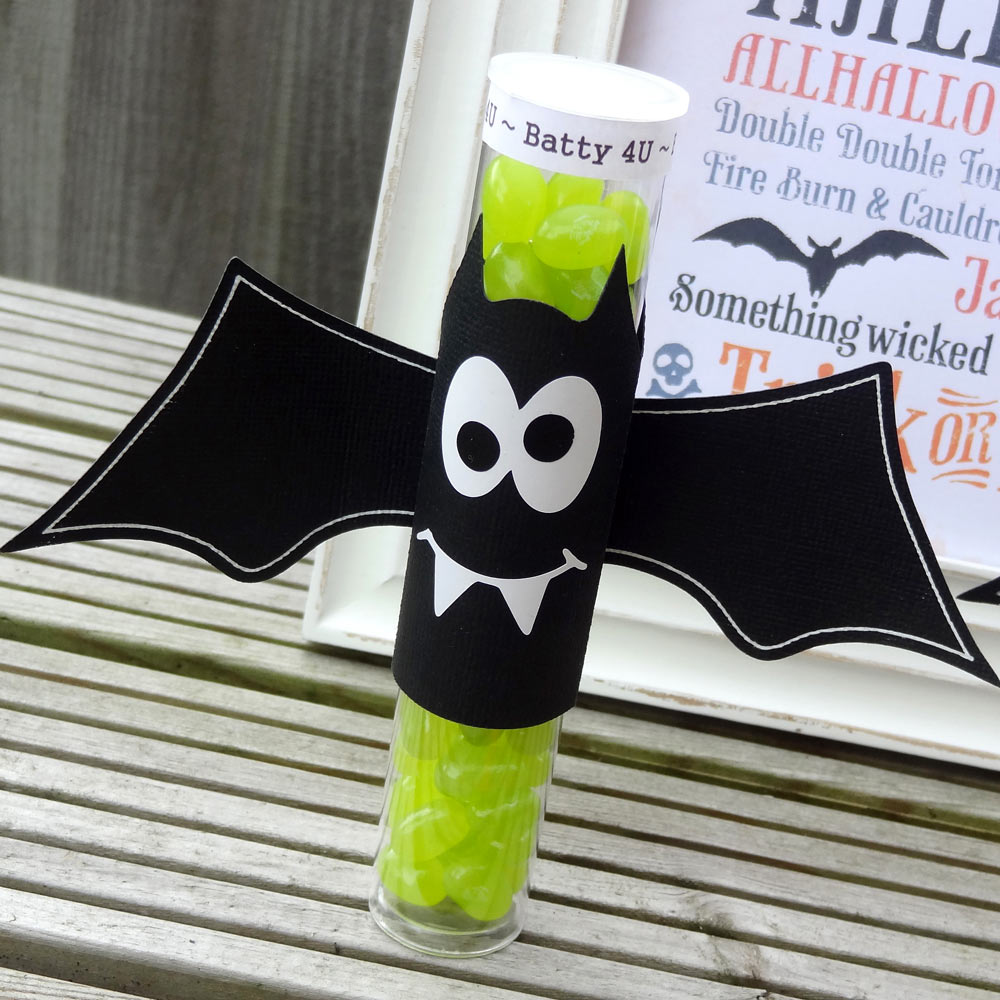
Joanna here today, with a Halloween themed blog post. It’s that time of the year when we can go Batty at Halloween. It is such fun to make all those treat favors for the kids…….you can just let your imagination run! I have used an existing file in the Craft Room Library, using the Pillow Box Bat. I decided to tweak the file so that I could make a snug wrap around my plastic food safe tubes. I have included the file for you, so all the hard work has been done. If you use larger or smaller tubes you may need to resize the wrap.
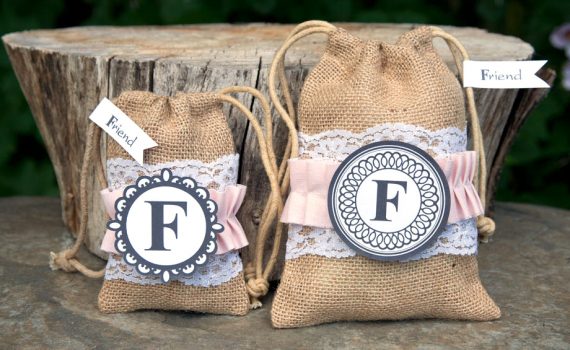
Create beautiful monogramed tags and place over burlap bags for an elegant country gift. Perfect for wedding favors!

Hi fellow crafters, Joanna here today with my Teacher Appreciation gift bag. I work in a school, as a Teaching Assistant, and I know that teachers love receiving little gifts of appreciation from their students. They don’t need to be expensive, but handmade gifts which include chocolate are always appreciated!!!! Firstly, I created my bag using Kraft Card and the box cutting file from the Teacher's Chair Valentine Project. I then used the Paper Clipboard cutting file which I resized to fit onto the front and back of my box. I layered the School Word Set Title cutting file to the front of the lined paper from the Paper Clipboard file. I then Print and Cut the lined paper with the colored title.
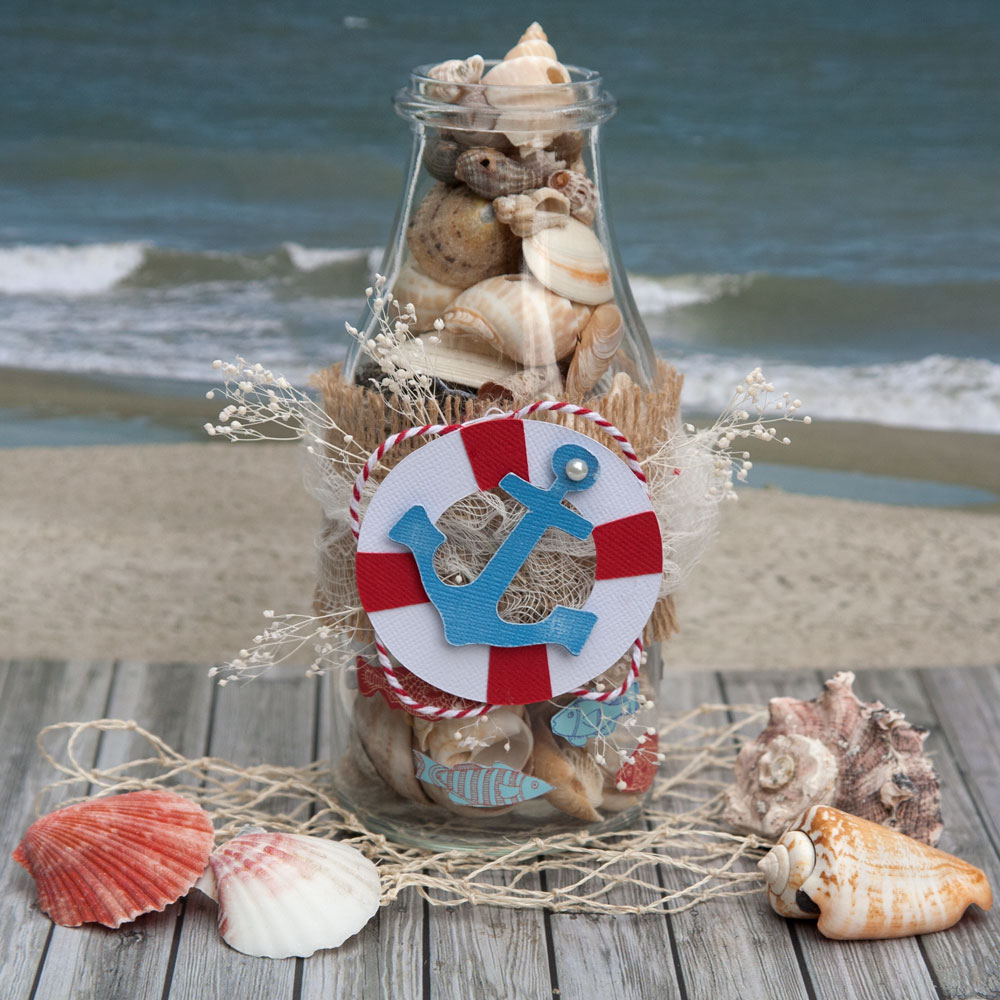
Hi fellow Pazzlers, Joanna here sharing my Home Décor item for my DT project this month. I love how I can use just one cutting file from the Library, as an embellishment, accompanied with other materials from my stash and turn it into a treasured item. During the summer holidays I take the kids on lots of day visits to the beach. They love walking along the sea shore collecting the prettiest shells and on our return we have buckets of them! Unfortunately, they end up being stored in the garage where no one can see them, so I thought this year it would be nice to display them in a glass jar. I used a glass jar that I purchased recently, no preparation needed! I secured and wrapped some burlap material around the glass jar and overlaid it with some white Voile. I cut out some fishes from some patterned paper I bought last year and adhered them using Micro Dots around the base of the jar.
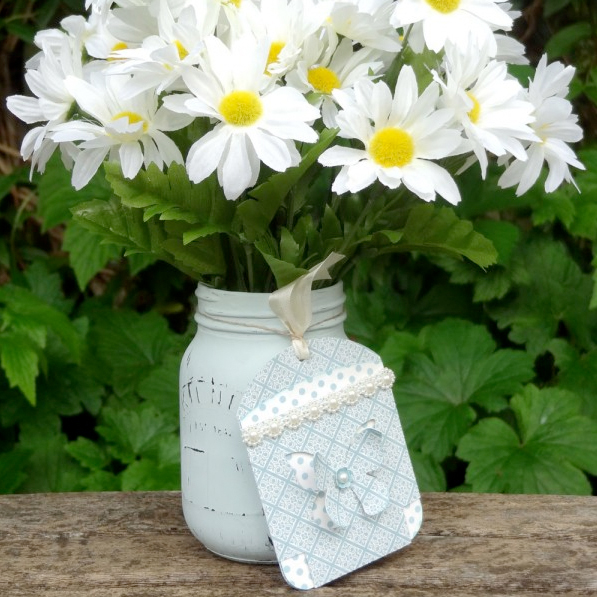
I love giving handmade gifts to my friends and I always think a handmade tag or card just makes the gift complete. For my Design Team project I decided to have a go at painting a jam jar, popular brand names are Mason or Kilner. They can be bought cheaply from Home Décor stores in the USA and here in the UK. I looked up a few tutorials on the internet, on how to decorate my glass jar to accompany my flowers and tag.
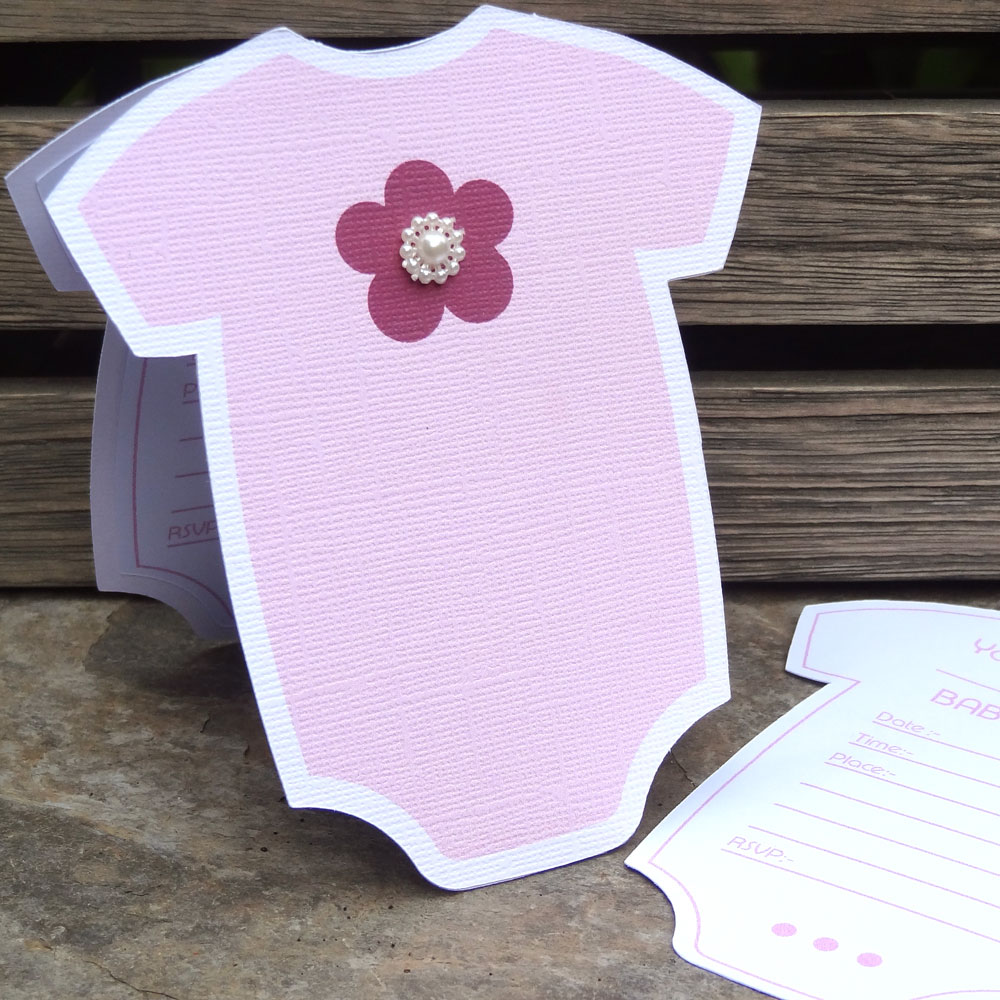
Hello fellow crafters, Joanna here today highlighting some Baby Shower printables using Print and Cut with your Pazzles. I thought I would share with you how versatile using the Print and Cut technique with your Pazzles can be to create even more creativity. You could of course paper piece some of the elements such as the onesie with your favorite papers. However, when sending out invitations in bulk it is easier and quicker to Print and Cut them. There is an excellent video tutorial How To Use Cutting Files for Print and Cut which will give you step by step instructions.
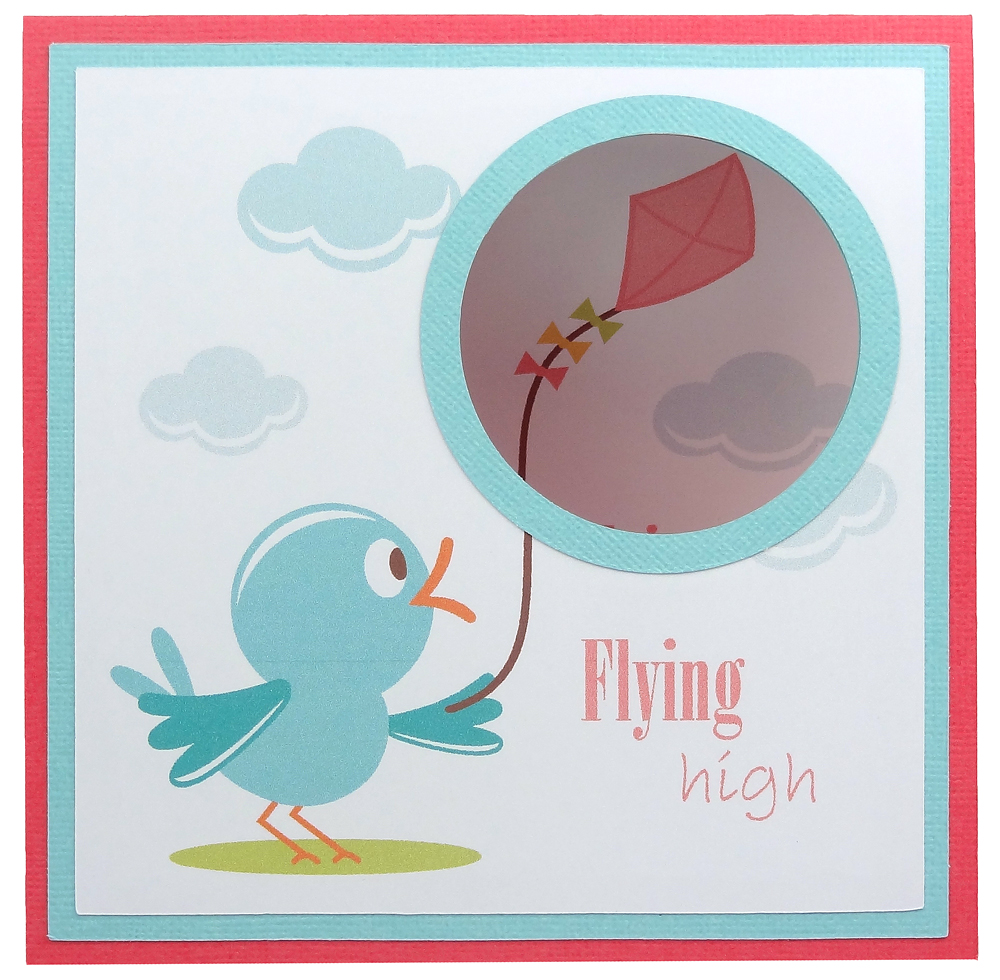
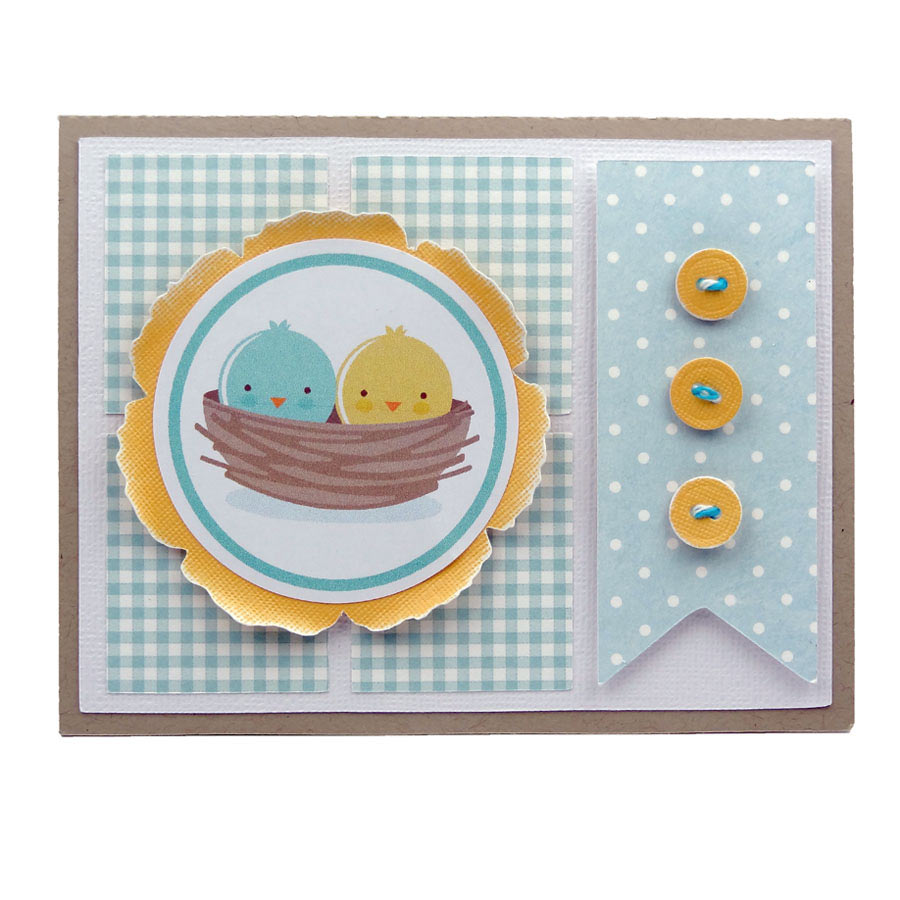
Hello ladies, today I am sharing an aperture/window card. These are incredibly easy to make and using your Pazzles you can create perfect alignment of the aperture when layered onto a card. I drew my 5” x 5” layer using my software. I aligned my Bird Flying Kite file and arranged it onto my 5” x 5” square layer. I drew a circle aperture in my Pazzles software and arranged it over my kite. I print & cut my design having watched the video tutorial Using Cutting Files for Print and Cut, which explains how to use registration boxes.
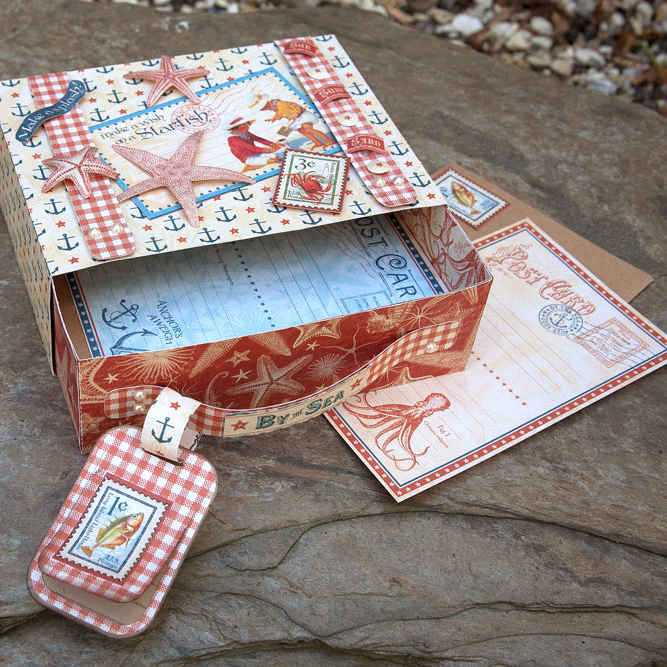
So, the summer holidays are almost upon us and as a family we are thinking about going away for a few days to the beach. With the advance in phone technology the art of sending postcards to friends and family seems to be diminishing. However, I think it is much more fun and personal to send a written postcard to loved ones highlighting the family summer activities. For my project I have used the Suitcase Box found in the Craft Room Library. I have used papers by Graphic 45 from By the Sea paper collection which includes a double-sided sheet of Seaside themed postcards. I decided to enlarge my suitcase so that I could place my postcards and Kraft card envelopes inside. As a Craft Room member I found the video tutorial on How to Resize a Box extremely helpful for this project.
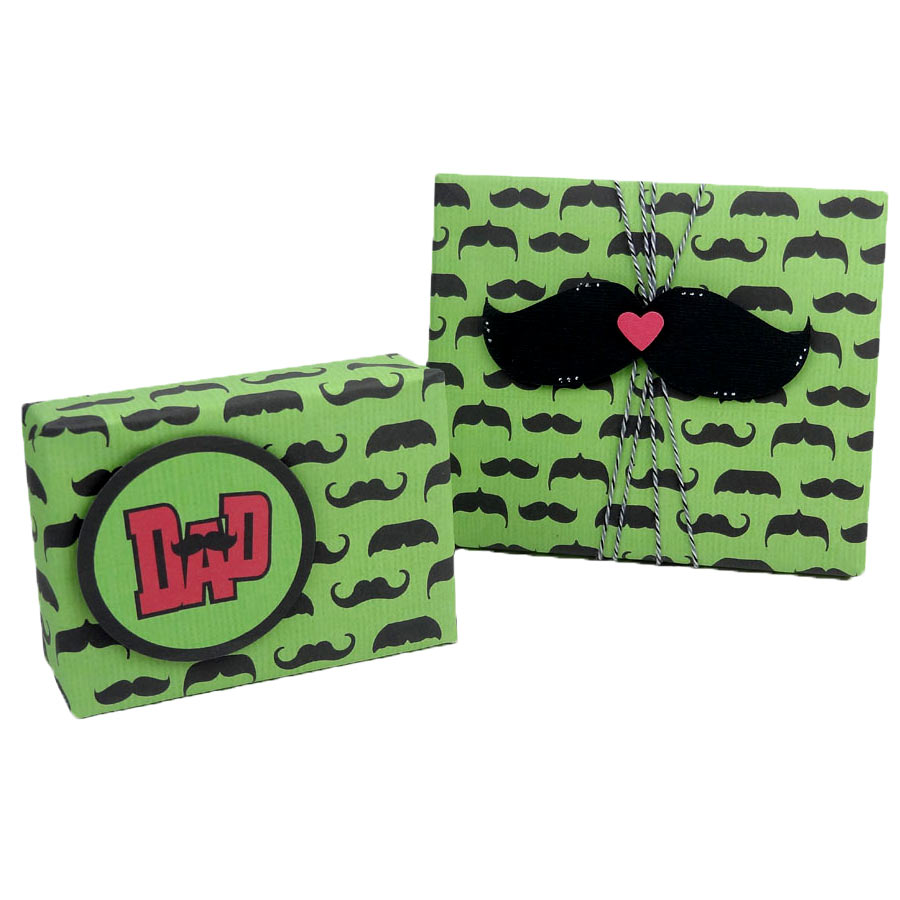
Designing your own digital papers using your software is incredible easy! Make a great wrapping paper with matching card with mustaches or any designs you want!
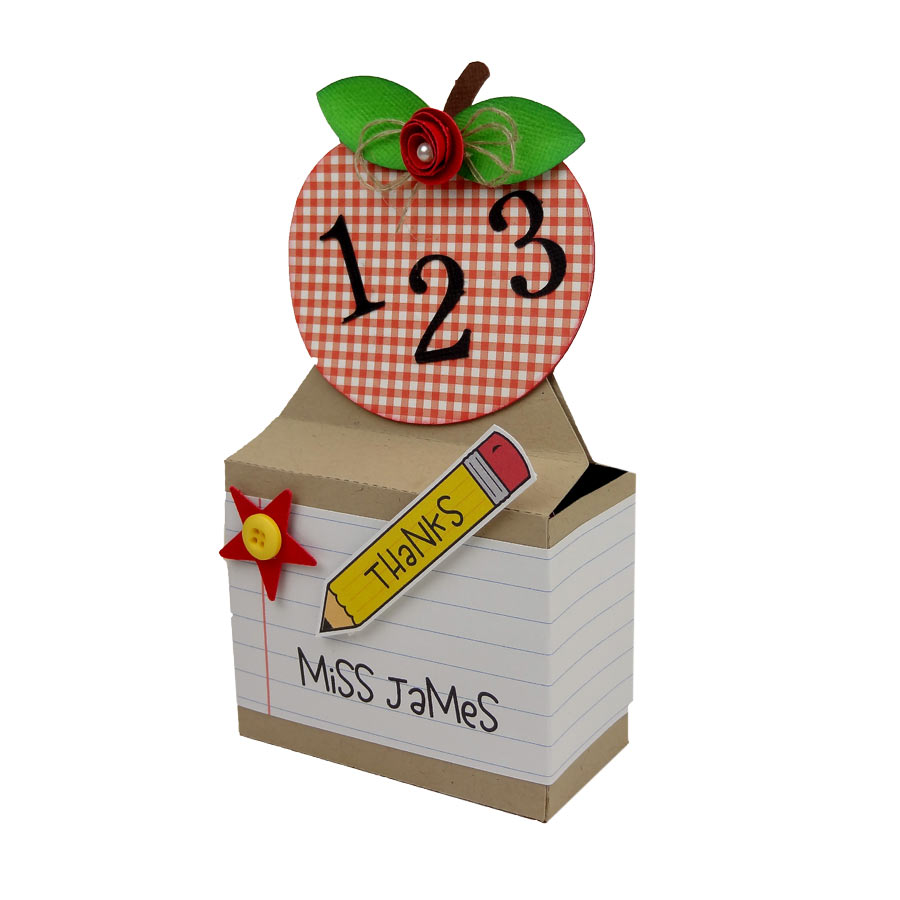
Here, in the UK we have several more weeks till the end of the school year! I thought I would make a cute gift box for my son’s teacher in appreciation for schooling my son this year. I work in a school myself and know that the teachers love to receive unique, homemade gifts. I have used the Tennis Box from the Sport Gift Boxes Collection. In addition, I selected the apple from the Apple Tree cutting file also found in the Craft Room Library. I resized the apple to sit on top of the circular tab and cut it out of Kraft card which I covered with red gingham paper. I added a twirled flower between the leaves of the apple using red cardstock and inked up the edges of the leaves and apple. I then added some numbers using fonts in my Pazzles software and cut them out of black cardstock.
Recently, Pazzles has been providing us with some lovely sketches which include cutting files ready for download available in the Pazzles Craft Room. If you have not tried any of the Cut And Paste Sketches so far, I urge you to have a go. Once you have downloaded the sketch cutting file all you need to do is import the sketch cutting file into your Pazzles software. For my project I used the Circle Spotlight Card sketch. Now the difficult bit…….decisions! Choose your coordinating paper and cardstock and cut according to the design. You don’t even need to stick to the design and you can use all, some, or one element(s) of the design in your project.
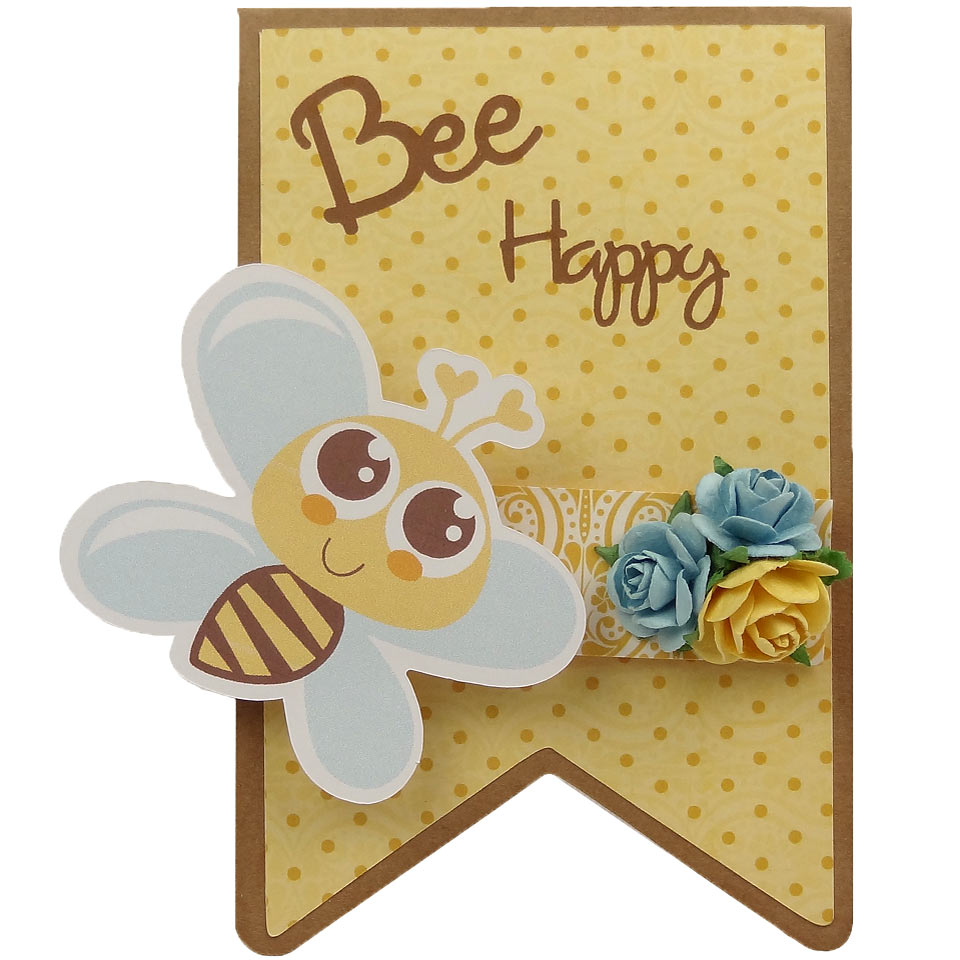
It is that time of the year when the birds are singing, the sun is shining and the flowers are blooming……..so we should all try and “Bee Happy”. I made my shaped card using one of the elements from the Banner Box cutting file in the Pazzles Library. As you know I love making shaped cards and if you follow the Video Tutorial called Making Shaped Cards, you also will find them easy and fun to make.
More recently, I have found that I am looking at packaging and thinking how I can use it for my projects. At Christmas we received a lovely box of truffles and I immediately thought how I could decorate it, when all the chocolates had been eaten. I measured the dimensions of the box and laid my patterned paper onto my cutting mat. I cut the pieces for the wrap around the box, the inside and top of the lid. It was so easy using the Transformation Menu in my Pazzles software to create the exact measurements for my paper piecing. The video tutorial in the Pazzles Craft Room called How to Resize Images helps you understand the capabilities of the Transformation Menu.
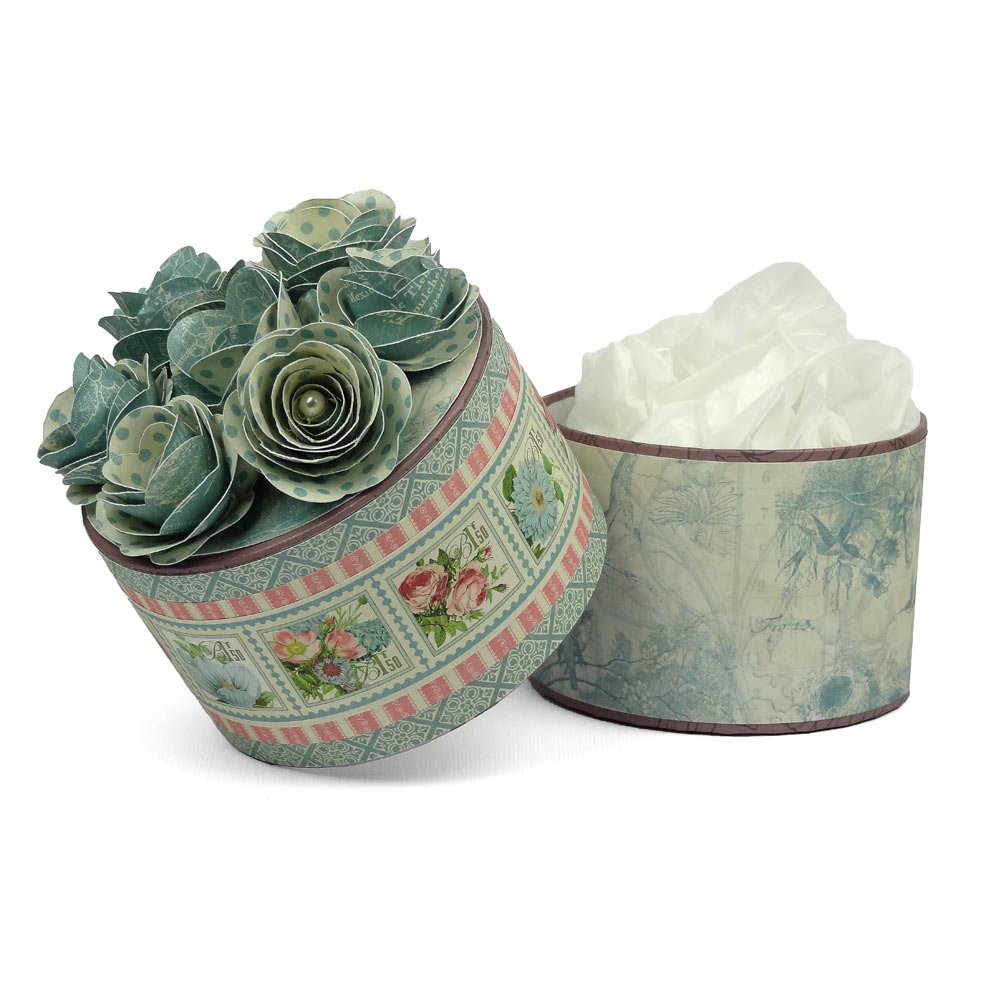
I love springtime, as there are such pretty flowers to admire bursting into bloom. Also, there are some beautiful cutting files in the Craft Room Library that can be teamed up with pretty floral papers to create a lovely 3D project. Today I have used the Banner Box cutting file in the Pazzles Library for my gift box. I have cut this out using pretty floral paper. Remember you can resize the box smaller or larger using your Pazzles software. I also resized the banner overlay to make a smaller banner in coordinating paper as a background for my flower. I was browsing through the Tips and Tricks section in the Craft Room and came across a blog post, Dimensional Flowers. I watched the accompanying video tutorial on how to create 3D Flowers which includes several cutting files for you to use.
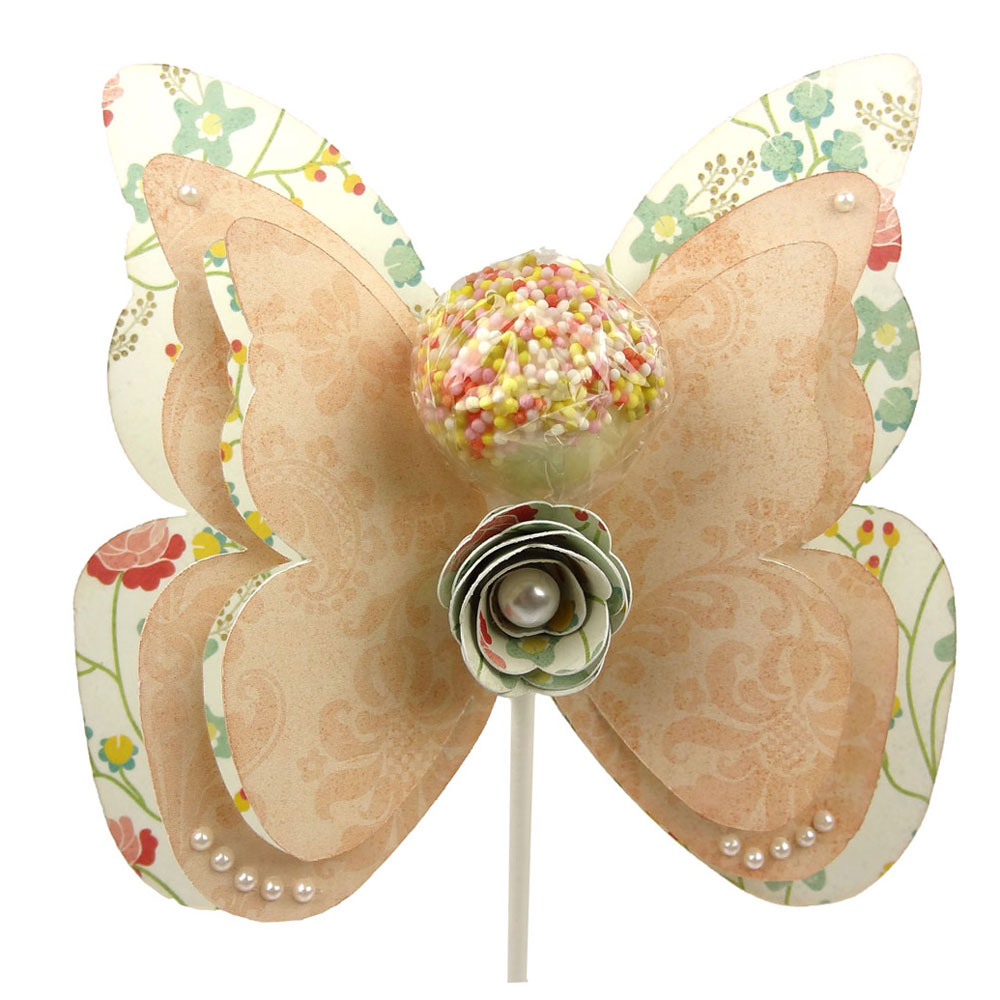
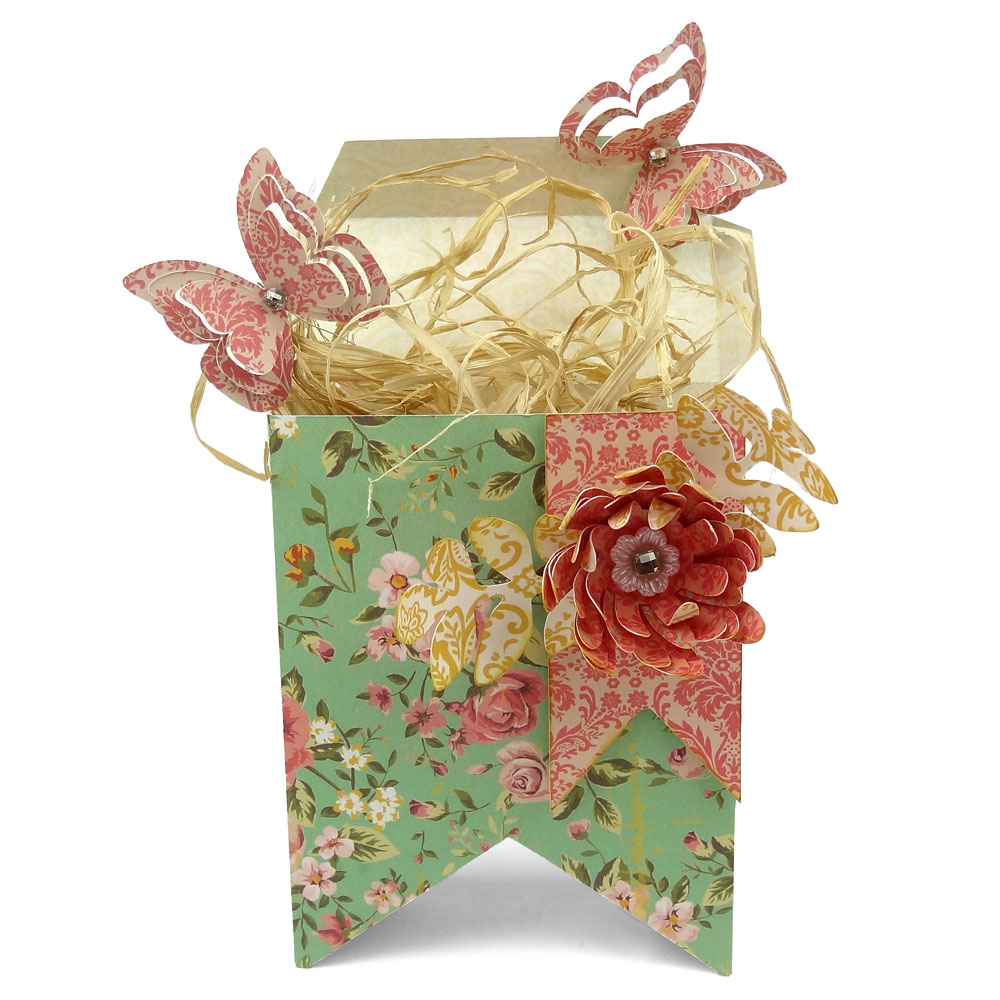
Today I have made a quick 15 minute project, a Butterfly Lollipop Holder using my Pazzles Inspiration. I love butterflies and when I saw this 3-D Butterfly in the Craft Room Library, I just knew I would be using it for one of my projects. I imported the file into my Pazzles software and deselected some of the layers, as I wanted to use a combination of different patterned papers. I duplicated the butterfly and set it to one side. Taking the first imported butterfly I deleted all the layers except the largest base layer.
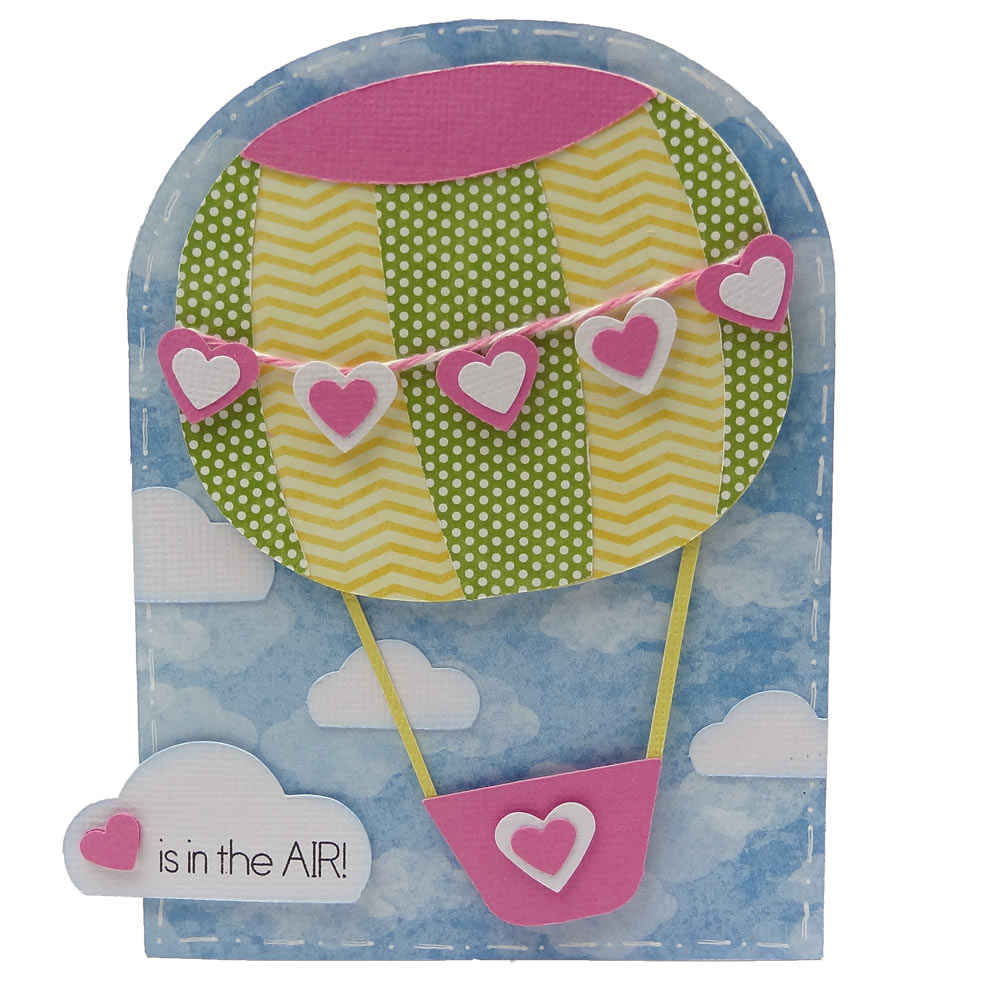
There are so many wonderful cutting files in the Craft Room Library that I have come to the conclusion that there are simply not enough hours in the day to play. But that doesn’t stop me trying! I love the themed cutting collections and this is where I found the adorable Hot Air Balloon shape for my Valentine card. Once I imported the Hot Air Balloon cutting file from the On the Move Collection, I began to choose my papers. Sometimes this is the hardest part of a project! I decided to replace the pennants with punched hearts, so I removed them from my design. I then duplicated the image and moved it to the side of my visual mat and I rotated the balloon slightly to give more interest to the card. I welded the elements and then made an outline. I drew a rectangle box below and welded together the top half of the balloon and the rectangle to create my shaped card. I duplicated, mirrored and welded my shape to create my folded base card. (See Making Shaped Cards video tutorial). I cut out and adhered my cloud patterned paper to my base card. I then cut out some clouds out of white cardstock using the Heart Cloud cutting file and inked the edges in blue. I assembled all the layers of my balloon to the card.