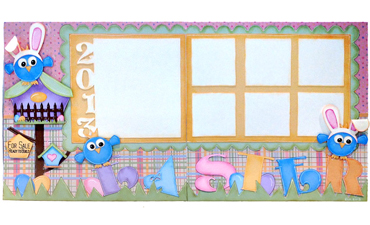
Easter Bird Scrapbook Layout
This fun Easter layout features bunny ear-wearing birds. This layout actually goes together very quickly with room for 7 pictures!
This fun Easter layout features bunny ear-wearing birds. This layout actually goes together very quickly with room for 7 pictures!
I love how the Inspiration Studio Software gives me the ability to use existing images and alter them to fit my needs. I can cut, rotate, resize and add to the design and come up with something entirely new. Sometimes I just play around to see what emerges! Recently, on our Pazzles Cruise, Klo showed a trick I had never seen before. Actually, I had stumbled upon it but never knew it had any real use. I bet most of you have done the same thing too. :)
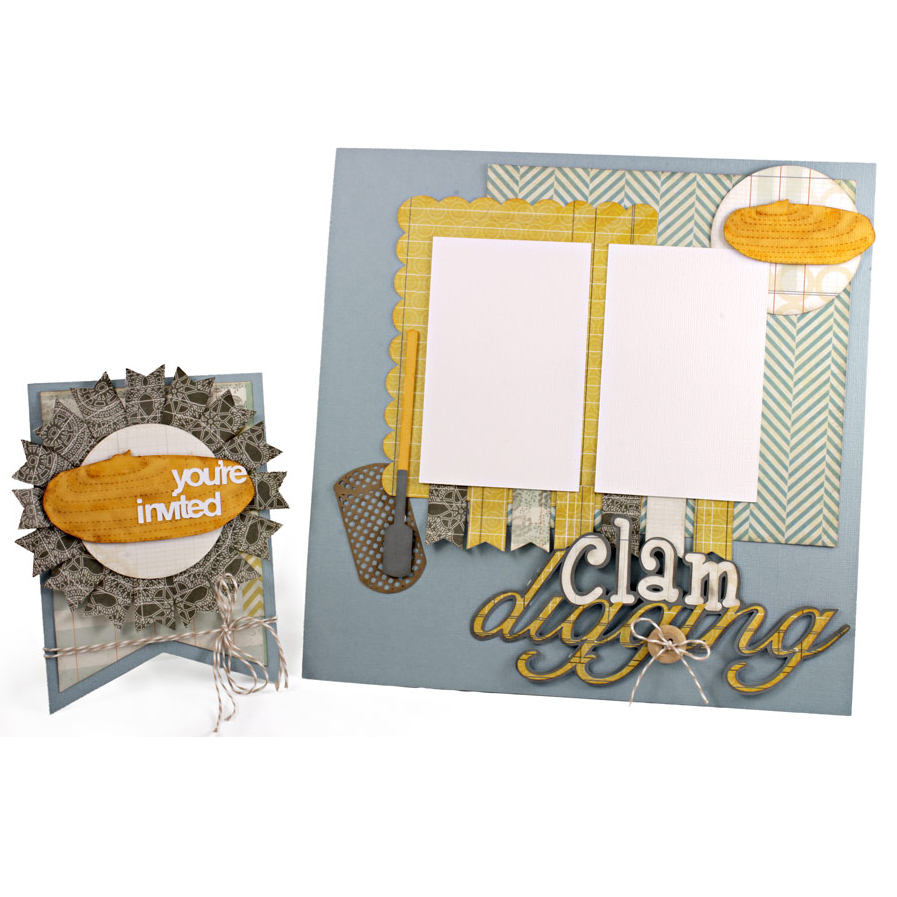
Introducing our newest collection, Clam Dig Cutting Collection. This fun collection, designed by Klo, was inspired by requests from our Pacific Northwest customers. The collection includes 10 images including three titles, a razor clam, clam boots and headlamp, and several types of clam digging tools.
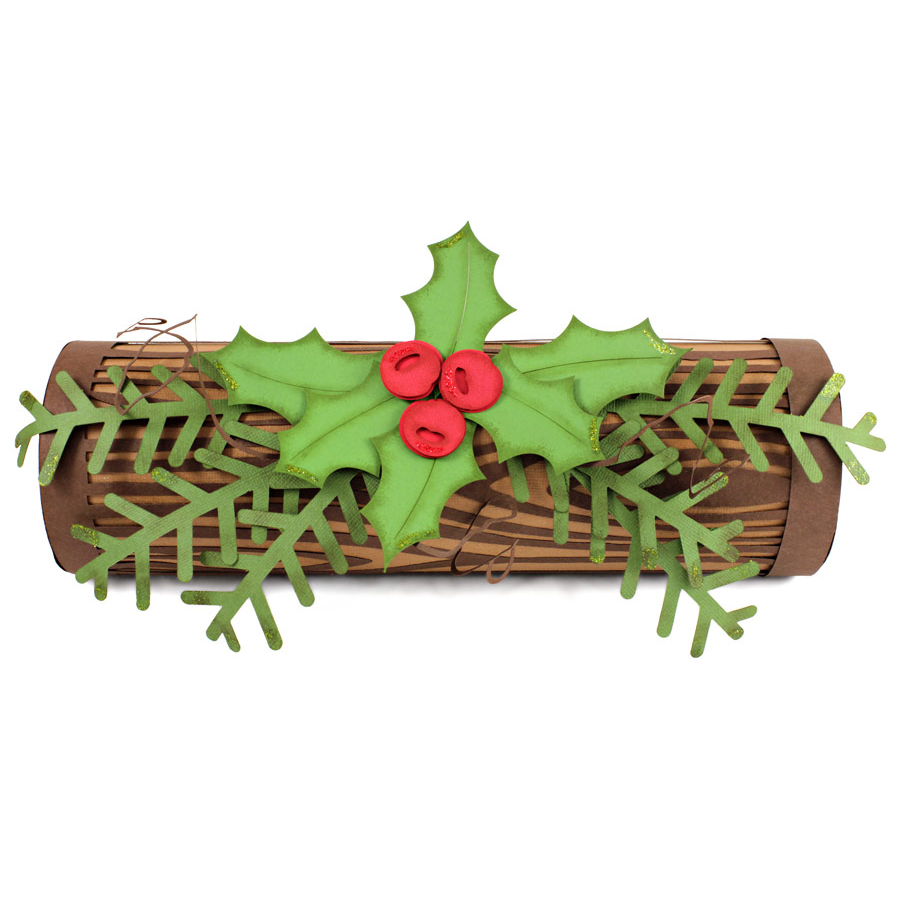
In many parts of the world we are experiencing the short days and cold of winter. For me, this means snuggling up by a warm fire with a good book or old movie. If asked what scents define winter I would definitely put pine, wood and cinnamon at the top of the list! Maybe that is why woodgrain is a popular theme in the paper arts community.

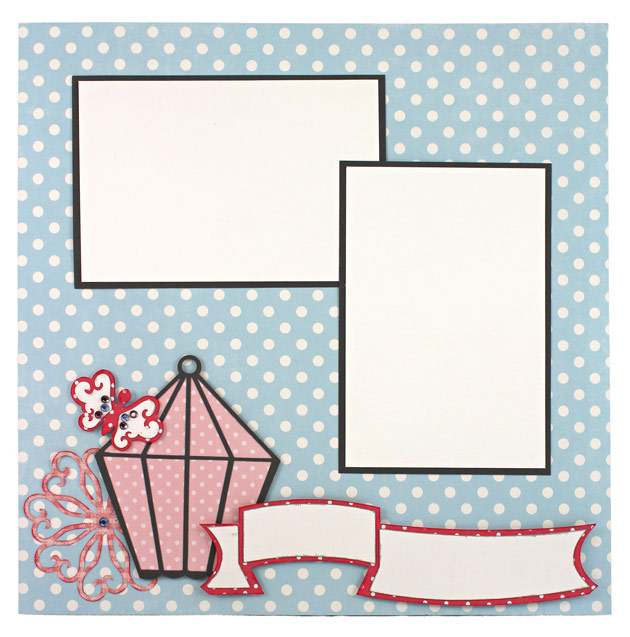
We saw that quite a few of you voted for scrapbook pages when we asked what images you wanted to see in the Craft Room Library. We will happily create some complete scrapbook page cutting files in the future, but for today we wanted to showcase a layout made by pulling some existing files from the Library!

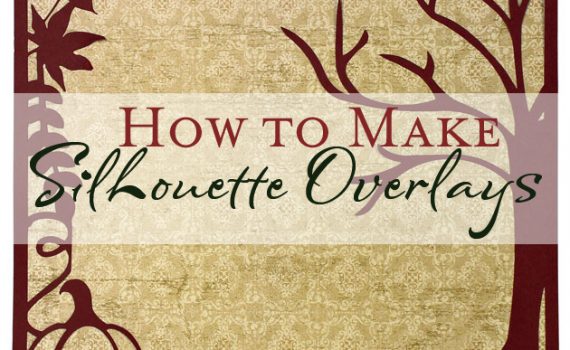
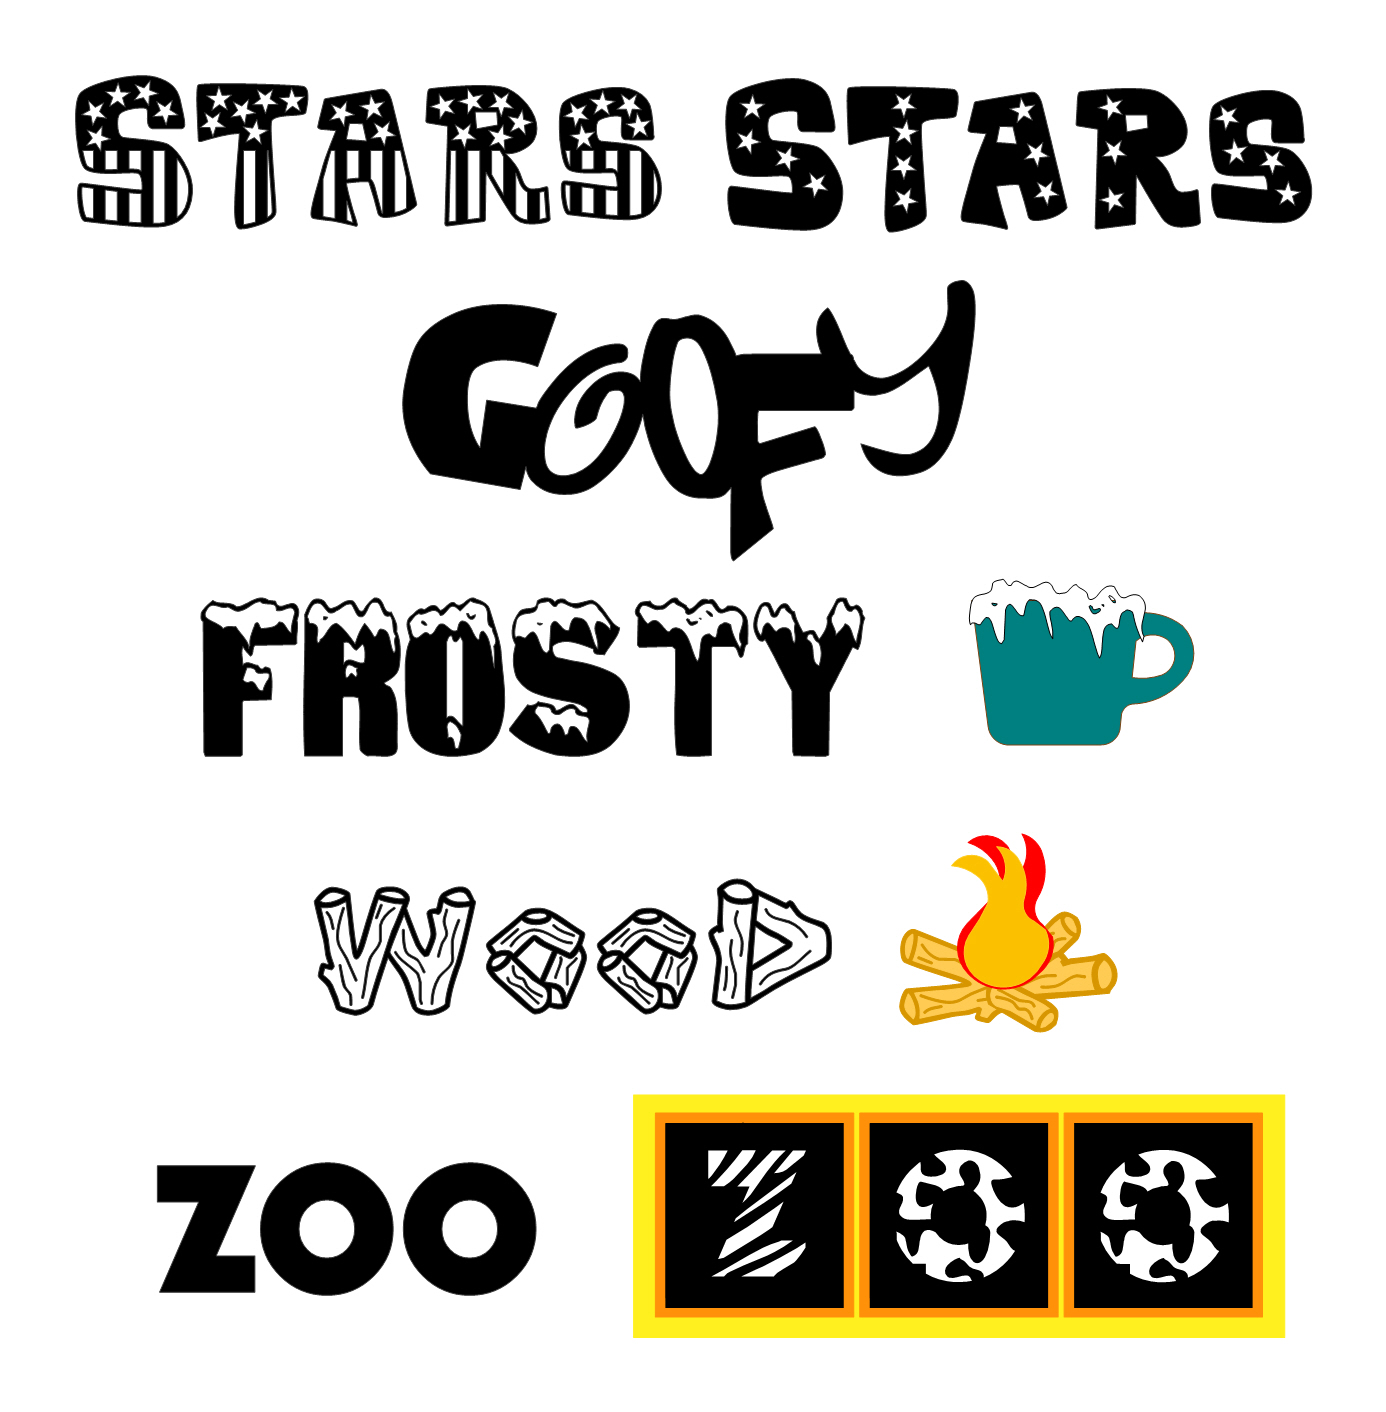
Learn how to make beautiful silhouette overlays for any occasion using images from the Craft Room library.
Plastic spray stencils are everywhere. They come in basic shapes and trendy patterns, like chevrons and hexagons. And as cool and trendy as some of them are, I always put them back on the shelf, thinking, "why buy it, when I can cut it with my Pazzles Inspiration?" Time to put that idea to work!
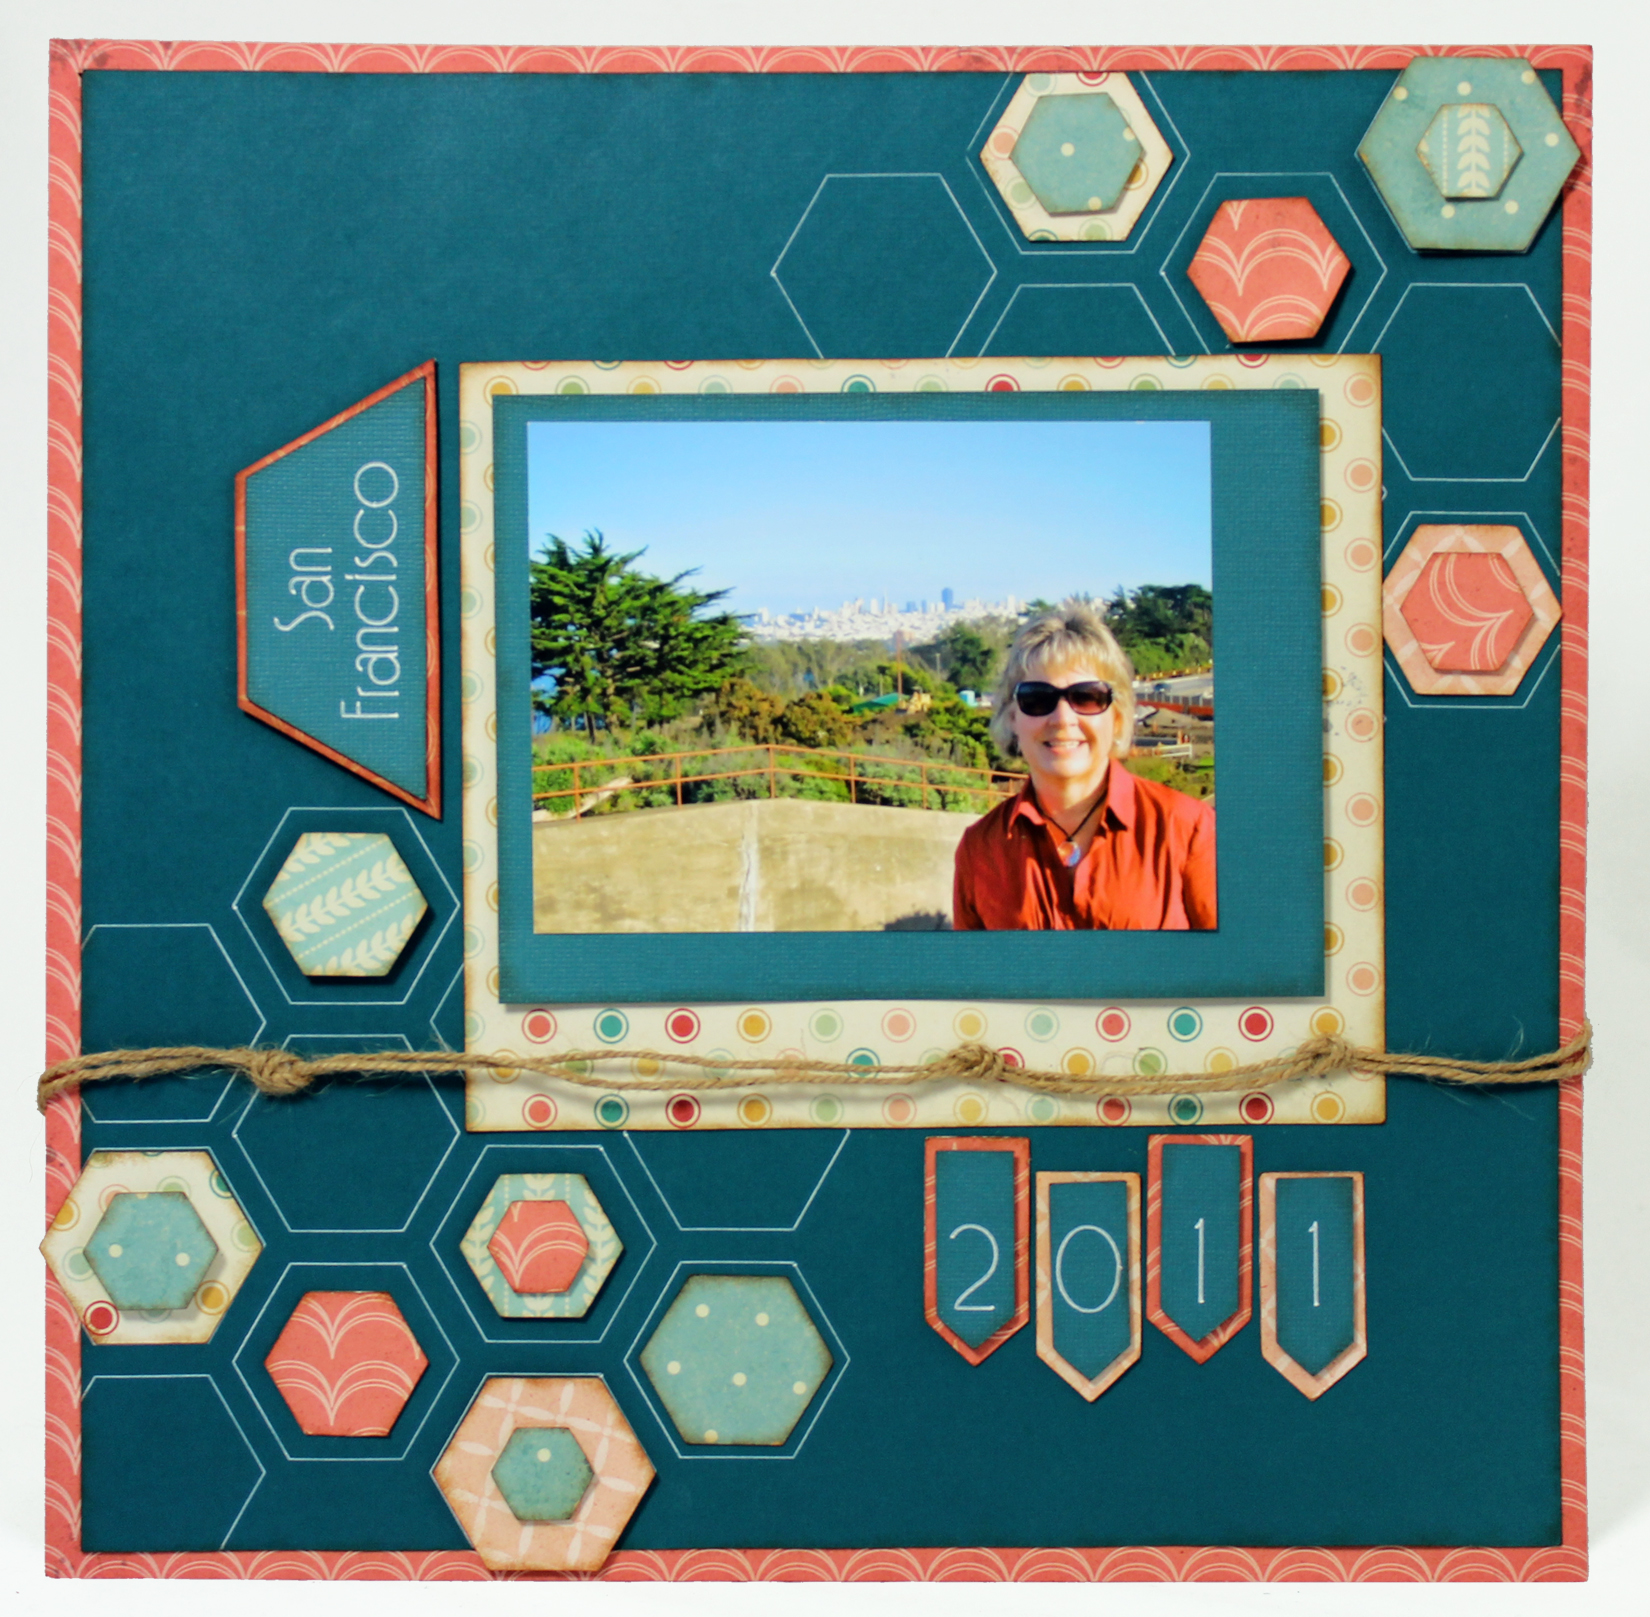
Recently, I have seen a lot of geometric shapes in scrapbook designs including the hexagon. I have always liked the hexagon shape. Perhaps it appeals to me because it is so symmetrical. I decided I wanted to make a page that incorporated hexagons and my favorite tool: the Pen Tool.
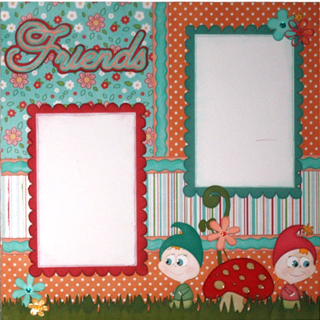
Here in the U.S.A. spring is definitely in the air! As we all start spending more time outside with our friends (and taking pictures of course!) this layout is the perfect addition to those photos you take on a fun day spent with friends.
If you have been using your Inspiration for a while, I want you to reminisce with me for a bit. Think back to those first few weeks after receiving your Inspiration. If you were like most of us, you approached learning the software with a great deal of excitement plus just a little bit of trepidation. First, you tried typing a word and changing the font; then you tried some of the pre-designed images from the image gallery. When you got comfortable with that, you decided to venture into some more daring applications. For instance, remember trying to figure out how to rotate a shape?

Are you like me? Do you hate to throw away even the smallest piece of paper? I just can't bear to toss those nice strips of paper left over from projects. They are too small to cut anything out of but still...they might be useful! Of course, I can use them as borders and under edges of frames but I seem to manage to accumulate more than I can use. In today's Tricky Tuesday I am going to show you how a quilt project inspired me to find a way to use those strips of paper.
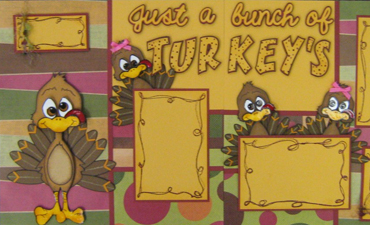
There is just something about the personality of these turkeys as they come to life on this 2-page scrapbook layout that will have you laughing out loud as you make it!
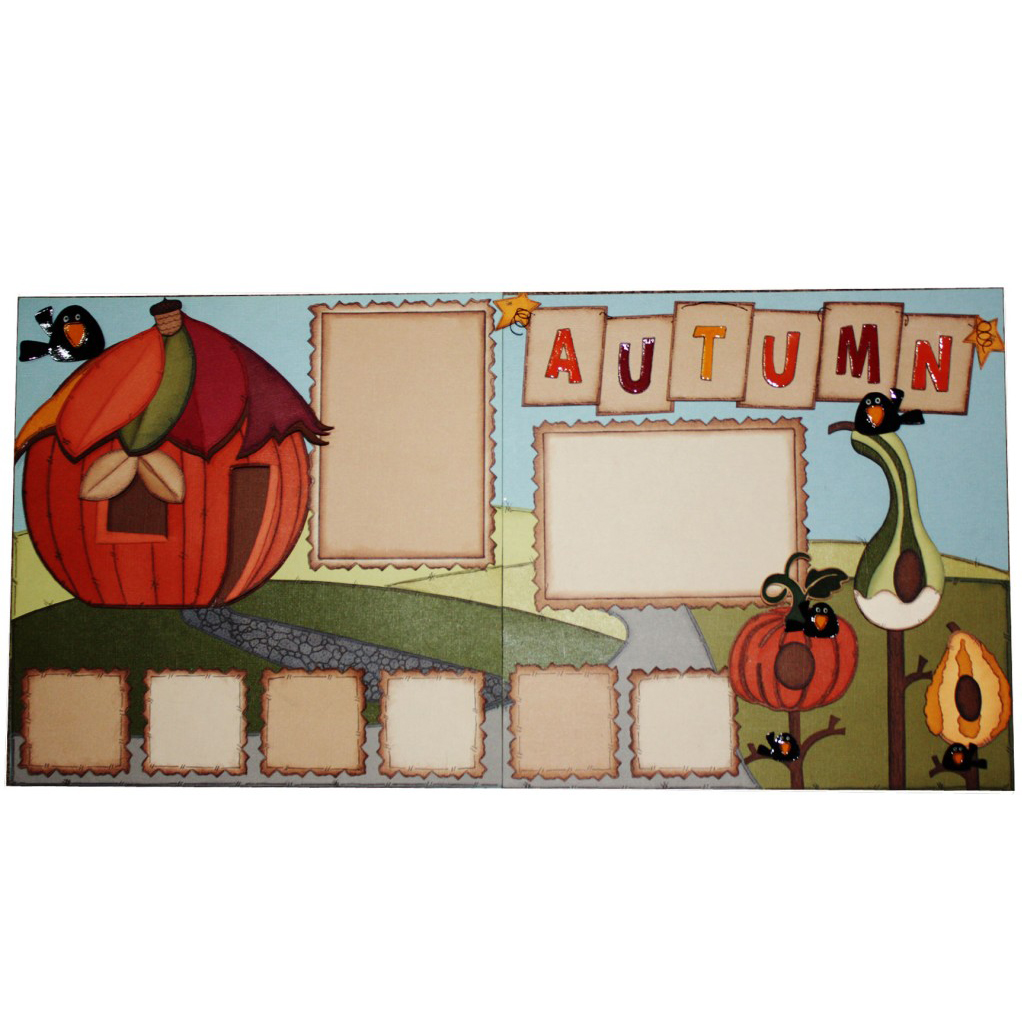
I absolutely LOVE Autumn. I love the colors, I love that it is getting cooler, I love that it means Winter is just around the corner for me and that I will be able to 'hole' up and do some crafting. I can take NO CREDIT for this layout, it was completely done by my best friend, Stephanie aka Simply Steph (whom many of you have met at different conventions around the country). When I saw it, I knew it had to be a project, because it is so beautiful. So I asked Stephanie if I could use it for my project this month, and to my joy, she said YES. I hope you enjoy and love it as much as I do.
Sometimes, when I am focused on scrapbook pages, I forget about design elements such as pop ups and windows with flaps. I tend to think that when a page is slipped inside of a sheet protector all of the fun movement is trapped inside. I realize that that is not always true. I have resolved to cast aside my tunnel vision and see what ways I can use these dimensional elements in my projects.
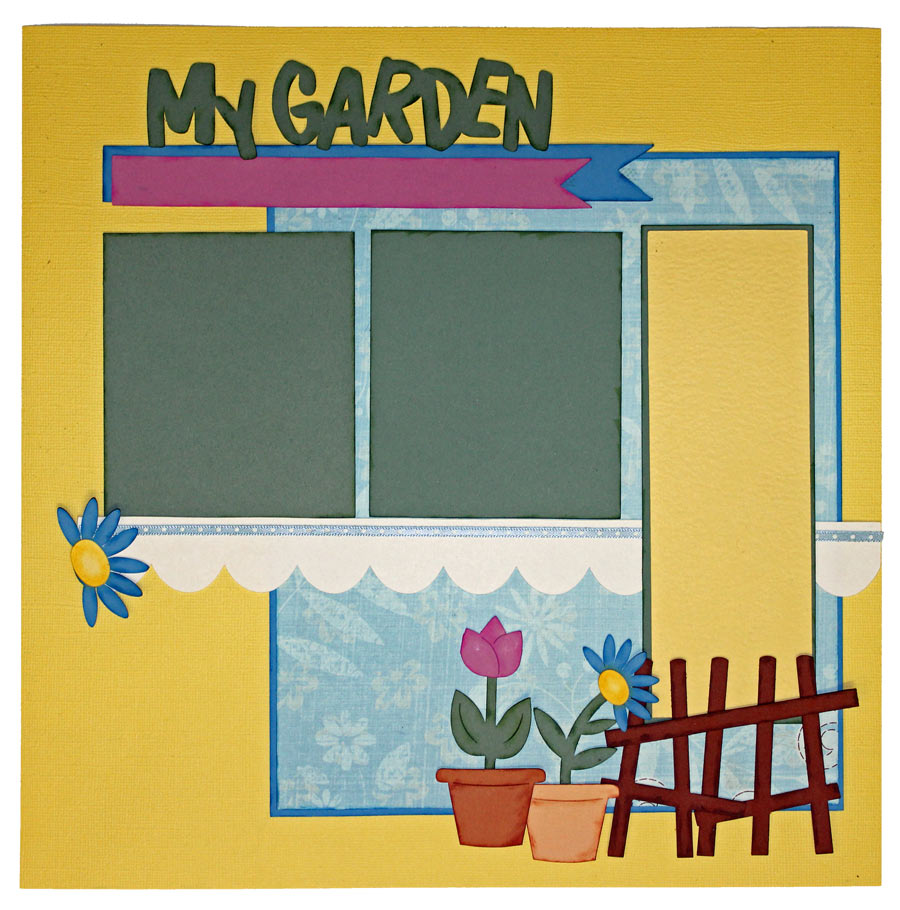
Nana's Garden A couple of months ago I taught you about paper rosettes. At the time I had played a bit with making Rosette Flowers as well but felt that they deserved a lesson all on their own. When I needed to make a project for Grandparents Day for a magazine, I decided to make flower rosettes. What I didn't count on is how addicting they are! I just couldn't stop trying one more style of flower.
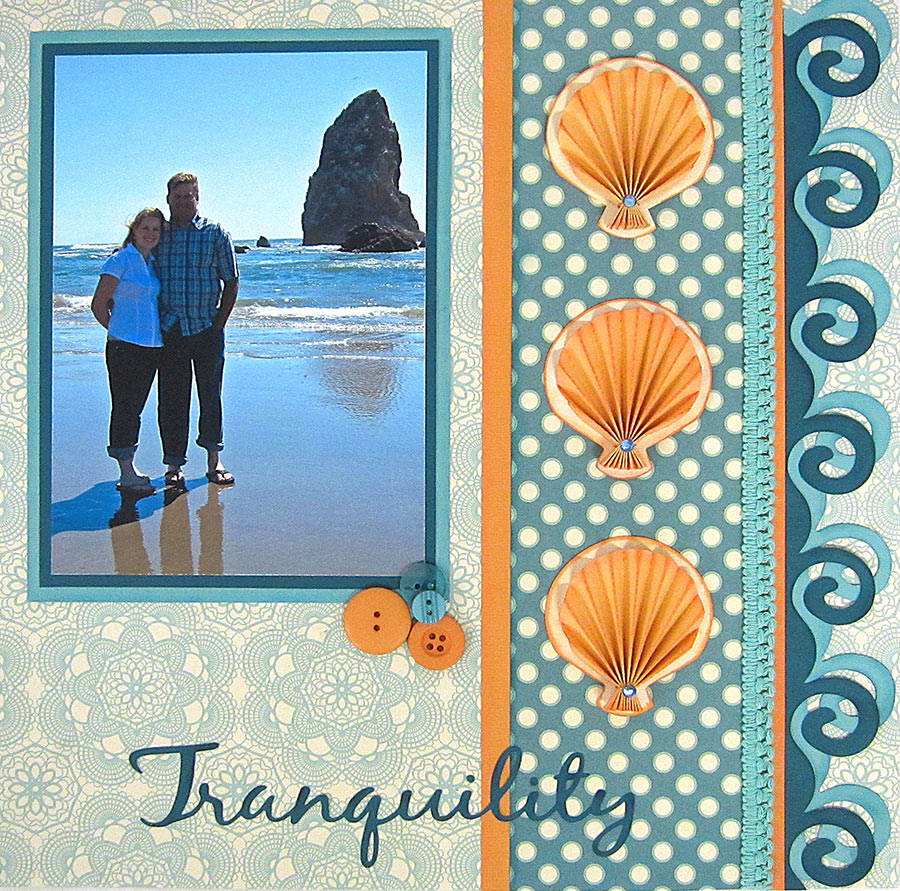
Recently, my husband and I along with all of our children and grandkids, spent a wonderful 4 days at Seaside, Oregon. The ocean never fails to inspire me when I gaze on the seemingly endless span of water with waves breaking on the shore over and over again. It also can be a tranquil place to sit and contemplate my blessings. It is good to take a break from the hustle and bustle of life just to slow down and breathe deep while watching the kids hunt for sea shells. Making this scrapbook page helped me remember that time and just for a moment I was able to smell the ocean air, feel the breeze and hear the ocean's roar. Ahh... tranquility!
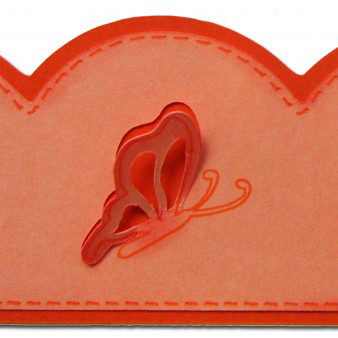
I have always loved the look of stenciled wood and walls. It has long been a standard in home décor. Did you know that you can stencil almost any surface? I have seen beautiful projects using stenciling on walls, windows, furniture, plaques, fabric and even plastic. I have also used stenciling in my card making and scrapbook pages. I used a stencil to create the background for this scrapbook page and also used it to stencil fill the wings on the main butterfly.
I love to make scrapbook pages but I have to admit that cropping the photos can be a bit hit or miss. I am sure many of you have created your design or frame and then found out that you printed the picture too large or too small. I am also guilty of the “I’ll just trim a teeny bit more off this side” disease and OOPS, now my photo is too small. I end up wasting a lot of printer ink and paper in an effort to get the picture just right. Another problem I encounter is that I am well into my project and realize the paper I thought would work to mat a certain photo is ALL wrong and I have no substitute. Several months ago I taught you how to make oval scalloped frames and then crop the photo to perfectly match the frame in size and shape. Today I want to expand on that lesson to encompass an entire project. I will show you how you can edit your photos in the Inspiration Studio Software to print exactly the size you want for the frame or mat you have created. You can even save on ink by not printing the parts of the photo that you don’t need.
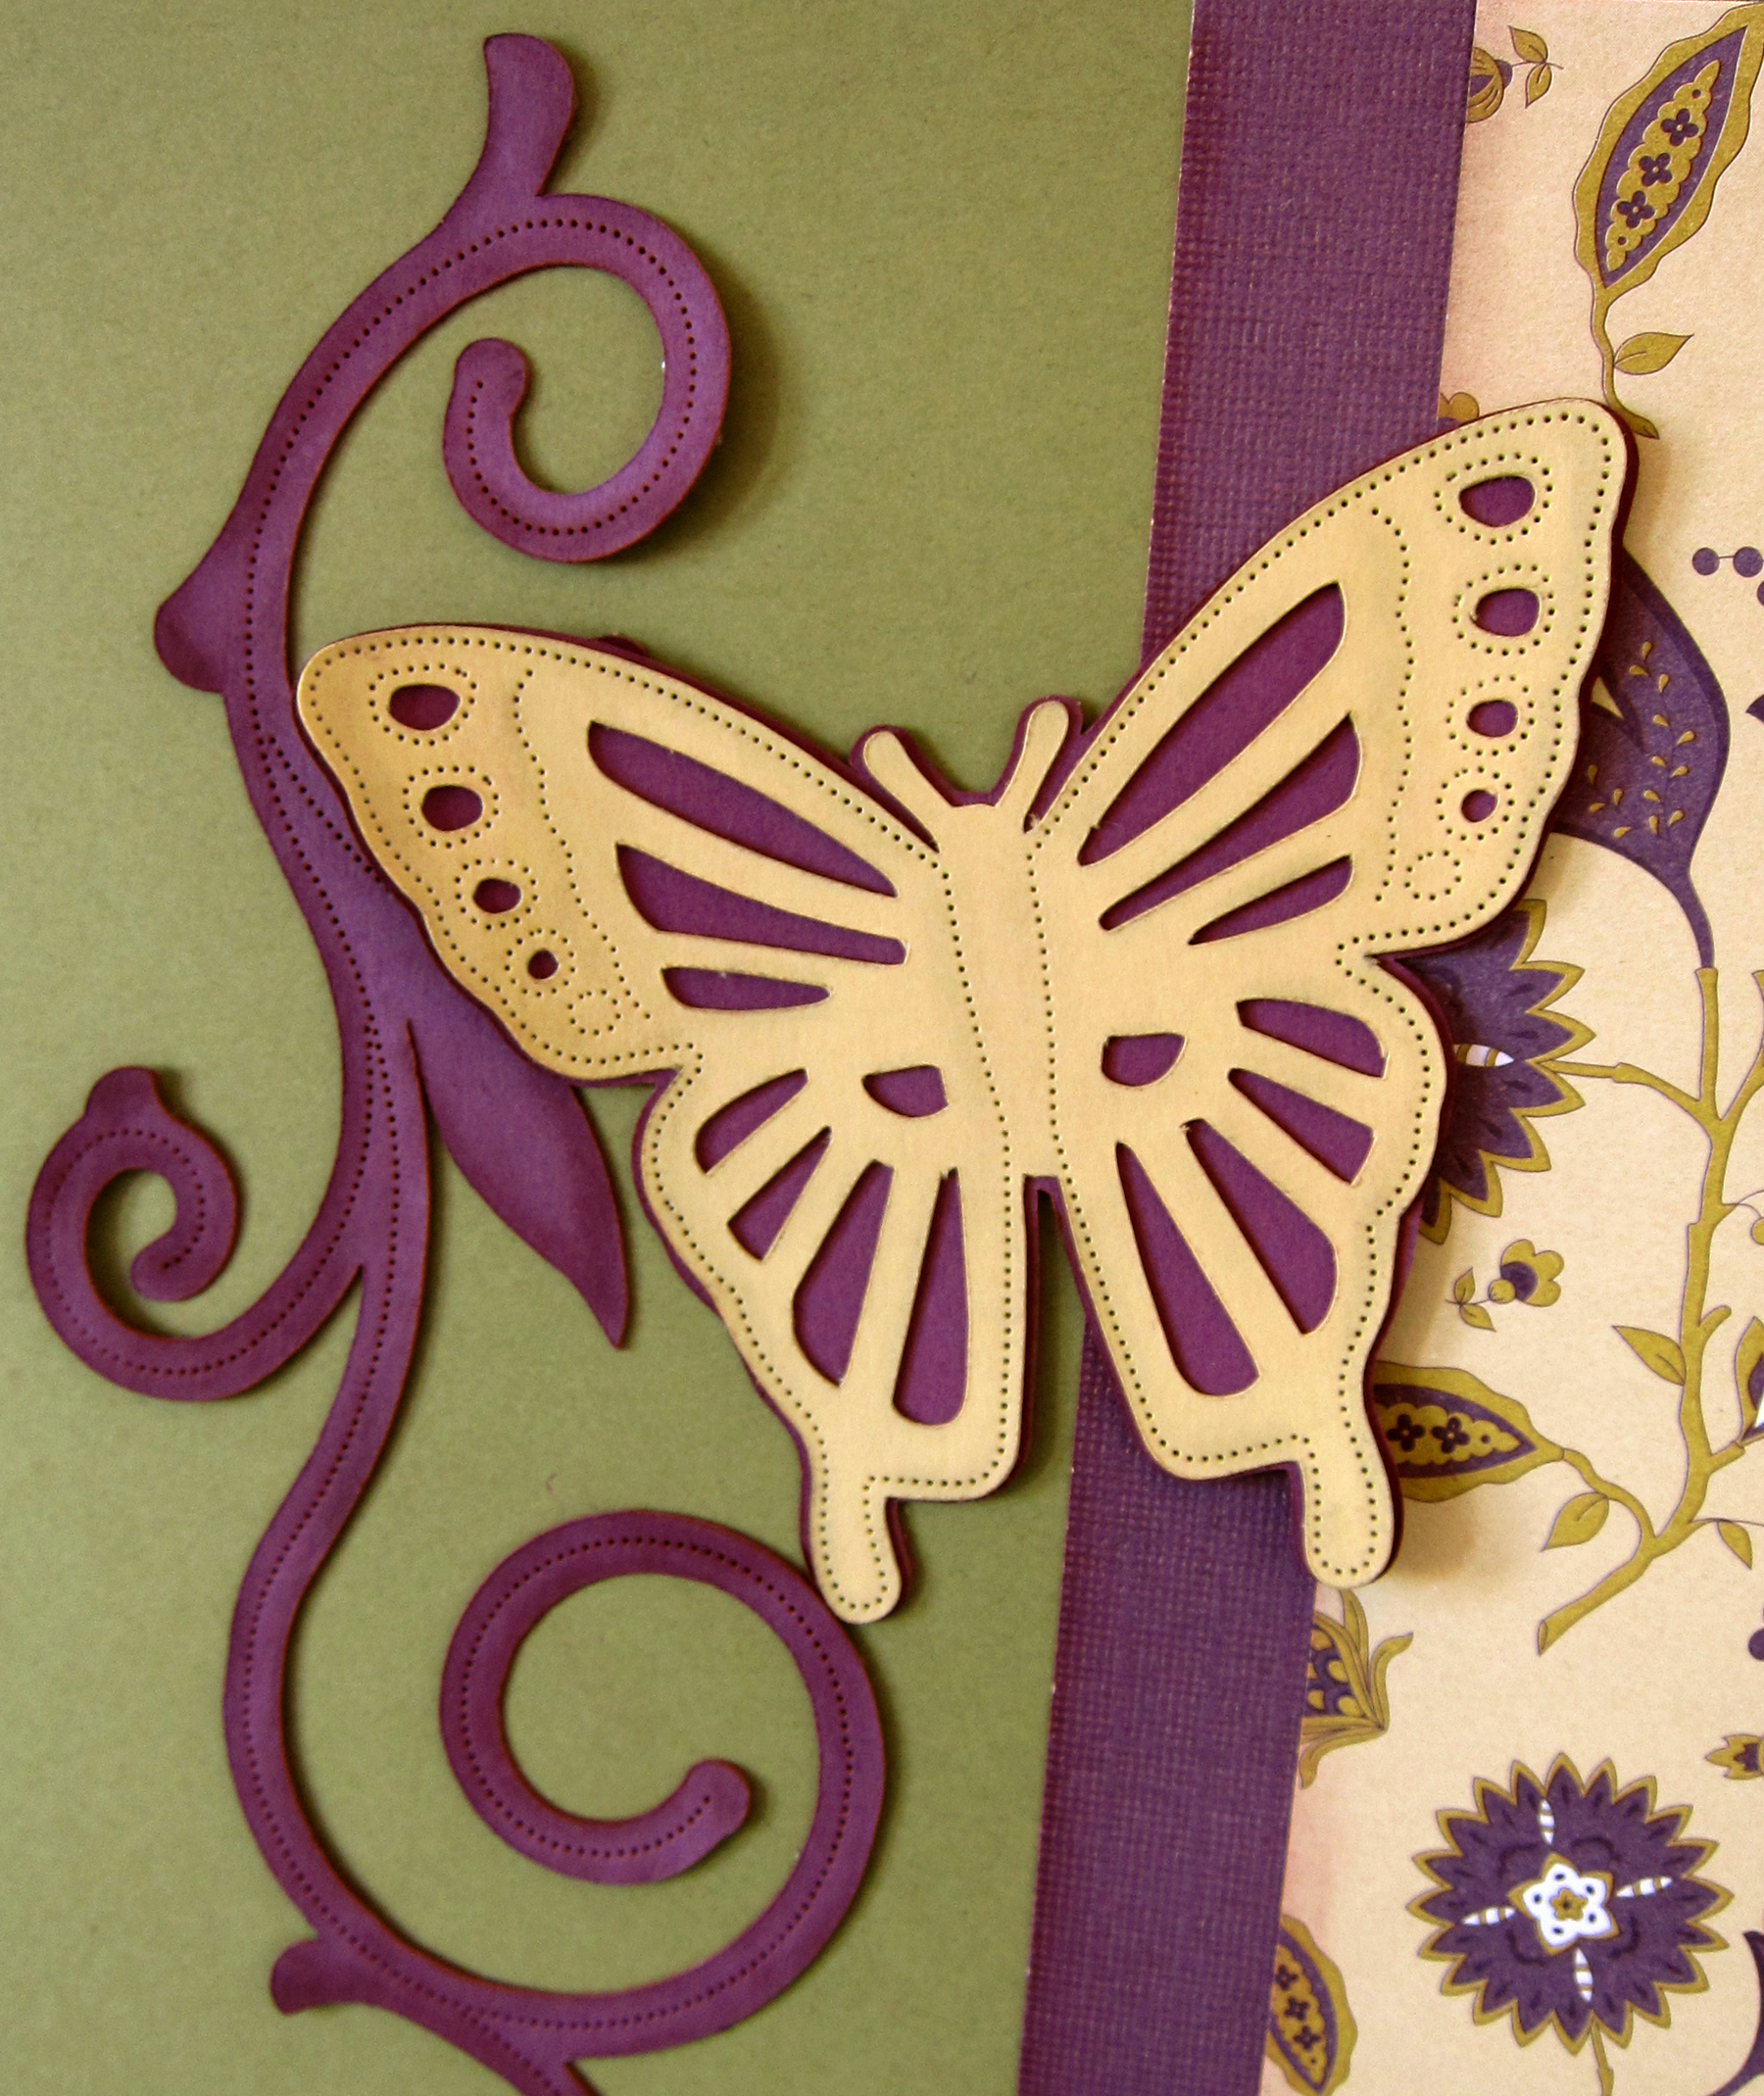
Piercing has been a decorative accent for a very long time. Think of punched tin pie safes and lanterns from days gone by. More recently, we have fallen in love with stitching through punched holes to make fun accents on our cards and pages. One particularly elegant look that has been a favorite in Europe is the art of piercing many tiny holes into vellum for a lacey look.
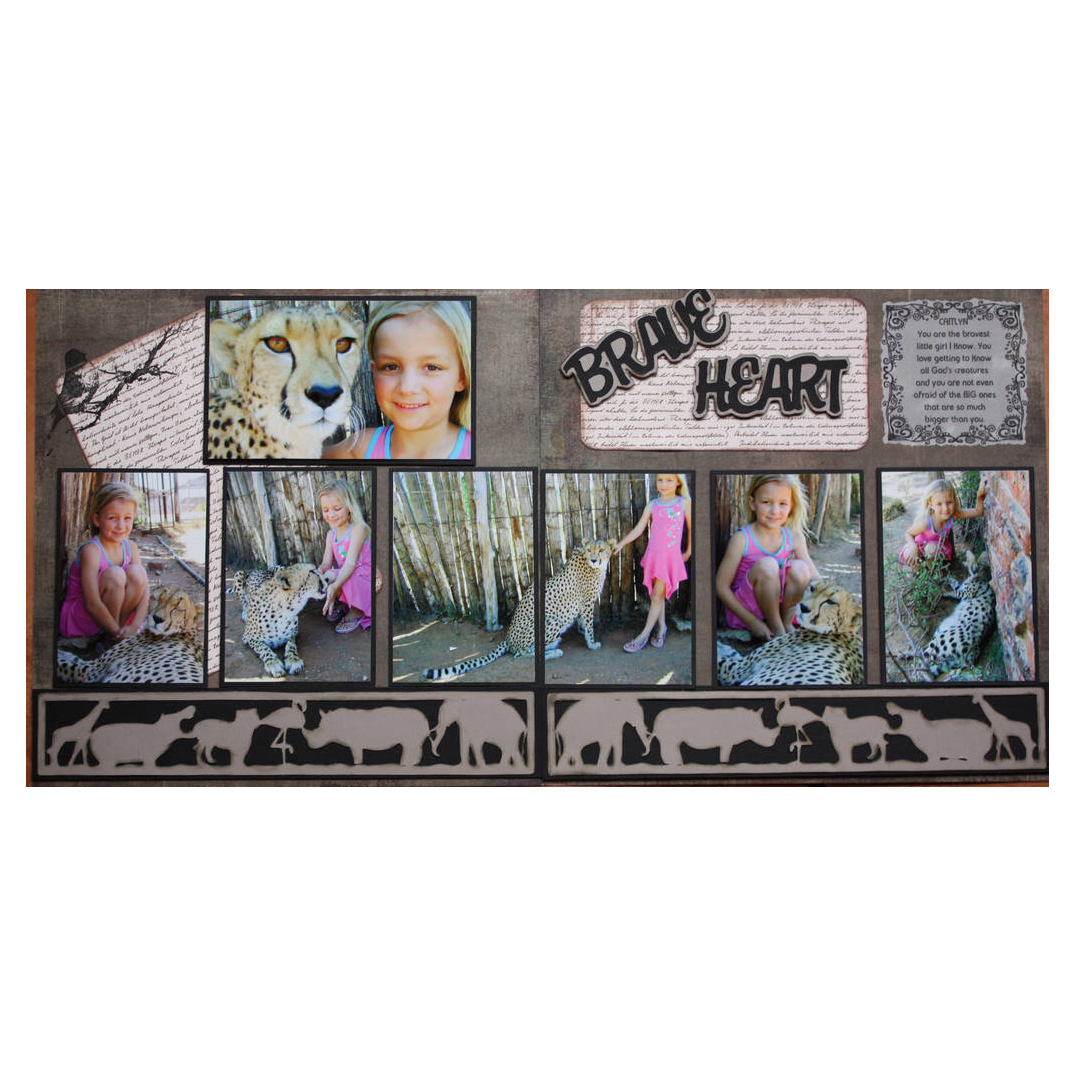
I think that sometimes it can be difficult to create a beautiful page that is still all about the pictures and not just about all the wonderful decorations we have added. I have seen many beautiful pages that tend to pull me in to the decor on the page rather than the picture they are suppose to be enhancing. So I really appreciate it when I come across a page that has successfully tread that fine line between enhancing the photos and overtaking them.

What is Christmas without the sparkling lights, the glitter and the shine? Indeed, Christmas would not seem Christmas at all, if it no longer glistened. What better way to remember Christmas than to make that twinkle, a part of the memory. Now, is the perfect time to use glitter cardstock and rhinestones to add shine to your projects. Together they make your Christmas memories reflect the sparkle, just like you remembered it.
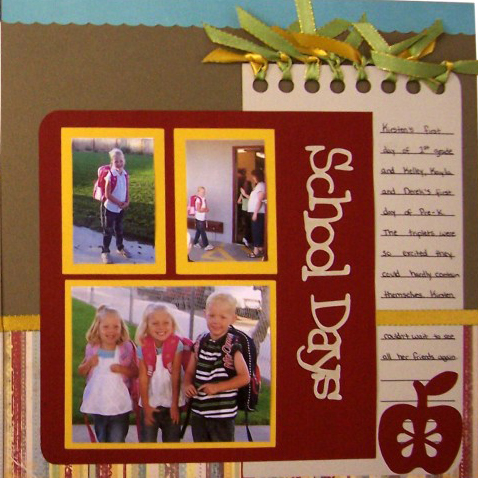
School is just getting in to swing for most of us. Perhaps you had excellent intentions to get all of your scrapbooking done this summer but life just got in the way! Or you hoped to have more free time once the kids were in school but between packing lunches, helping with homework, and driving to a thousand after school events, you begin to realize that was just wishful thinking. Either way, you could use some help getting your school pictures scrapbooked (This years, last years, or ten years ago it doesn't matter!). So here is my gift to all of you busy scrapbooking mothers out there who could use a hand.
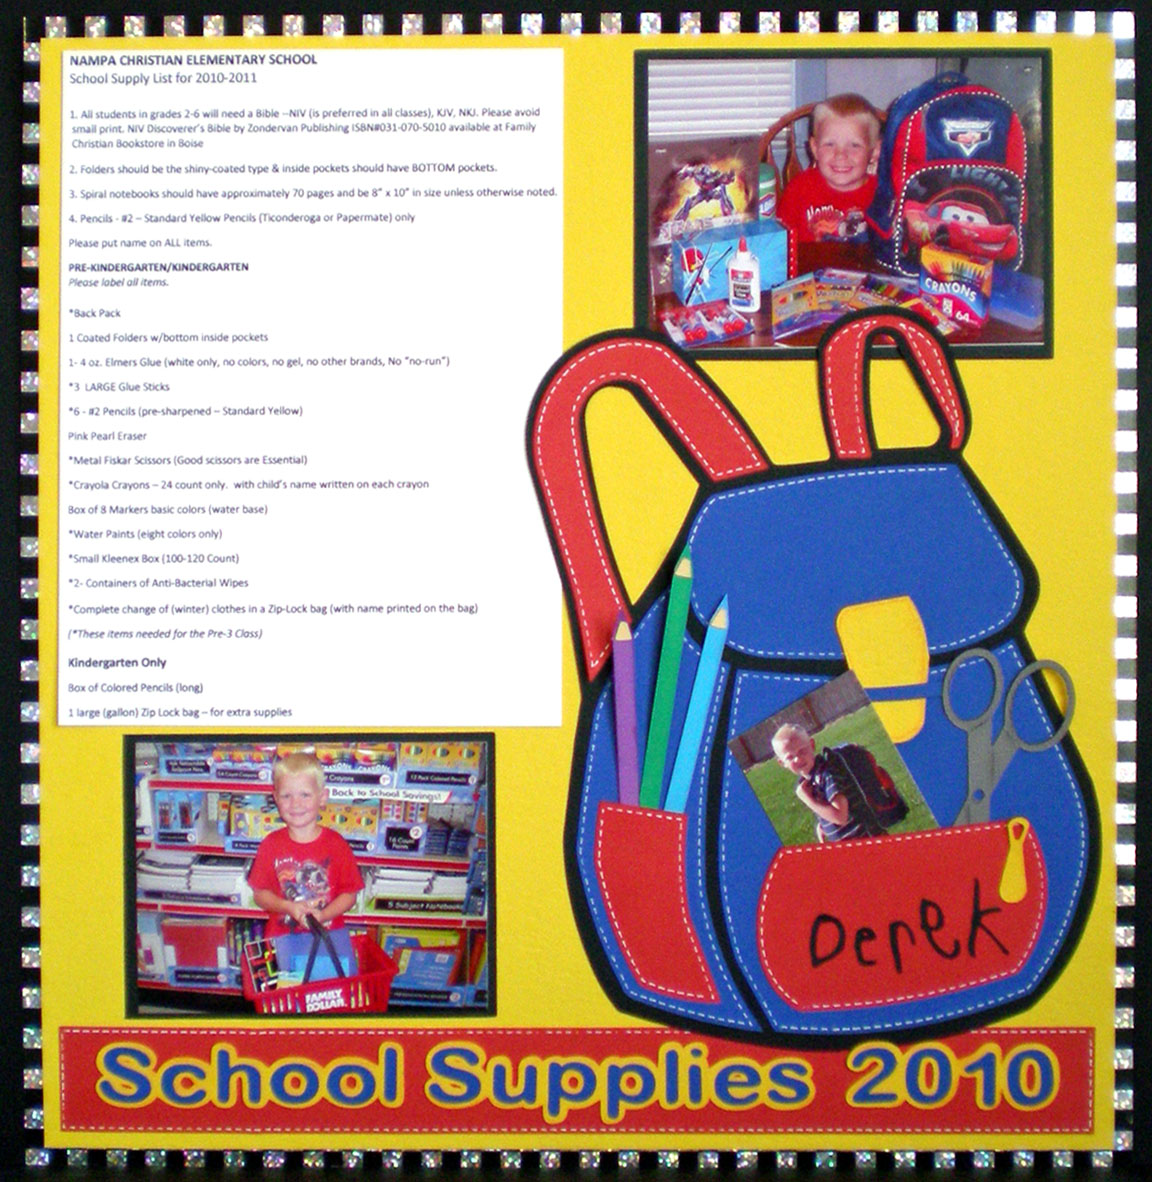
Our lives are full of big things and little things. The big things take all our time, the little things hold all the meaning. A school supplies note, we have all had one in our hands at one time or another. Just another errand to run; another item on our to-do list. But these little things are the things memories are made of. This is what scrapbooking is all about, the little memories. This is also what makes the Pazzles Inspiration so suited to my scrapbooking, it is the one tool that makes my memories what they truly are; unique.
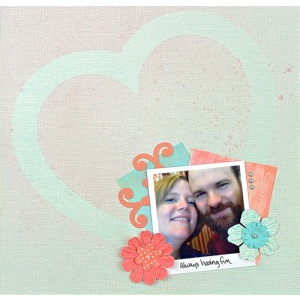
I think one of the most valuable attributes of the Pazzles Inspiration System is the ability to create anything I need for a project. I can choose from hundreds of fonts and most of them are free on the internet. If I can’t find exactly what I have in mind I can make it look the way I want. I have COMPLETE CONTROL over the results. I don’t need to buy a new cartridge or download to get the look I want. I don’t need to settle for something that is so-so. I don’t need to pop in one cartridge and keyboard overlay, cut ONE thing, pop in another cartridge and overlay, cut ONE more thing and repeat, repeat, repeat. In the Summer Splash page pictured here, I altered the fonts to fit the theme. Simple ways to alter fonts are to tilt the letters or resize them as I did for the word ‘laugh’. (Use the Break text by Character option under the text menu to separate the letters.) But did you know that you can change the fonts in other ways?