Specialty Media


Thanksgiving Table Decorations

Thanksgiving Table Decorations

I am decorating my Thanksgiving table with Pazzles vinyl. This was my very first attempt to cut vinyl. I do not know what I had been afraid of. It is so easy. I started with the Give Thanks phrase from the Craft Room Library to decorate a vase for a centerpiece. I was working with small pieces, so I did not use the transfer tape. I did however, print out the image, tape it to the inside of the glass vase and use that as a guide to lay down the layers of vinyl.


Wood and Vinyl Giant Wall Ruler

Wood and Vinyl Giant Wall ...

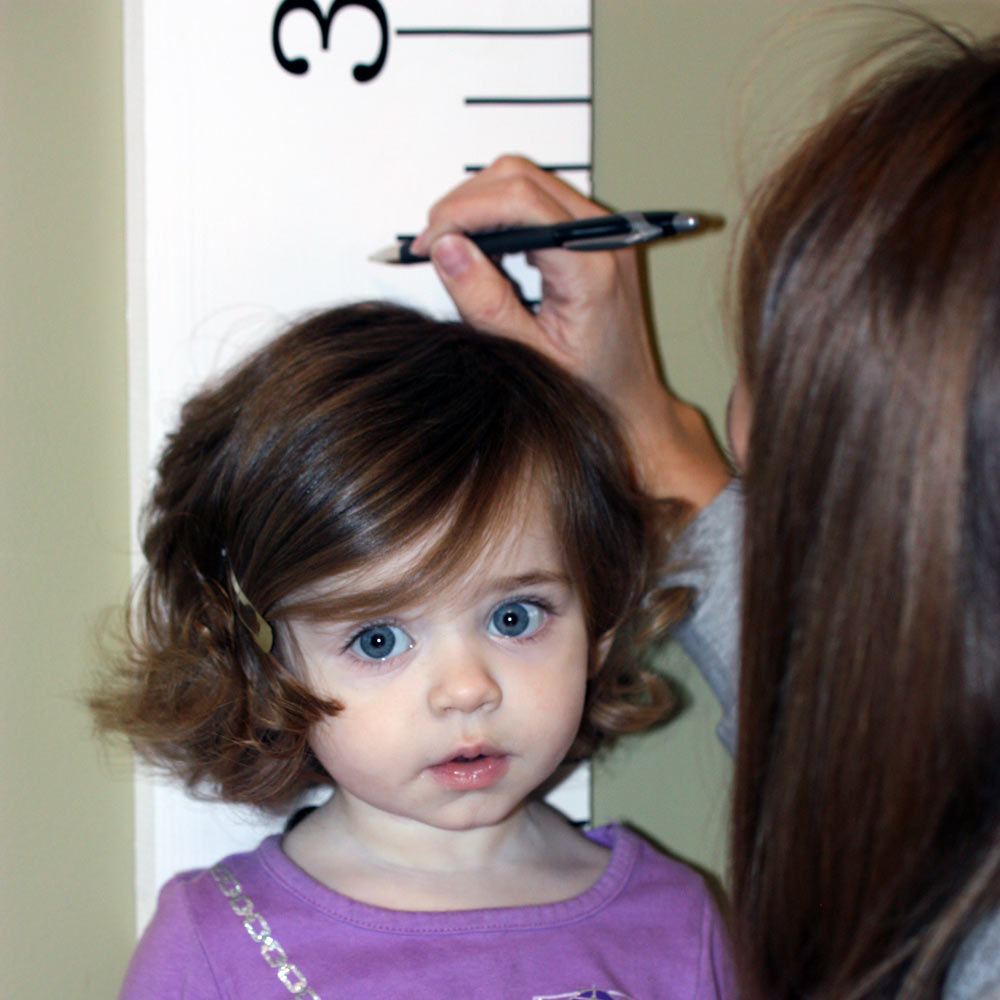
This ruler for your wall is perfect for a new mom, grandparent, teacher or anyone that you think might want to 'measure up.' No need to spend up to $100 dollars for this wonderful addition to any home or classroom when you can personalize your very own.


Printable Cherry Pie Slice

Printable Cherry Pie Slice

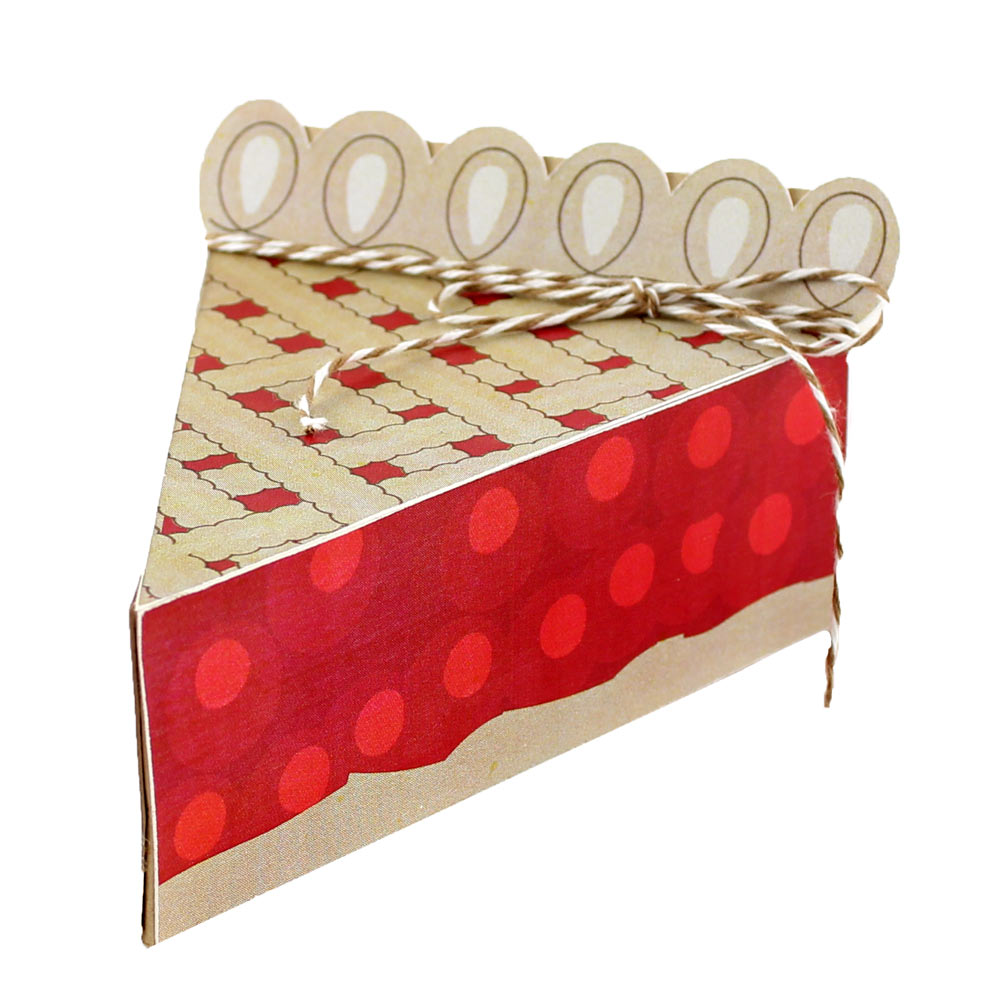
A delicious print and cut project that is 'easy as pie' to make! The back of the box opens so you can tuck small treats or treasures inside.


Halloween Wall Hanging

Halloween Wall Canvas

As most of you know I went on the Pazzles Cruise. I was so inspired by the canvas project that Klo taught us that I wanted to share it with all of you. So first of all I got a 12 x 12 canvas. In the class we used the Pazzles Stencil Material but I didn’t have any of that on hand, so I took a trip to the hardware store. I found one of those 11 x 11 no trespassing signs and figured "it's plastic, so why not give it a try". While I was there I also picked up some joint compound and some glow in the dark spray paint, but that’s for a later project.


Halloween Subway Art Canvas

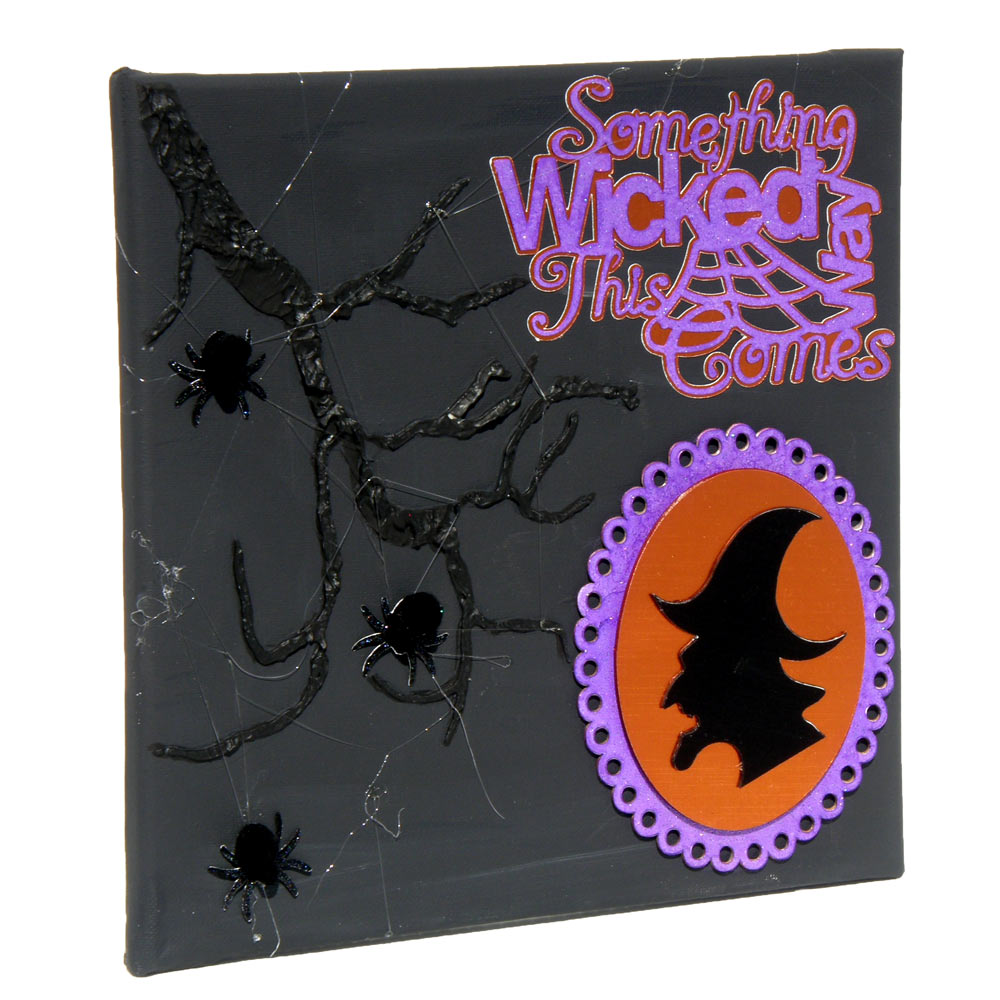
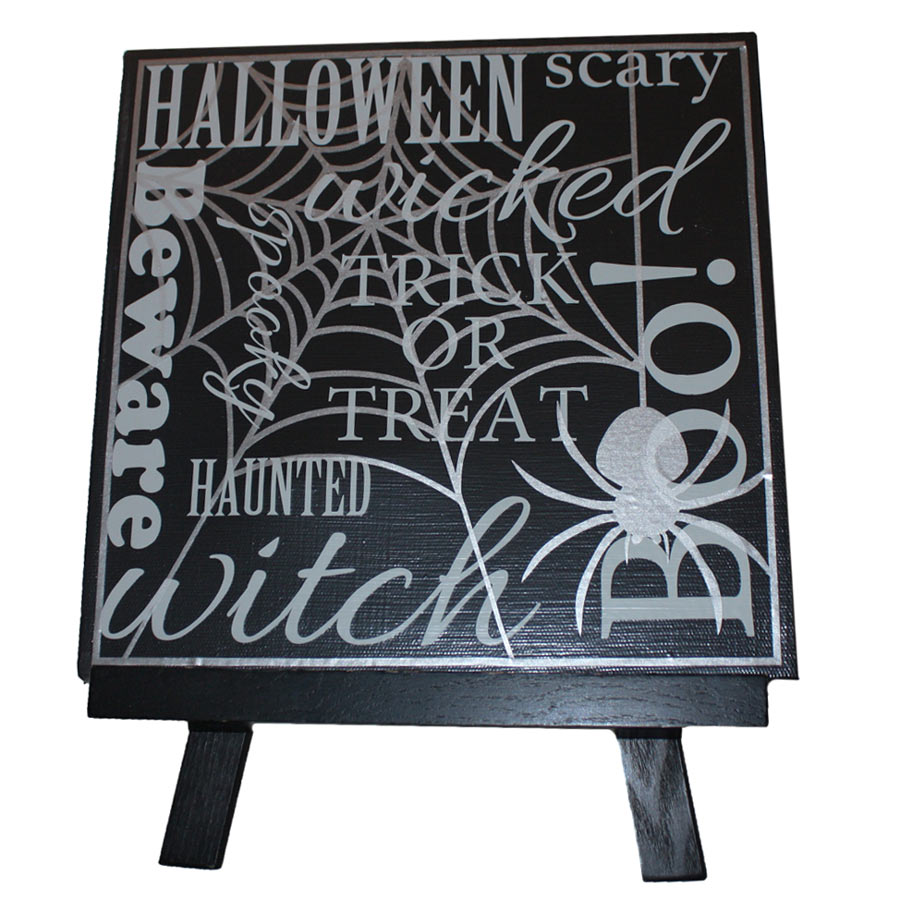
This fun Halloween Canvas is a great addition to anyone's decorations. With the fun words and nearly see through spider web, it will make your friends take a second look. I have to admit, this is probably one of my favorite Halloween decorations I have ever made. I can see myself using it for years to come, because it just goes with any style of decor. After painting the canvas, I used Mod Podge on the canvas. I then used the gray vinyl from the Pazzles Neutral pack for the words. This keeps it subtle, but you can still see it through the frosted vinyl from the Pazzles Primary Pack, that is generally used to give the look of etched glass. It gives a wonderful effect for the spider and its web.


Halloween Lamp with Vinyl Silhouette

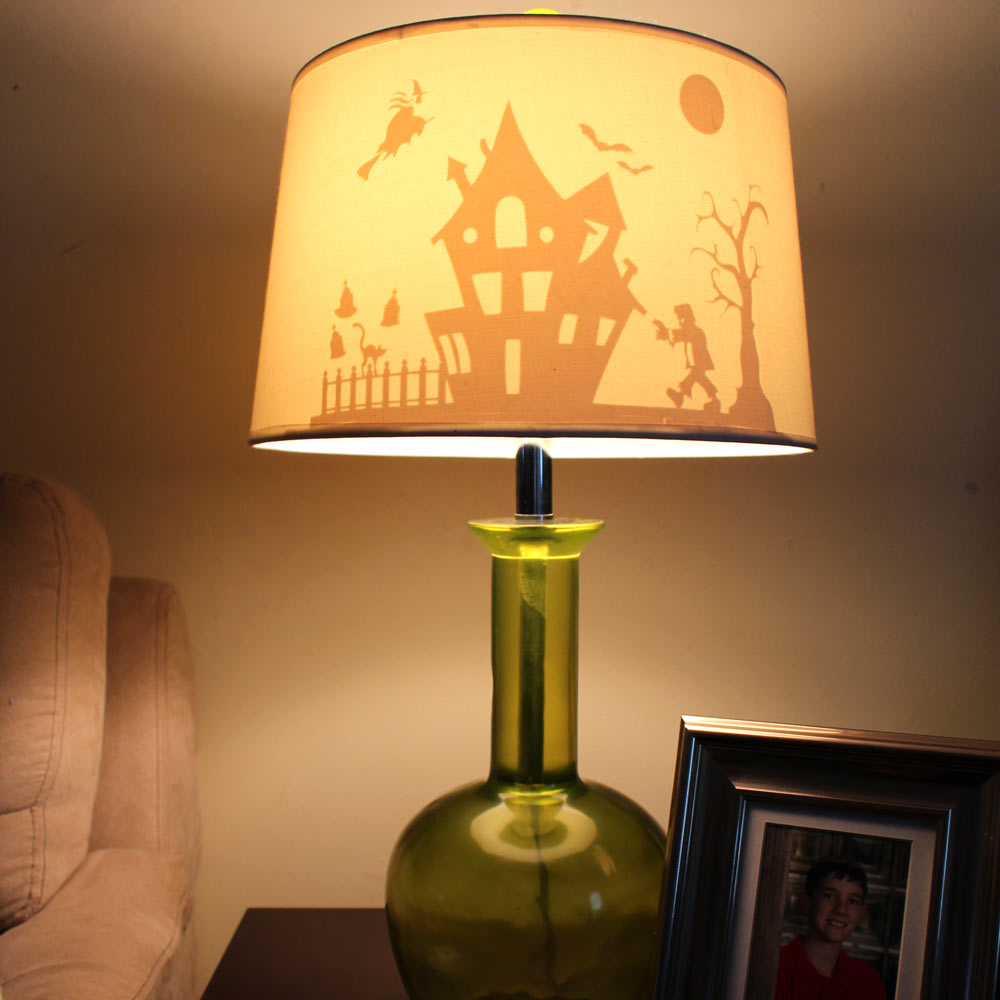
Halloween is right around the corner, and who doesn’t like to decorate for the holidays? This is a super easy project and it’s so much fun! When the lamp is off you can’t see the design. But when someone turns it on, POP, there it is! It is so fun to see their faces when they turn the lamp on! My son said, “It’s kinda like the Christmas tree. I just can’t stop looking at it.” I combined several Halloween files from the Craft Room Library to create this scene. Once I got my design the way I wanted it, I welded the elements together. (Make sure you reverse your design before cutting, especially if you are adding words.) I cut my design out using Pazzles Wall Vinyl in Cotton (White).


Happy Birthday Wood Sign

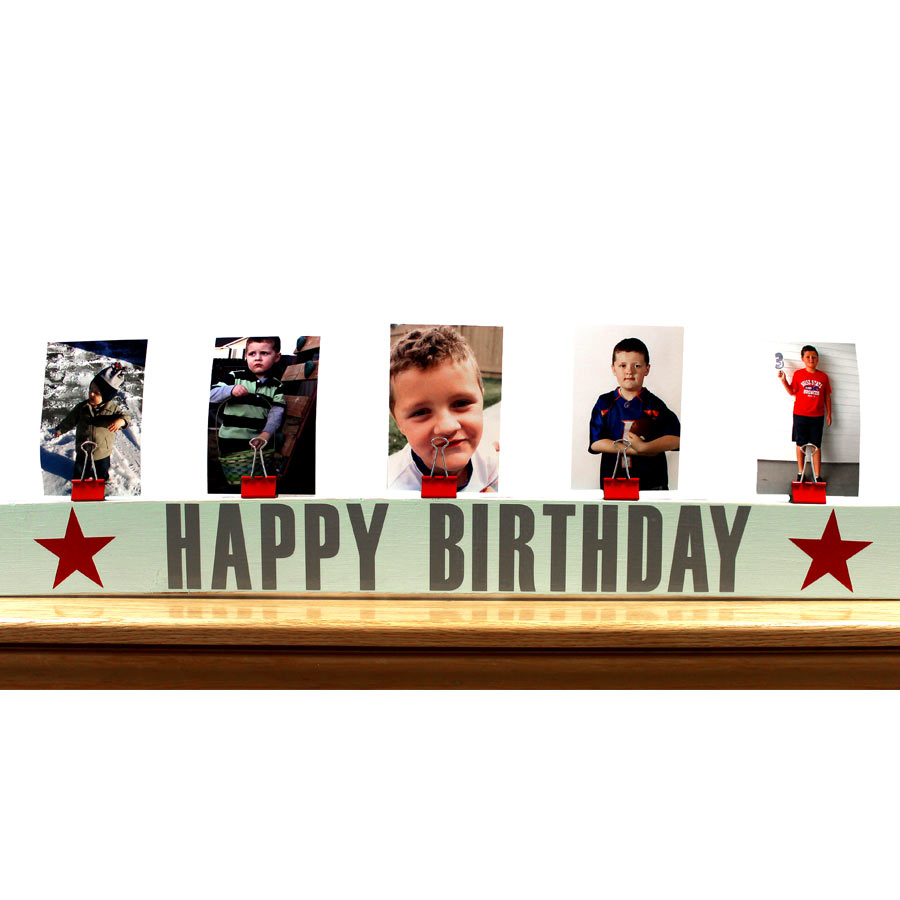
Birthdays are a big deal at my house. My mom always made birthdays special with a handmade decorated cake and our favorite box of sugary breakfast cereal waiting for us. It was the only time we got sugary cereal and it was a huge deal to open that box. I'm carrying on the big birthday celebration at my own house. When a birthday comes along we celebrate! I spotted this birthday sign idea on Pinterest a few years ago and I've wanted to make one. Vinyl week happens to coincide with my son's birthday month, so it was the perfect time to whip it up.


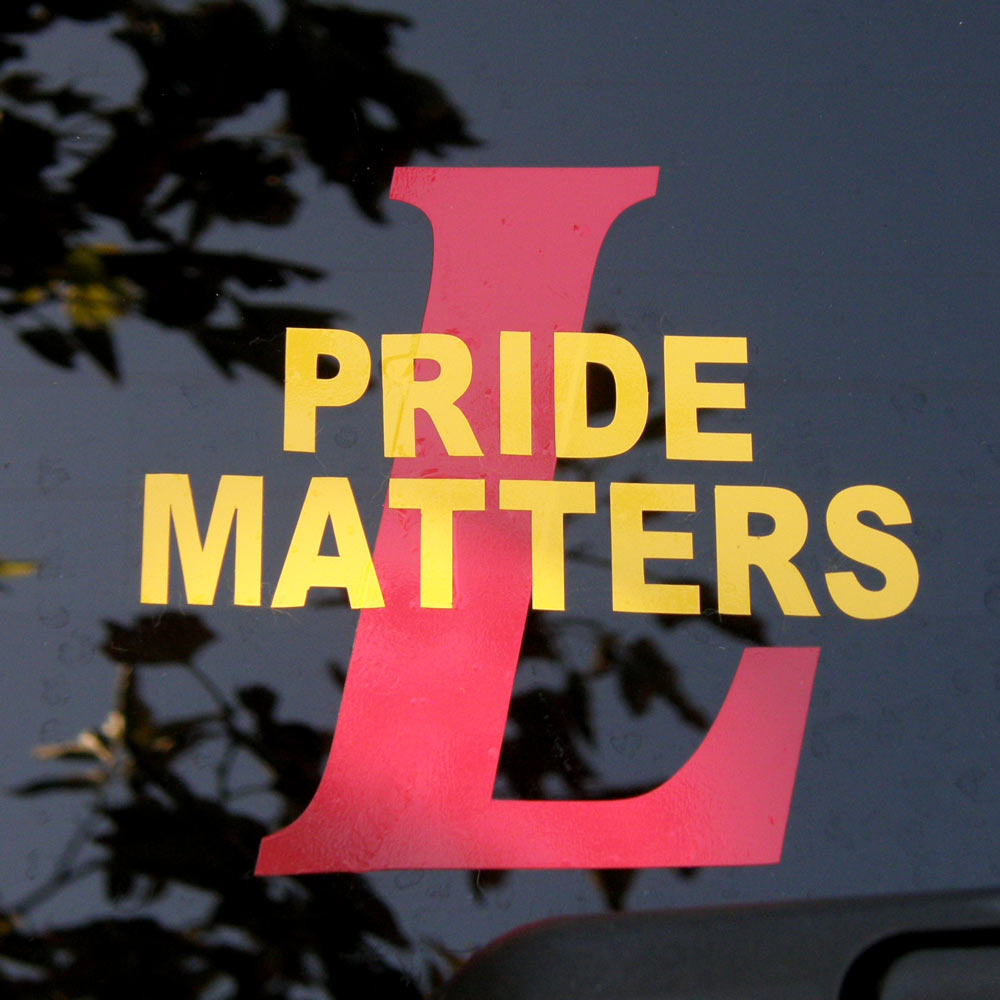
School Motto Vinyl Decals

School Mascot Vinyl Decals

It’s that wonderful time of the year when the kids go back to school and football practice starts. You know, the time of the year when you want to put stuff all over your car to support your child. The decals sold at my son's school are the ones that look like someone printed them out on clear plastic or white plastic and slapped it on their car. Not this Pazzles girl! My inspiration for my project today is our school shirt and our motto Pride Matters. I scanned my shirt and took the lion and vectorized it. With very little clean up and resizing it came out beautiful.


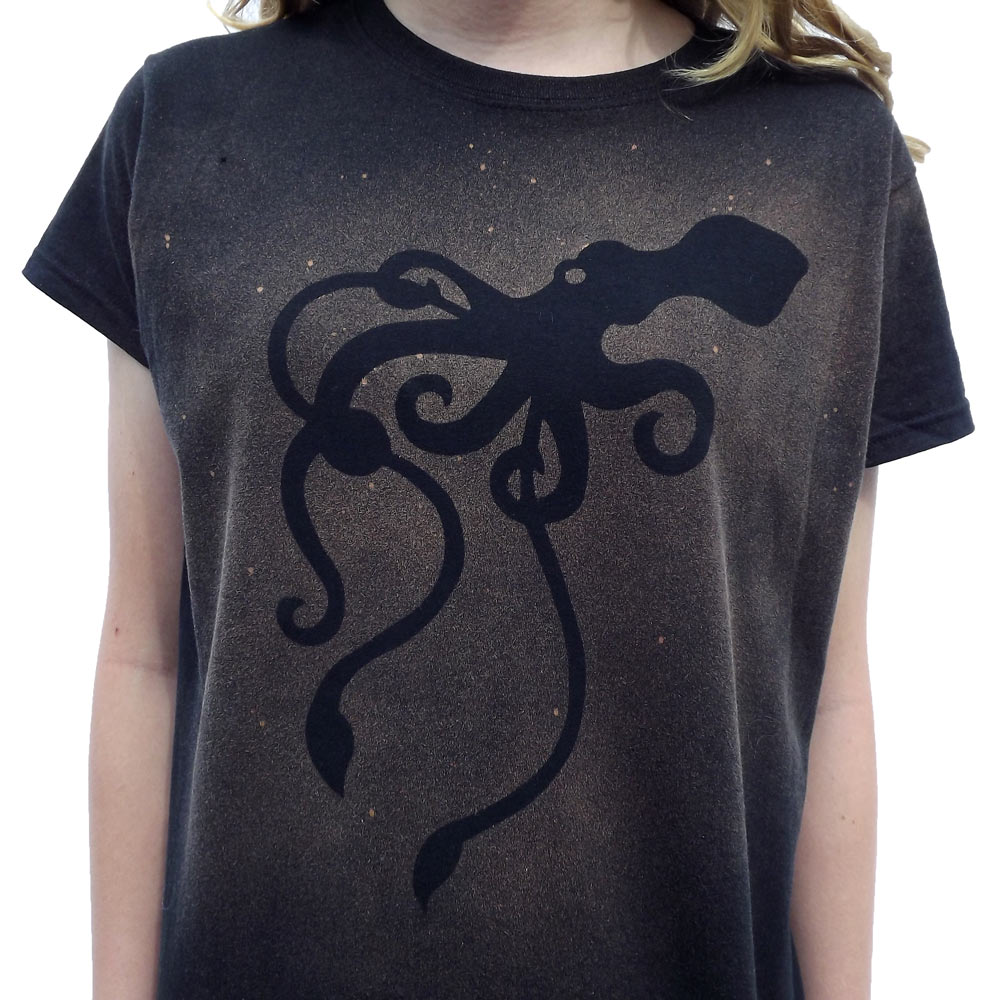
Bleach Resist T-shirt Tutorial

Bleach Resist T-Shirt Tutorial

Today DT member Heidi Edwards continues vinyl week with a cool bleach resist T-shirt. She has included instructions for this fun project so you can make your own. 1. First I found an image that I liked in the Pazzles Craft Room. Then I cut it out using Pazzles Permanent Vinyl. I used Vinyl Transfer Tape to transfer the cut out image to my shirt. I pressed it down really hard, to be sure it was stuck to the shirt, being sure I pressed all the edges down well. I peeled the transfer tape off and ran my finger firmly over the more detailed parts of the design, just to be sure. 2. I put the shirt on a platen so the bleach would not soak through to the back. A big piece of cardboard will work just as well. Then I just sprayed it with a bleach cleaner. I know you can use a mixture of water and bleach but the bleach cleaner was handy and worked great. I used a misting bottle. You can get one at Walmart in the travel section.


Butterfly Cupcake Decoration with the Pazzles Pastry Tool

Easy Cupcake Decoration with the ...

I love baking with my daughter and enjoy all those special memories we create while doing so. We decided to make some cupcakes and make some quick and easy cut outs for our cupcakes using Wilton Sugar Sheets and the Pazzles Pastry Starter Kit. For these cupcakes we used the Large Flower, Flower Bunch and the Butterfly cutting files which can all be found in the Pazzles Craft Room Library.


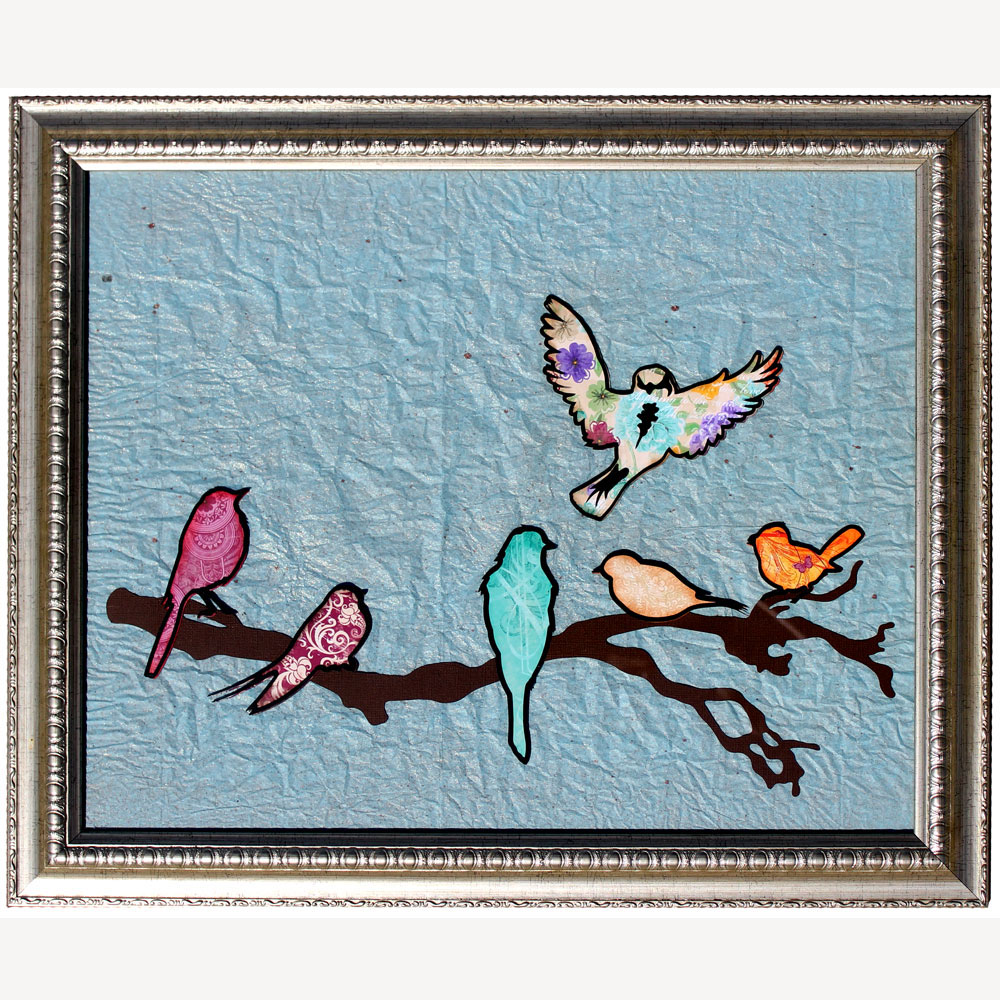
Branch and Birdies Vinyl Frame

I was walking through the craft store a few weeks ago and came across the coolest pictures. They had a hefty price tag, and my first thought was, I can probably create that very same thing for a lot cheaper. I liked the look of the picture under the glass and the way the vinyl outlined the splashes of color in the frame. They were so simple, yet perfectly pretty.


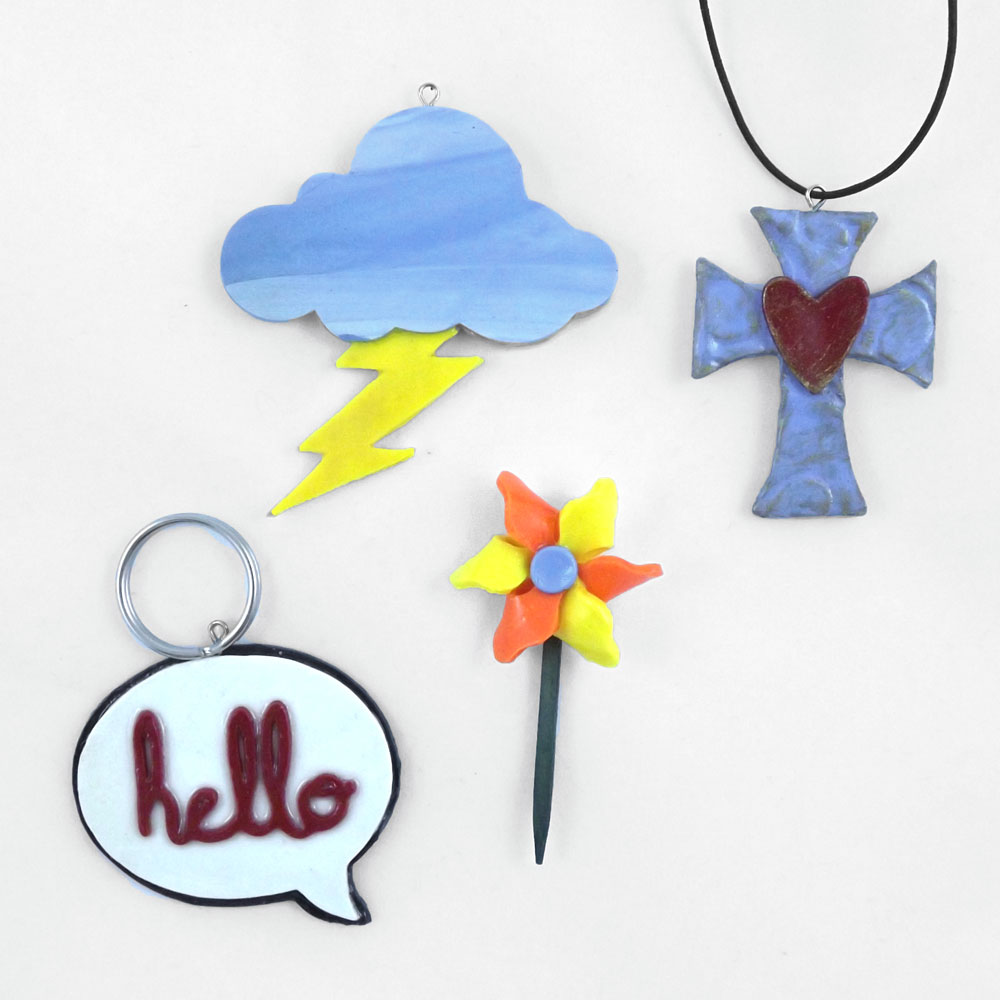
Polymer Clay Pendants With the ...

I am so excited about this project! I made these pendants using the Pastry Tool, Pastry Mat and polymer clay. Just like all other types of mediums you cut on your Creative Cutter, the possibilities are endless! It’s amazing the detailed cuts you can get using clay! To get started, watch Klo’s Polymer clay video for some fabulous instructions. It is in the January 18th – 21st Marathon classes, sessions 10 & 11. The files I used are found in the Craft Room Library and are listed at the end of the instructions. First, I rolled my clay out using a pasta machine using a thickness of 5. I placed my rolled out clay on my Pastry mat and patted it down until I was sure it was firmly stuck to the mat. Then I chose my design and cut it out. I used a pressure of 13 and a speed of 2. The blade is stationary so you do not have to adjust it. I cut two of my design out and layered them on top of each other so I would have the thickness I wanted and also to hide the jewelry pin inside.


Vinyl Resist Home Decor Canvas

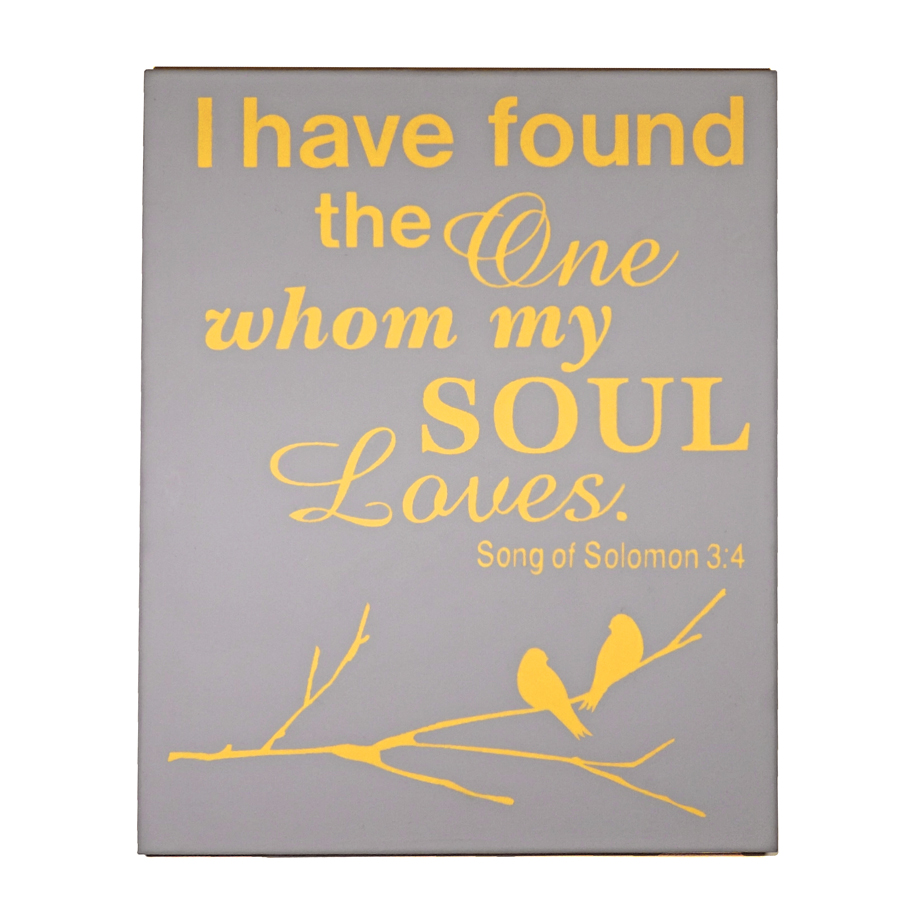
I could hardly wait to do this painting! We just redesigned our master bedroom and went with a totally different color scheme than we had before, so our previous wall hangings had to go. What is an owner of a Pazzles Creative Cutter to do? Well make your own of course! I have seen this type of art work on line and knew it was what I had envisioned for my bedroom. It was a pretty simple process and the possibilities are endless. I measured my surface (In my case a 20" x 16" canvas). Then I opened my Pazzles software and changed my page setting to 20" x 16" so I would know that my design would fit nicely on my canvas. I used the Bird On A Branch file. I altered it by copying the bird, mirroring it and adding it back to the branch next to the original bird. I then welded it all together so it would cut out all in one piece. I made my own word art using true type fonts. Make sure any cursive fonts are welded before cutting. Obviously our Pazzles will not cut a 20" x 16" design, so I had to break up the design and adhere to the canvas in parts. I was able to keep all the words together, but the branch did not fit in the same cutting area so I cut it separate from the word part of the design and lined it up manually on my canvas. It wasn’t hard to do, just an additional step. This will not be an issue if your surface is smaller than 12 x 24. I chose two paint colors that matched my color scheme, then painted the canvas in one of the colors using a small paint roller. I tried it with a foam brush and got not so great results. The roller worked great and gave me an even coat of paint. While it was drying, I cut my design out using Pazzles REMOVABLE wall vinyl.


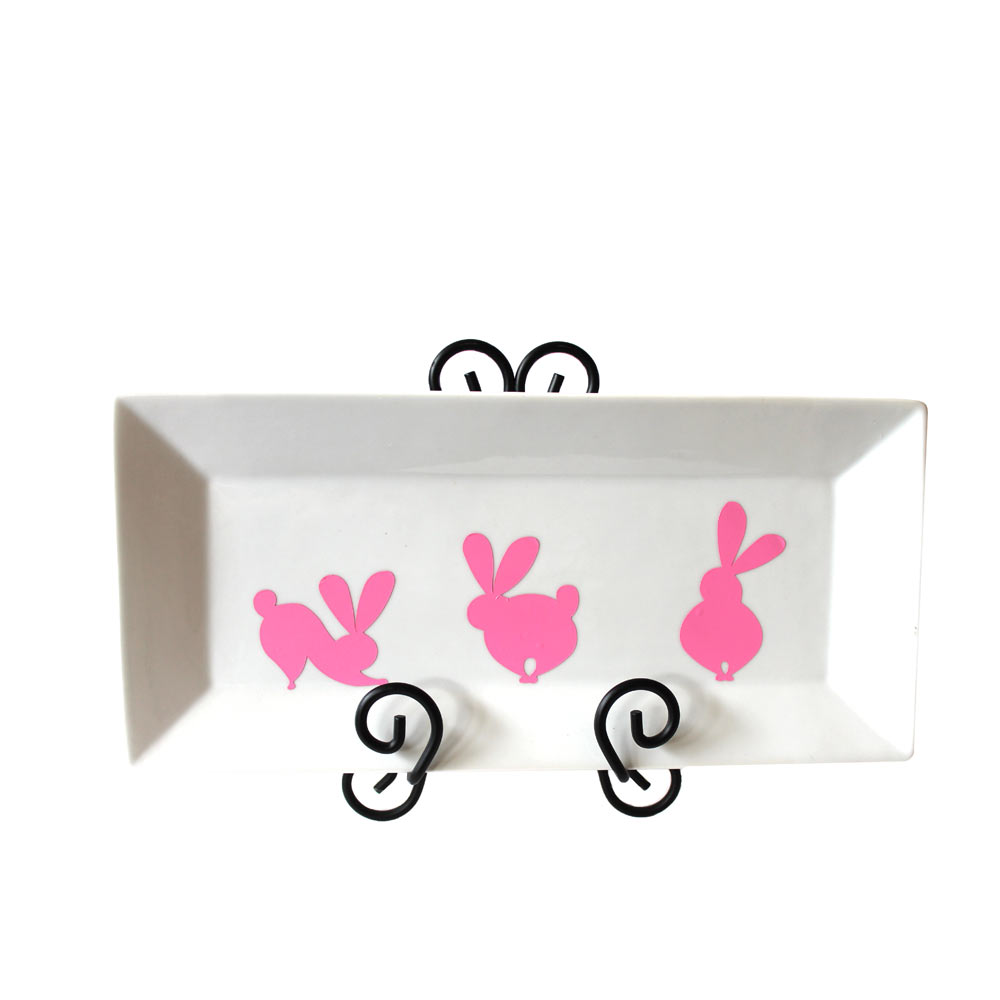
Easter Serving Tray

Turn a plain white tray in to an Easter serving tray with a little vinyl and these bunnies from the craft room library!


Front Door Vinyl Signs

Driving through my neighborhood the other day I saw that my neighbor had added her last name to her front door with vinyl. I instantly wanted to be a copycat. What a cute idea! Sometimes it's the simple things we can do with our Inspiration that we overlook. Since I can't create all of your last names for you in fun fonts, I did the next best thing and made several generic front door signs ready to cut out in your color choice of vinyl. I don't know why I never thought of this before, but I think this might be my part of every gift I give this year. What a cute idea for newlyweds or a small gift for a teacher, or neighbor.


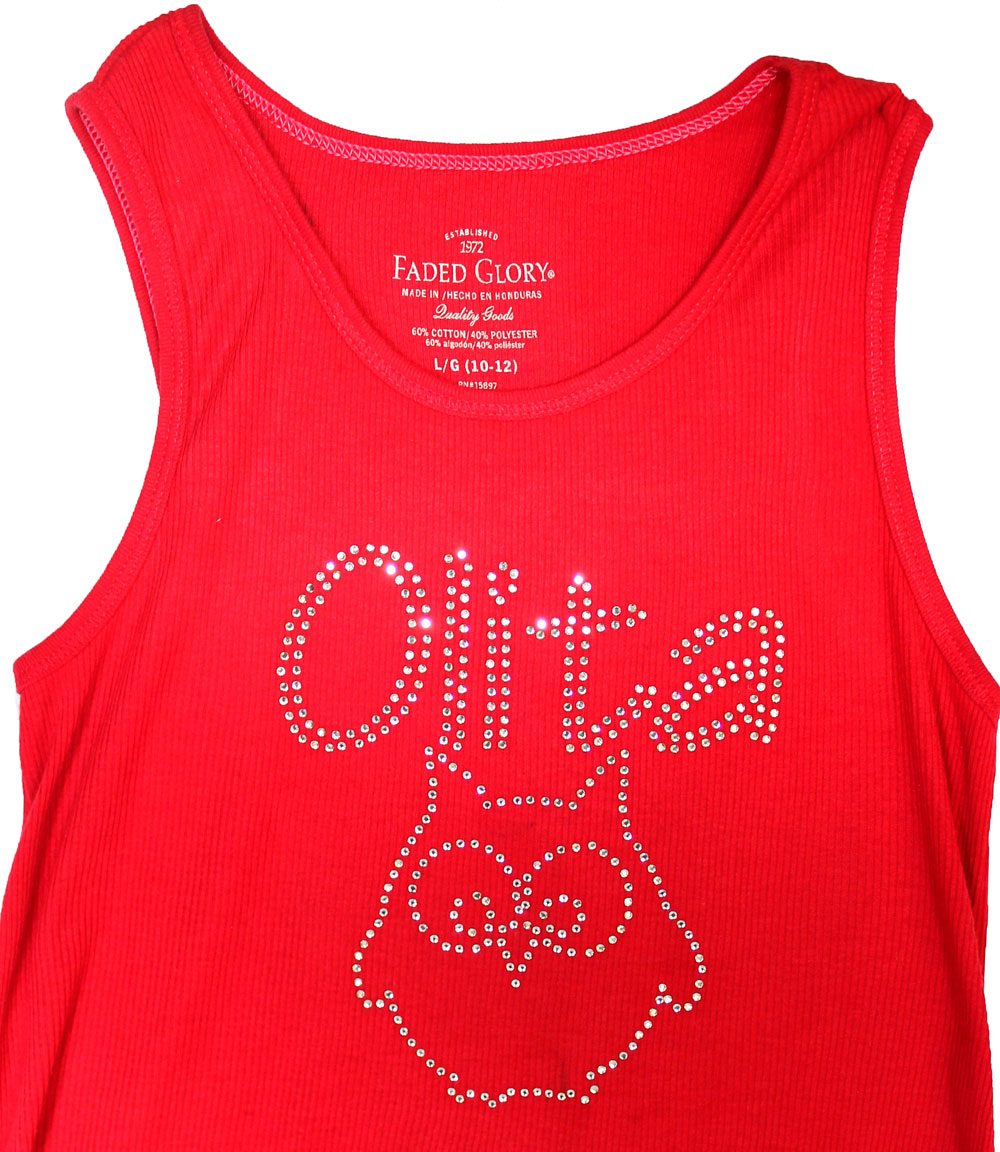
Customized Rhinestone Spirit Wear

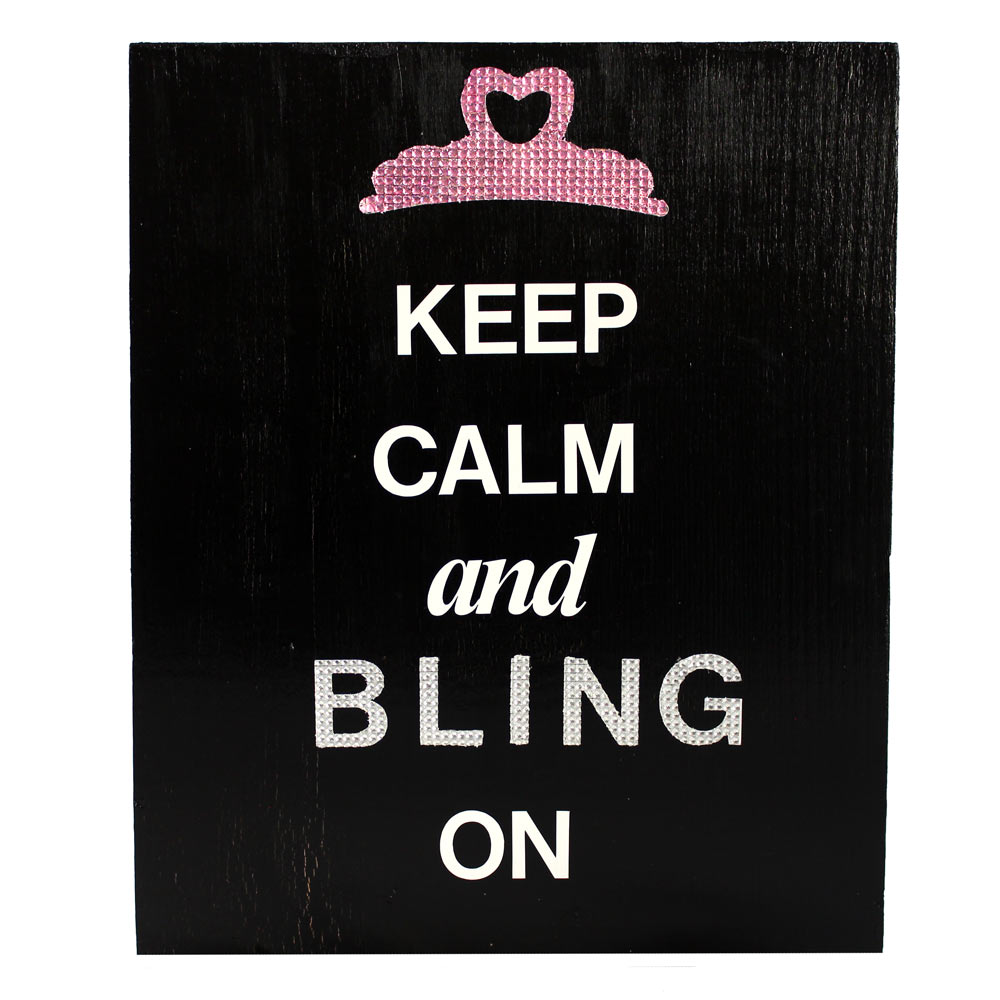
School spirit day is every Friday at my daughter’s school. Red is the color and their mascot is an owl. I must say though I’m not too fond of their t-shirt designs. She is very girly and loves bling , so I decided to customize a tank top for her using the Pazzles Rhinestones Kit. I love that we can transform our images into something custom , unique and blingy. Watching the Creating Rhinestone Designs video has really made it easy to understand the process of creating with rhinestones.


Need 4 Speed Cutting Collection: ...

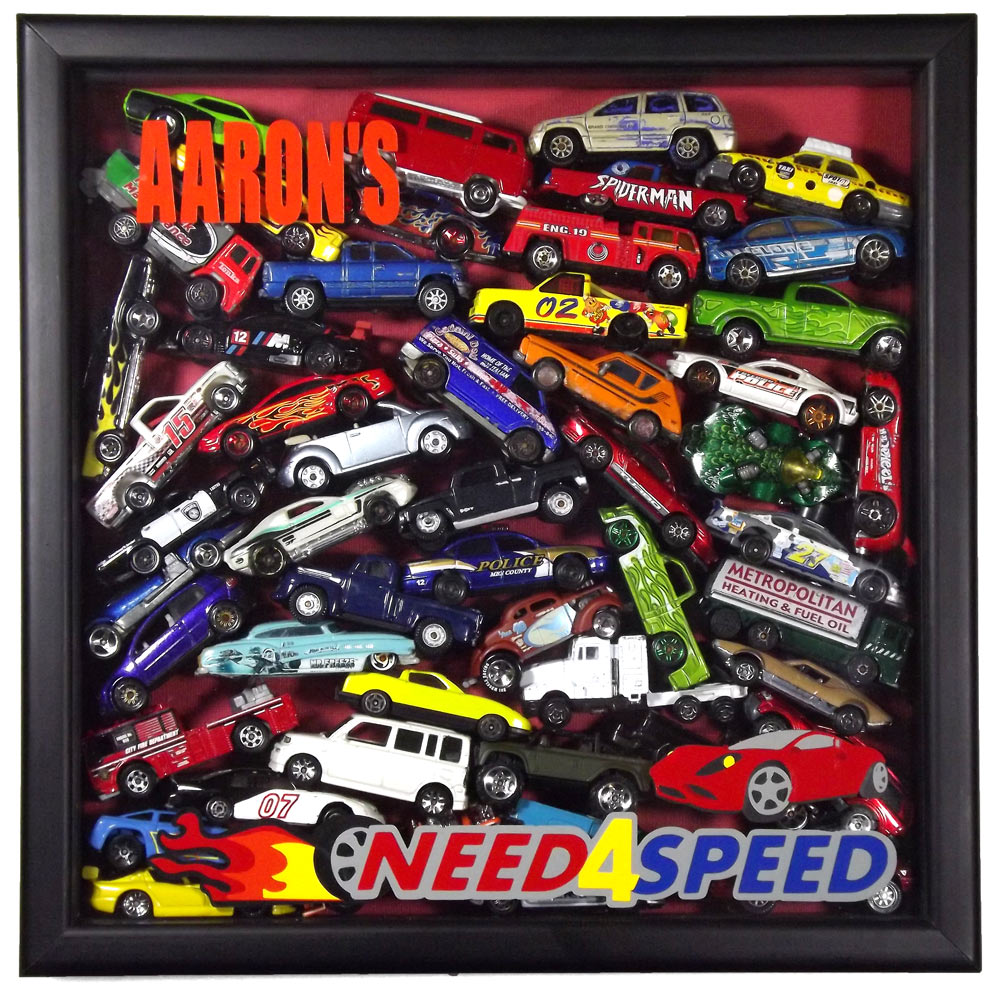
My son loved his little cars when he was younger. He always pretended the cars were driving really fast and the police pulled them over. He played with them almost every day, and we rarely left the house without at least one in his pocket. But this too shall pass…ho hum. We recently cleaned out his toy box and I found all his beloved cars at the very bottom. He was hesitant to get rid of them but he also said, “I don’t really play with them anymore”. So when I saw the Need 4 Speed Cutting Collection I knew right away what I was going to do with it! I purchased a 12x12 shadow box, took the back off, laid it face down and filled it with his most favorite cars. I used vinyl to cut the files out, layering them as I went and applied it to the glass front of the shadow box. He was so happy and even got a little sentimental when I gave it to him. I hope it provokes those feelings every time he sees it.


Rhinestone Sign And A Giveaway

We love finding new products that cut on the Inspiration! Last year Chris and Klo discovered Rhinestone Resin Sheets from The Buckle Boutique. They cut beautifully and add sparkle to any project. Hop over to The Buckle Boutique Blog to see some really fabulous uses for these sheets. People have decorated their phones, their wedding invitations and even their shoes with Buckle Boutique bling.


Valentine Gift Set

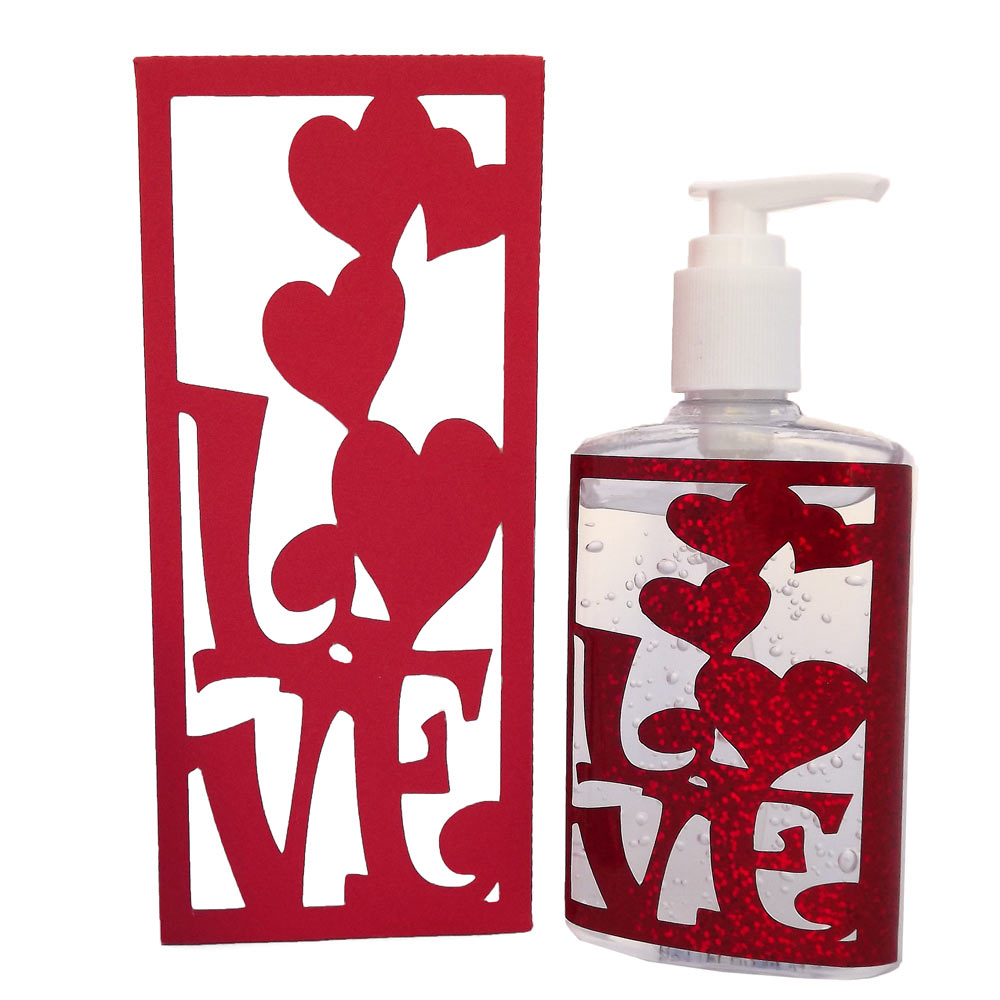
I keep hand sanitizer in just about every room of my house. I think the bottles are boring and stick out like a sore thumb so I decorated them for Christmas and that got me to thinking…why not do it for every holiday or season? I used the subtract weld technique to create these fun Valentine’s Day covers. I used vinyl so splatters would not ruin the design. Now the bottles are a part of the holiday decor instead of an eyesore.


Wall Art and a Kaisercraft ...

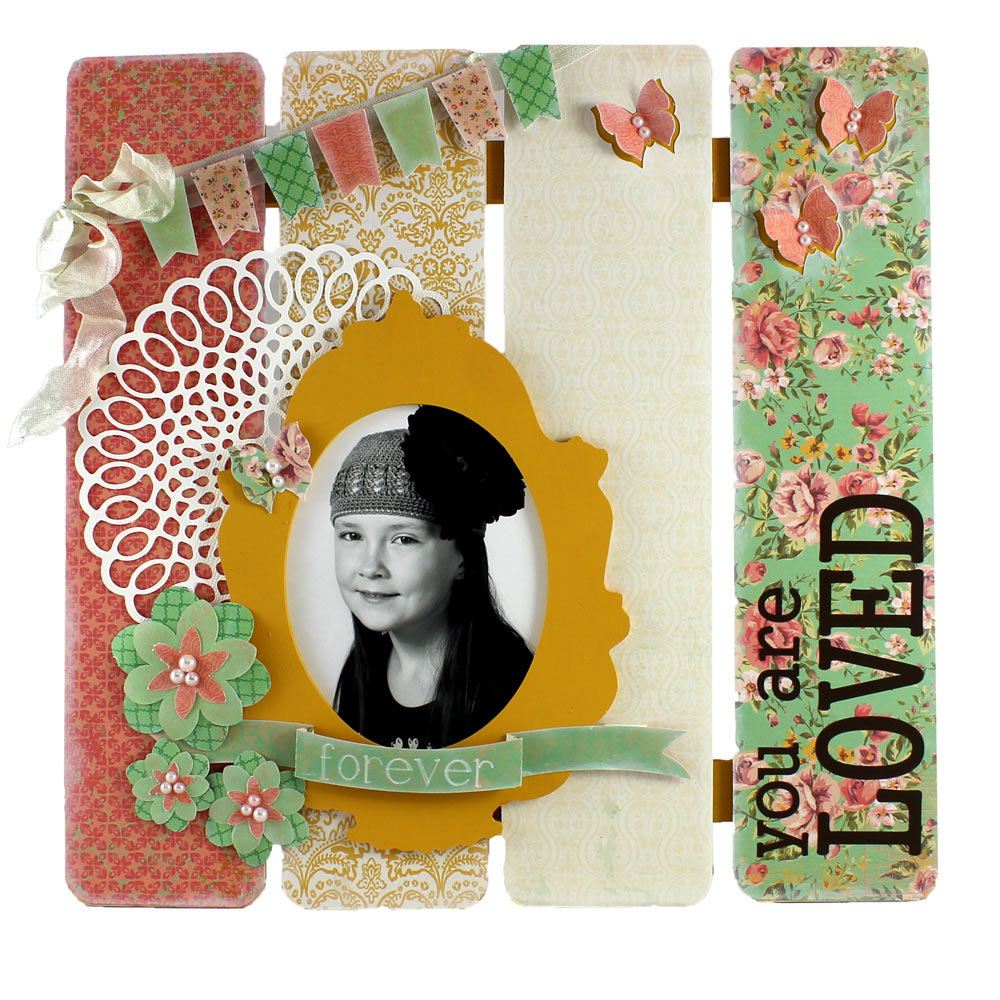
I love to play with paper. That should come as no surprise to those of you who have been visiting this blog for a while. I know you like to play with paper too, or you wouldn't be stopping by today. If it was socially appropriate I would probably cover my walls with squares of patterned paper so I could look at it all day. This cool Kaisercraft 3D Wall Art Kit is the next best thing. The base of these kits is made of wood rather than chipboard so once you have created a masterpiece, it will stand the test of time. The sturdy base makes it perfect to stand on an easel or hang on your wall.


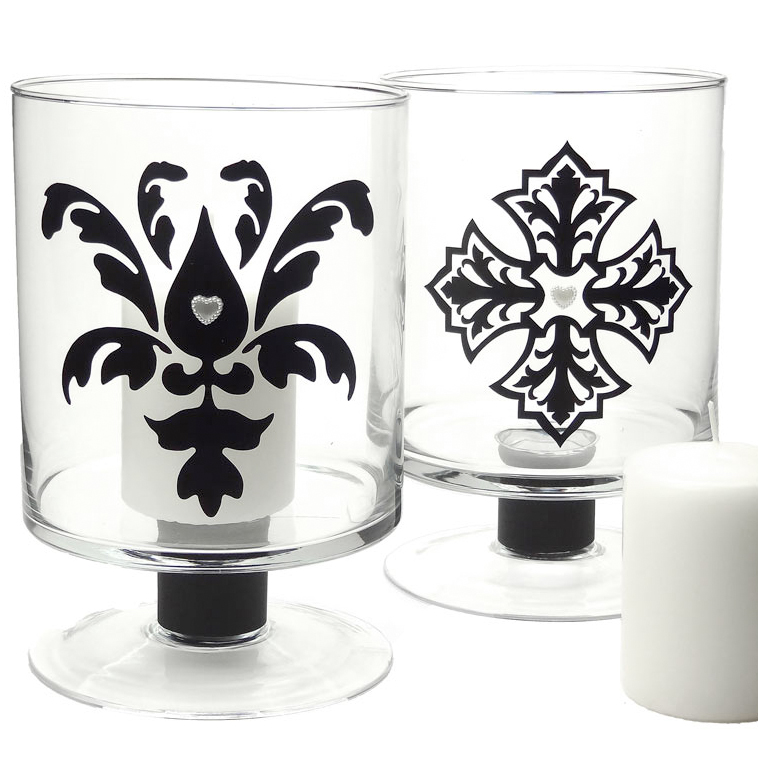
Vinyl Candle Holders

Vinyl Decorated Candle Holders

I like to browse my local Hardware store and find great bargains to use with my Pazzles Inspiration Creative Cutter. The other day I found these glass hurricane lamps including the candles, on sale! There were only two left, at a great discounted price, so I snapped them up. The lamps were lovely but rather plain, and I thought I could make them look more special with a touch of vinyl using my Pazzles.


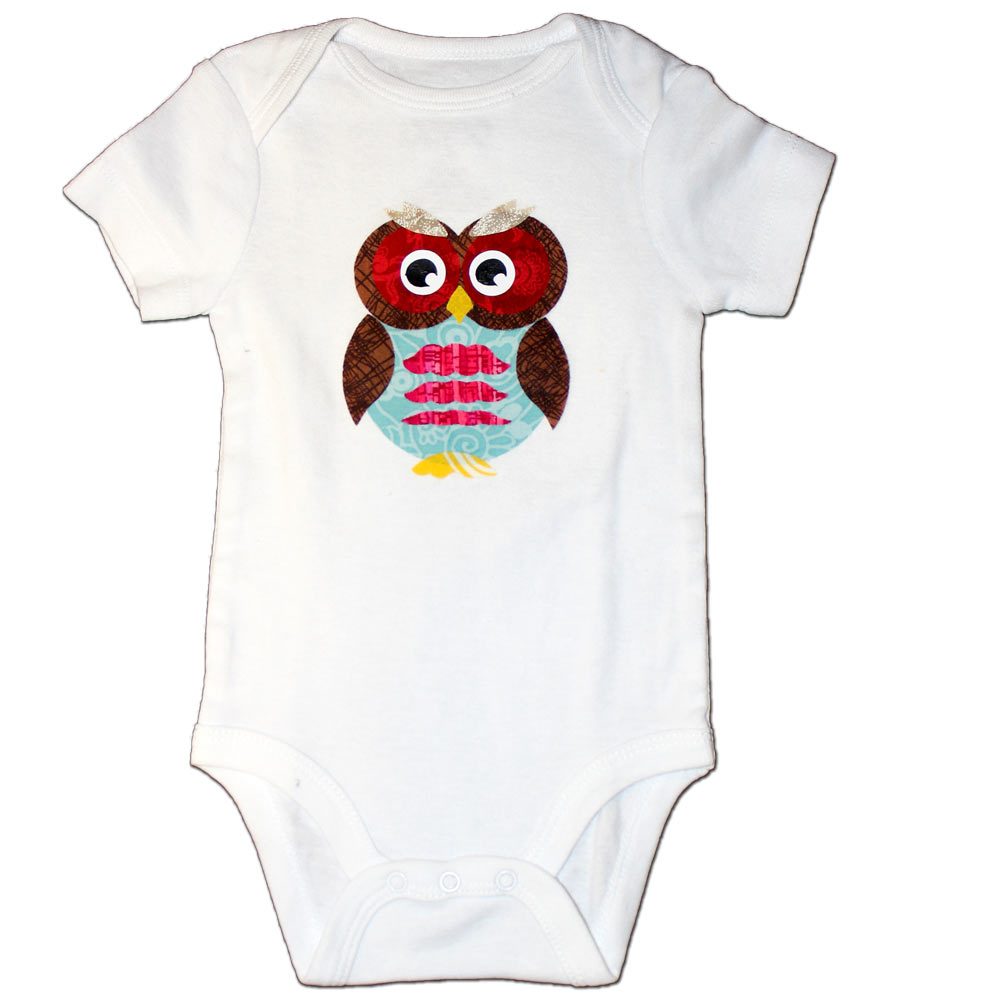
Baby Onesies with Fabric Appliques

As if you didn't need one more reason to love babies, these baby onesies will have you looking for the nearest baby to gift these to. They are so fun to make and will be much appreciated by the momma.


Page 11 of 14« First...910111213...Last »