meheidie


Halloween Lamp with Vinyl Silhouette

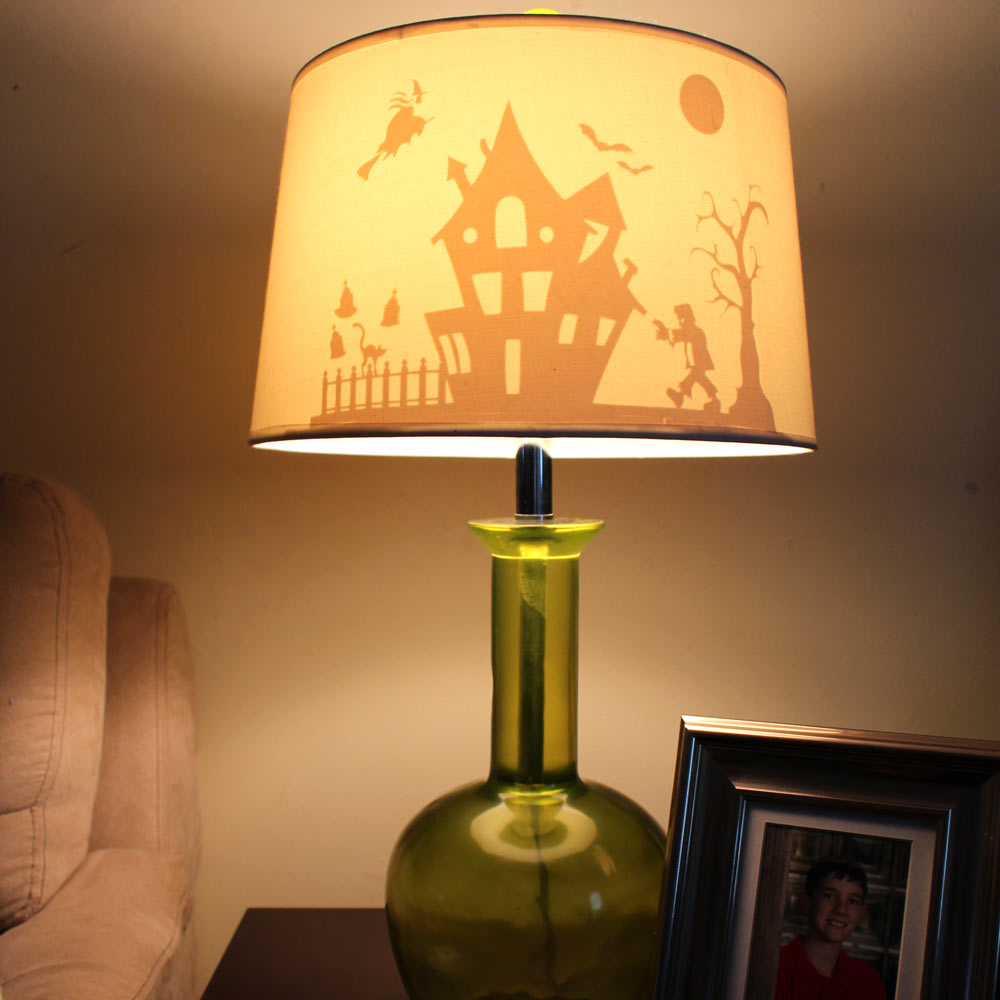
Halloween is right around the corner, and who doesn’t like to decorate for the holidays? This is a super easy project and it’s so much fun! When the lamp is off you can’t see the design. But when someone turns it on, POP, there it is! It is so fun to see their faces when they turn the lamp on! My son said, “It’s kinda like the Christmas tree. I just can’t stop looking at it.” I combined several Halloween files from the Craft Room Library to create this scene. Once I got my design the way I wanted it, I welded the elements together. (Make sure you reverse your design before cutting, especially if you are adding words.) I cut my design out using Pazzles Wall Vinyl in Cotton (White).


Mad Hatter Tea Party Invitation

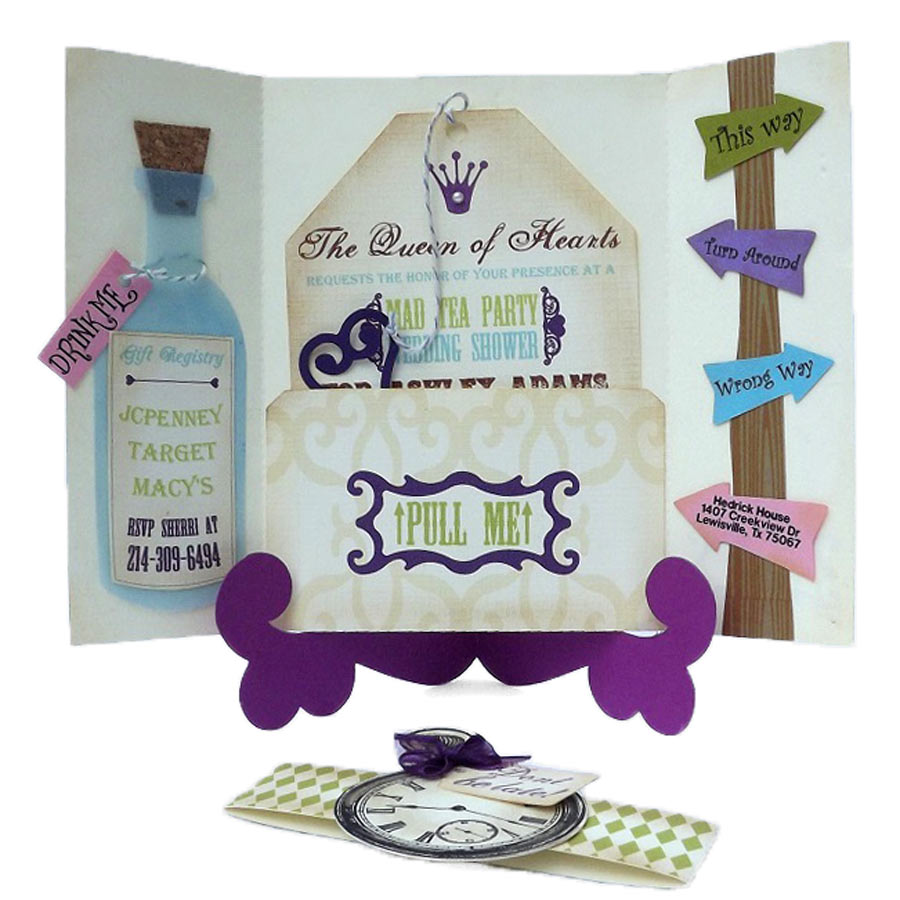
My niece just had her wedding shower this month and asked me to create an invitation for her. The shower was Mad Hatter Tea Party themed. Of course I said yes, and this is what I created for her. I used the Panel Gate Fun Folds Card Base for the base of the card. I printed the Hearts Overlay and the Elegant Layered Frame with the words “Open Me” and “Pull Me” inside the frames onto an 8 1/2x11 piece of cream colored cardstock, then used the print and cut feature to cut the Gate fold card out.


Coffee Cup Gift Card Holder

Coffee Cup Gift Card Holder

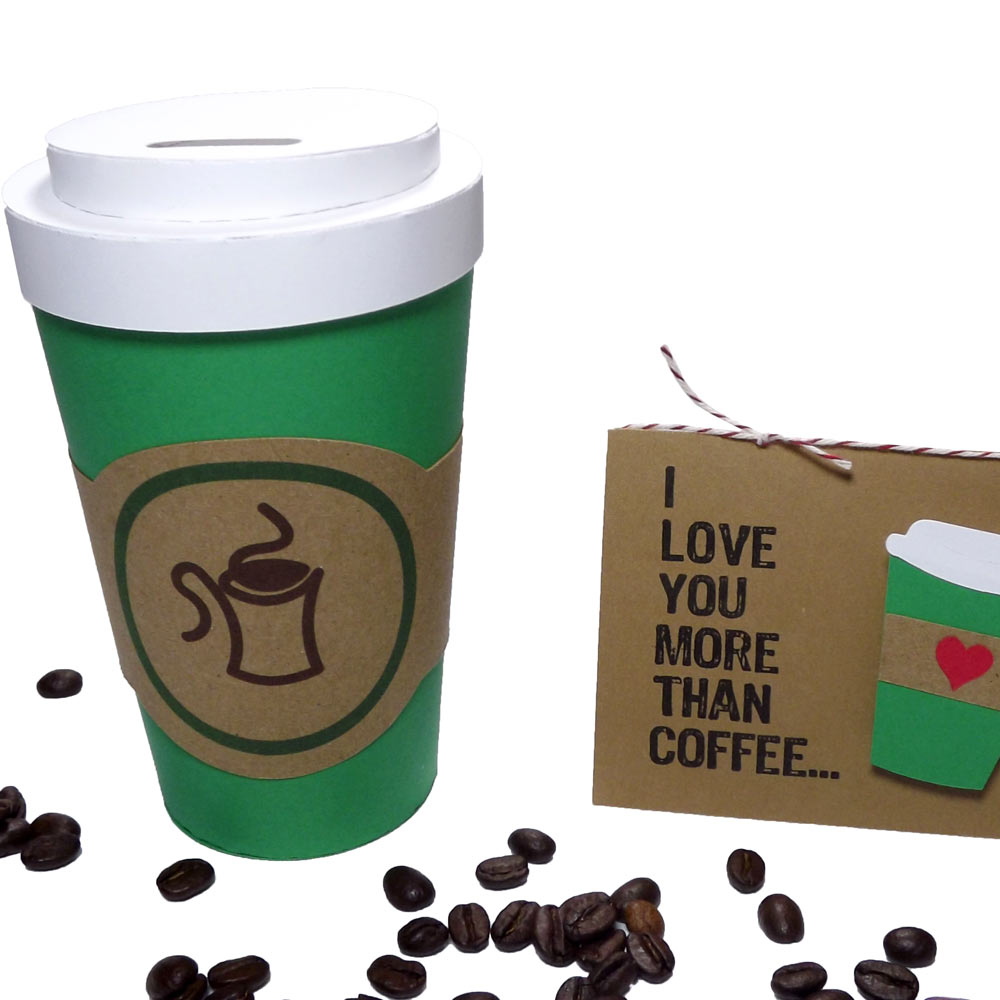
Is it morning yet? Or should I say is it coffee time yet? Ok really, when is it not coffee time? This coffee cup box and gift card holder set would make a perfect gift for anyone on your list who likes coffee. You can fill the cup with biscotti or coffee flavored candy, specialty creamers or really any treat your recipient enjoys. I plan on giving this set to my husband, for a just because gift. I used the print and cut feature to print “I love you more than coffee” on the Gift Card Holder and then cut the Latte cup file out and attached it with an Action Wobble Spring.


Bleach Resist T-shirt Tutorial

Bleach Resist T-Shirt Tutorial

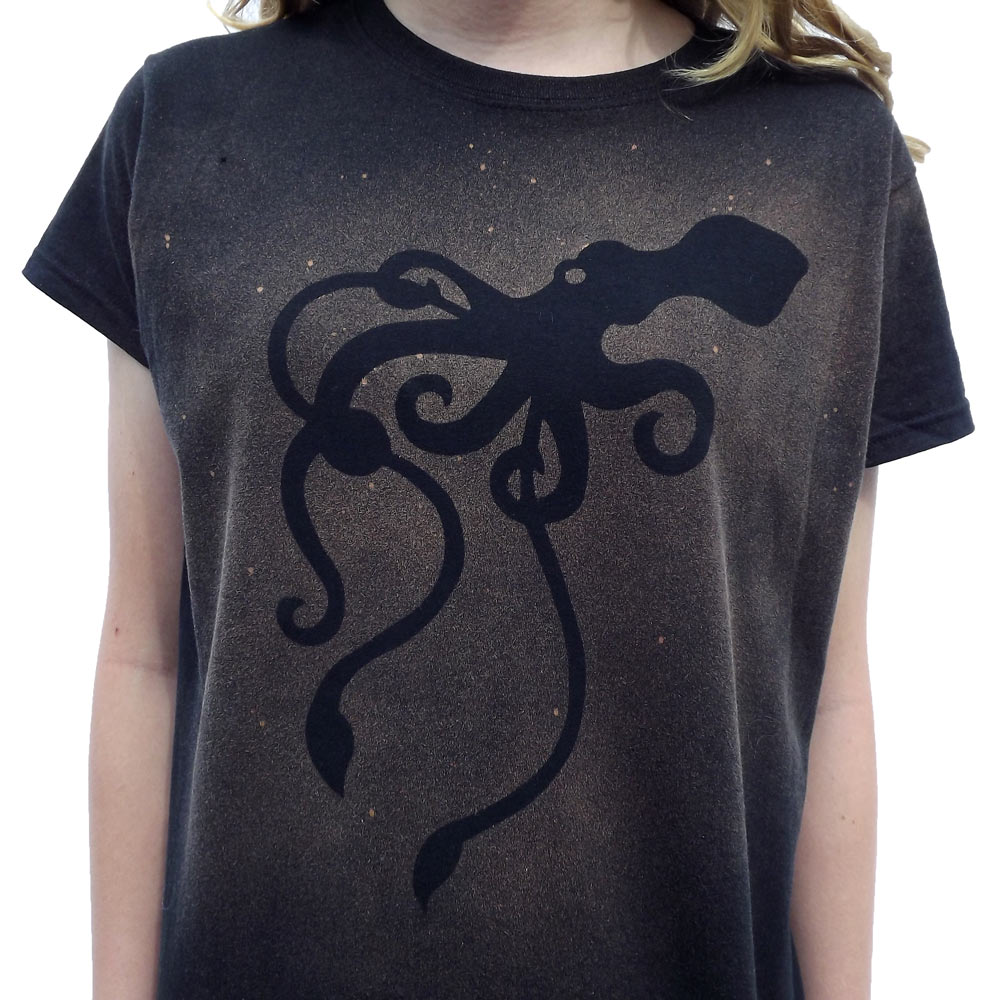
Today DT member Heidi Edwards continues vinyl week with a cool bleach resist T-shirt. She has included instructions for this fun project so you can make your own. 1. First I found an image that I liked in the Pazzles Craft Room. Then I cut it out using Pazzles Permanent Vinyl. I used Vinyl Transfer Tape to transfer the cut out image to my shirt. I pressed it down really hard, to be sure it was stuck to the shirt, being sure I pressed all the edges down well. I peeled the transfer tape off and ran my finger firmly over the more detailed parts of the design, just to be sure. 2. I put the shirt on a platen so the bleach would not soak through to the back. A big piece of cardboard will work just as well. Then I just sprayed it with a bleach cleaner. I know you can use a mixture of water and bleach but the bleach cleaner was handy and worked great. I used a misting bottle. You can get one at Walmart in the travel section.


Superhero Tea Pals

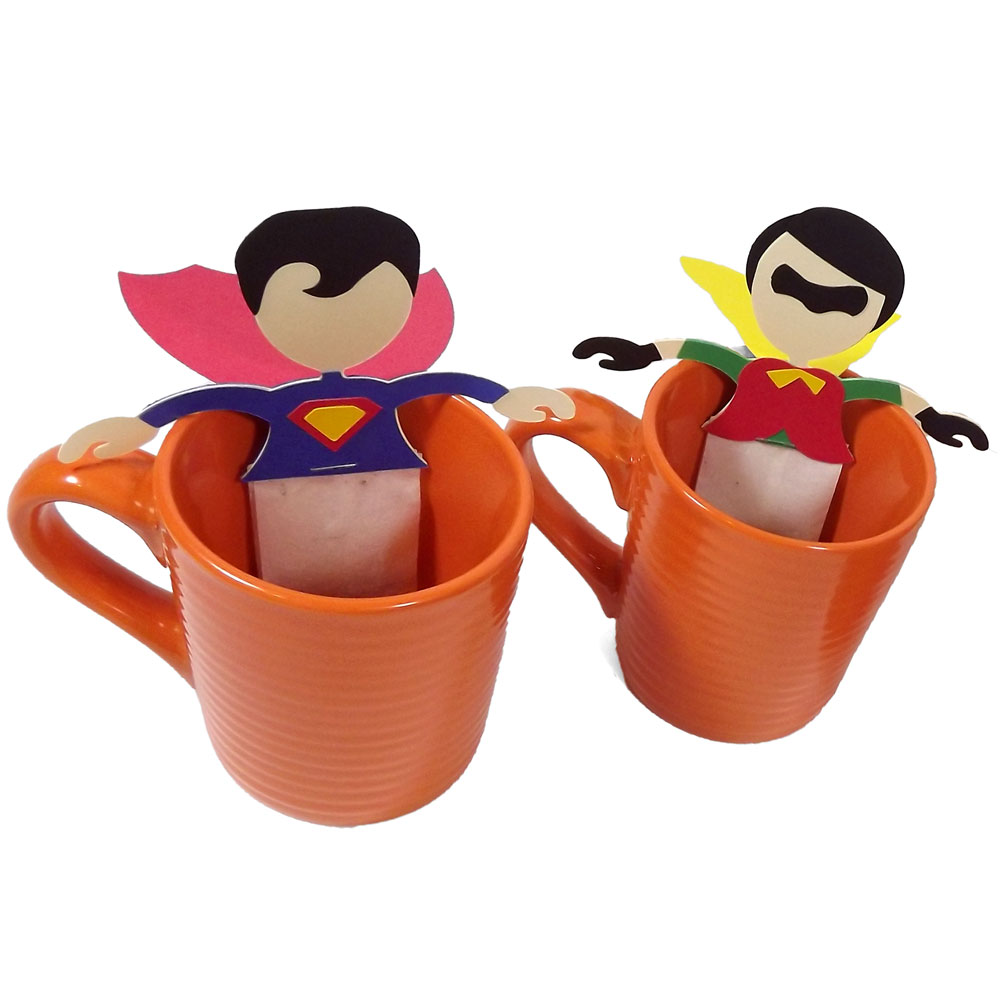
It’s a bird, no it’s a plane, no it’s a super hero tea pal! When a super hero helps you brew your tea in the morning, you will be ready to face any obstacle your day throws at you! They may look like they are maxing and relaxing in a nice hot steamy tub, but we all know what lurks below... I made these tea pals by altering the super hero files found in the Pazzles image library under Fantasy > Fictional Characters. I used the replace by segment tool to cut their arms off, repositioned them, and welded them back together so they could hang on the side of the cup and brew your tea for you. I included the altered files and the body file so you can make your own. I also think it would be fun to cut pictures of your kid’s or family’s faces and glue them to the face part of the file. Another idea would be to use the princess files (found in the same directory as the superhero files) and have a little girls tea party. There are also several other themed characters that will work perfectly with this project.


Baby Shower Wreath

Baby Week: Baby Shower Decoration

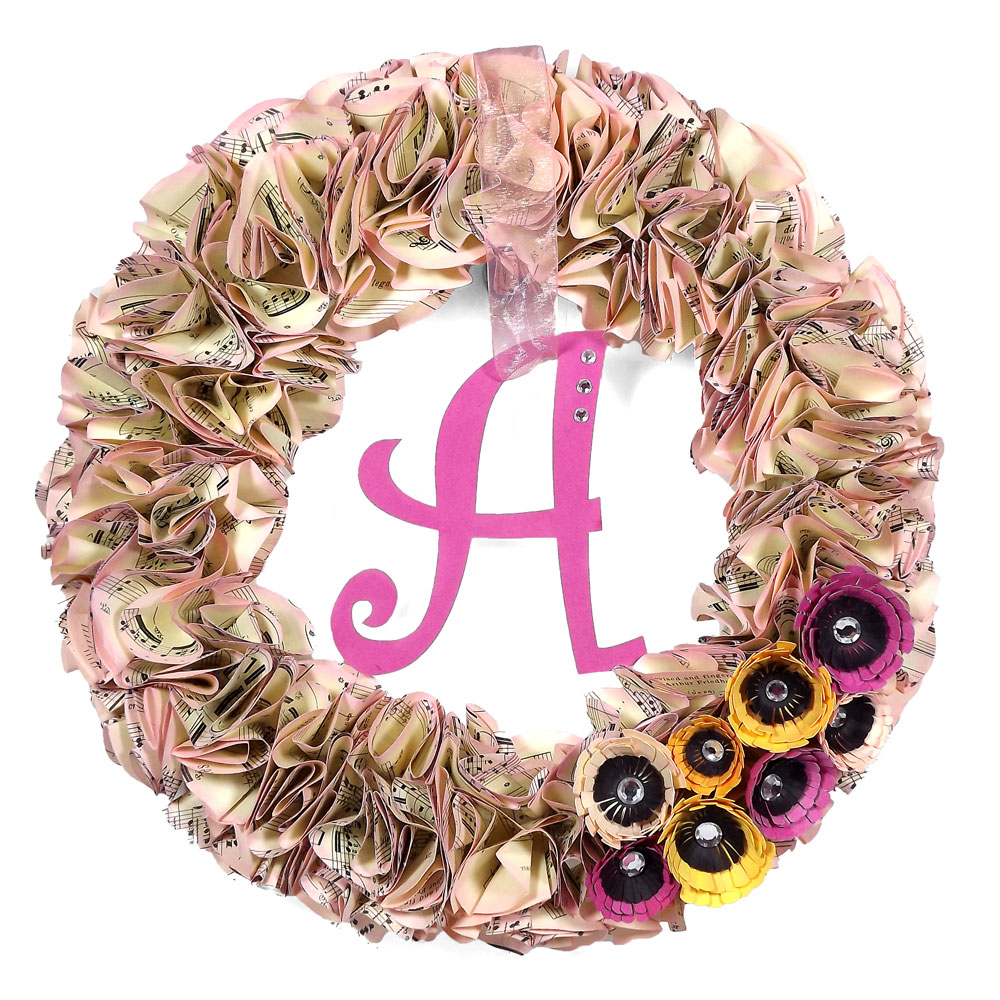
This wreath will welcome your guests as they arrive to your baby shower. It will set the tone and get your guests excited before the baby shower even starts! Once all your guests arrive you can move your wreath inside and use it for an indoor baby shower decoration too! It can easily be changed from girl to boy with just a little tweaking. Instructions: I cut about 130 3.25 inch circles. Yes, I know this sounds like a lot but it goes super-fast using your Pazzles Creative Cutter! I used a 90 year old music book for mine but you can buy a cheap book at a thrift store, use printed scrapbooking paper, print your own on your printer or just buy colored copy paper. I think it would be precious to use an old nursery rhyme book. *NOTE: The paper you use for the circles needs to be the thickness of copy paper or the pages of a book. You don’t want to use cardstock for this project. The paper needs to be flexible as you are gluing them very close together and cardstock creases easily, giving your wreath a more angular look. Instead, we are going for a softer feel since it is for a baby shower.


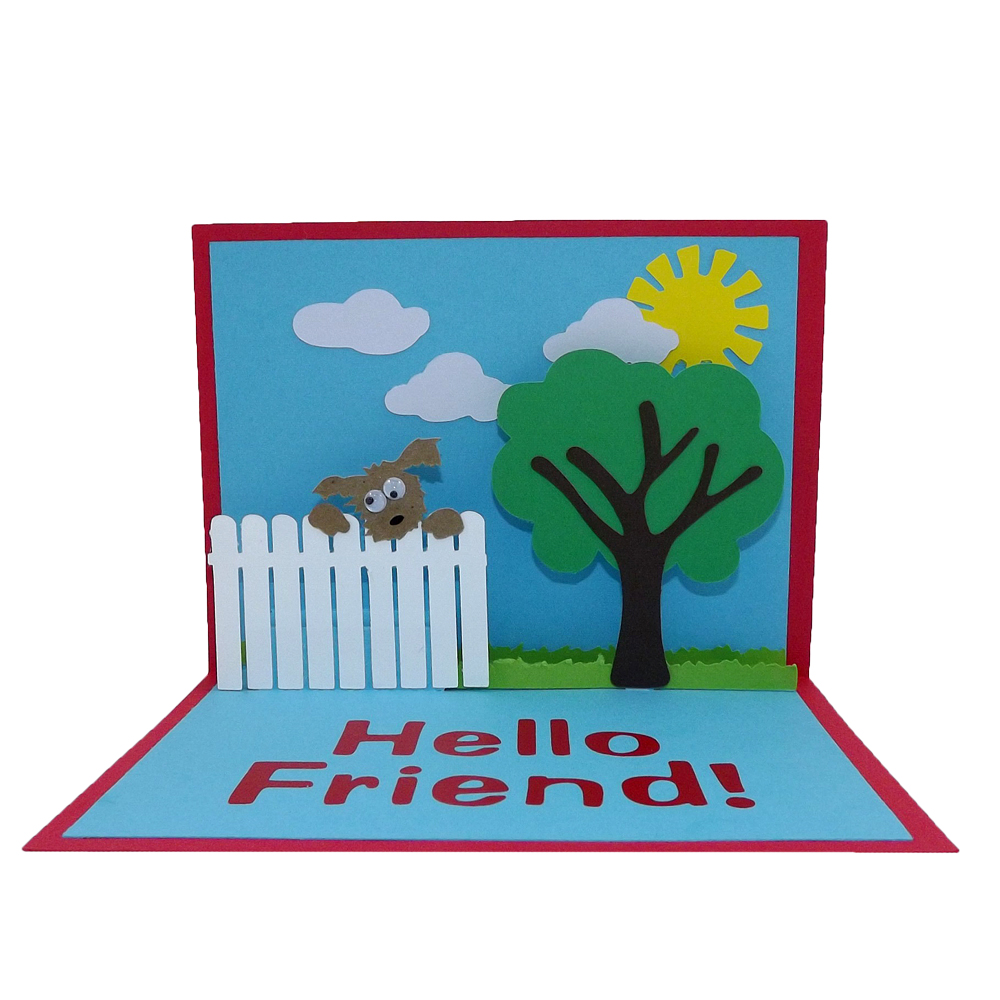
Pop Up Friend Card

Pop up cards are so much fun! I love looking at the face of the recipient when they open the card and see it come to life! This card was made by following the Basic Pop Up Cards Video. The little dog hanging over the fence is hoping to get a pat or two, or maybe a treat!


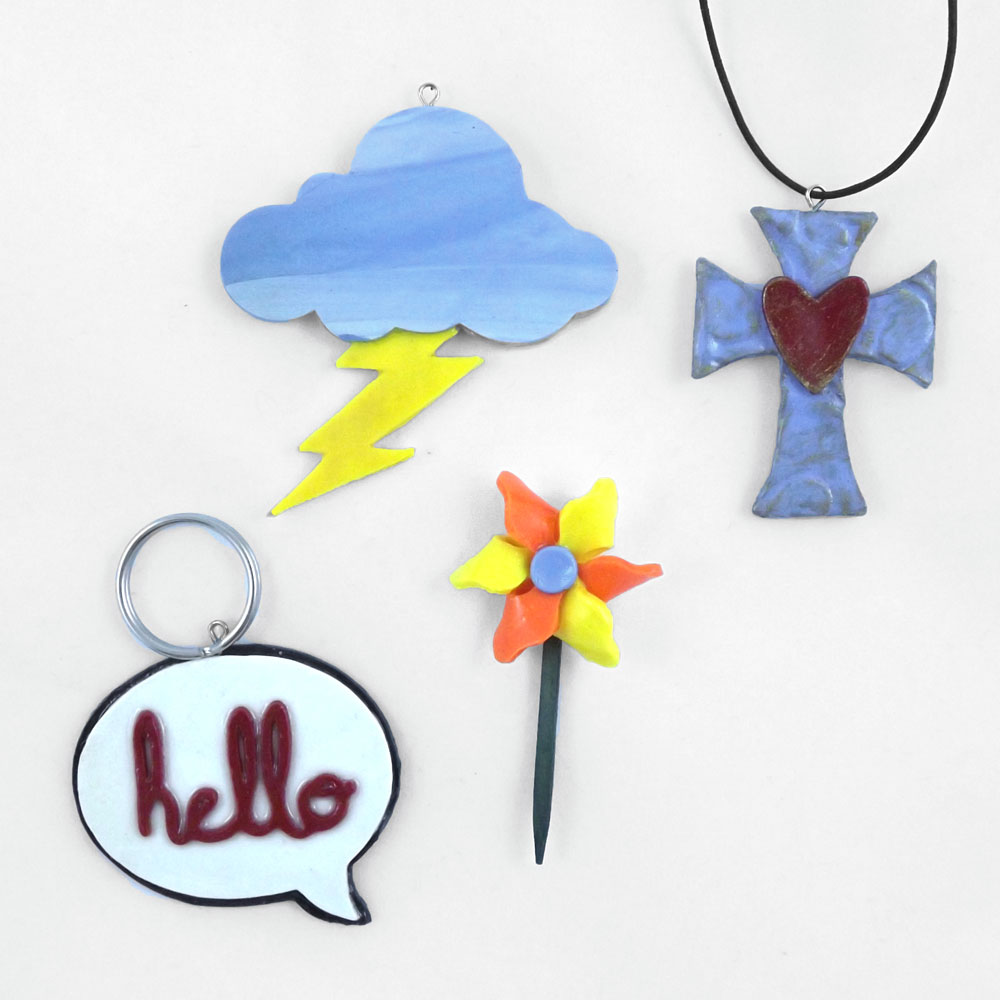
Polymer Clay Pendants With the ...

I am so excited about this project! I made these pendants using the Pastry Tool, Pastry Mat and polymer clay. Just like all other types of mediums you cut on your Creative Cutter, the possibilities are endless! It’s amazing the detailed cuts you can get using clay! To get started, watch Klo’s Polymer clay video for some fabulous instructions. It is in the January 18th – 21st Marathon classes, sessions 10 & 11. The files I used are found in the Craft Room Library and are listed at the end of the instructions. First, I rolled my clay out using a pasta machine using a thickness of 5. I placed my rolled out clay on my Pastry mat and patted it down until I was sure it was firmly stuck to the mat. Then I chose my design and cut it out. I used a pressure of 13 and a speed of 2. The blade is stationary so you do not have to adjust it. I cut two of my design out and layered them on top of each other so I would have the thickness I wanted and also to hide the jewelry pin inside.


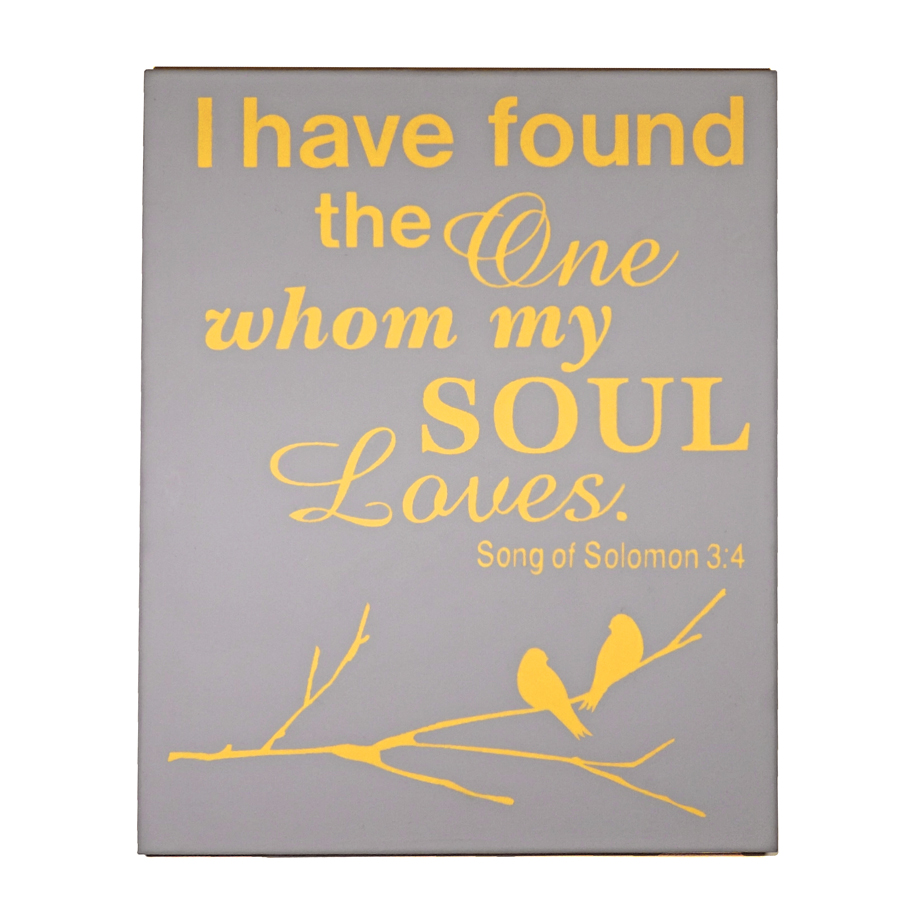
Vinyl Resist Home Decor Canvas

I could hardly wait to do this painting! We just redesigned our master bedroom and went with a totally different color scheme than we had before, so our previous wall hangings had to go. What is an owner of a Pazzles Creative Cutter to do? Well make your own of course! I have seen this type of art work on line and knew it was what I had envisioned for my bedroom. It was a pretty simple process and the possibilities are endless. I measured my surface (In my case a 20" x 16" canvas). Then I opened my Pazzles software and changed my page setting to 20" x 16" so I would know that my design would fit nicely on my canvas. I used the Bird On A Branch file. I altered it by copying the bird, mirroring it and adding it back to the branch next to the original bird. I then welded it all together so it would cut out all in one piece. I made my own word art using true type fonts. Make sure any cursive fonts are welded before cutting. Obviously our Pazzles will not cut a 20" x 16" design, so I had to break up the design and adhere to the canvas in parts. I was able to keep all the words together, but the branch did not fit in the same cutting area so I cut it separate from the word part of the design and lined it up manually on my canvas. It wasn’t hard to do, just an additional step. This will not be an issue if your surface is smaller than 12 x 24. I chose two paint colors that matched my color scheme, then painted the canvas in one of the colors using a small paint roller. I tried it with a foam brush and got not so great results. The roller worked great and gave me an even coat of paint. While it was drying, I cut my design out using Pazzles REMOVABLE wall vinyl.

Paper Hula Girl Bobble

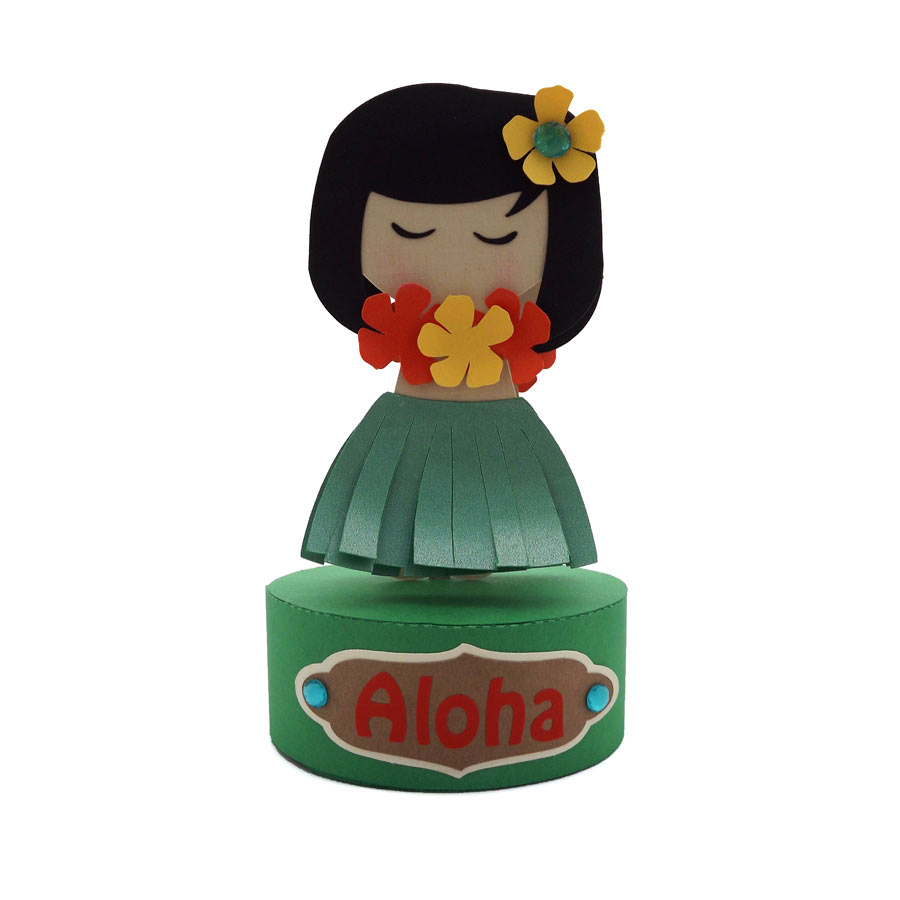
Aloha fellow Pazzlers! Does anyone you know have one of those Hawaiian girl bobbles on their car dashboard? My grandparents did, and I played with it every time I got in their car. I just loved watching her swing back and forth with every bump in the road. Because of those memories I knew the very first time I saw the Hawaiian Girl file that it needed to be a bobble!! She is so cute! This little hula girl is learning her native dance with the help of an Action Wobble Spring. Her base is actually the Glamour Girl Compact Box so it can hold secret treasures. She is sitting on my desk and every time I sit down to work I have to give her a little tap so I can watch her do her dance.


DIY Scrapbook Embellishments: Bicycles and ...

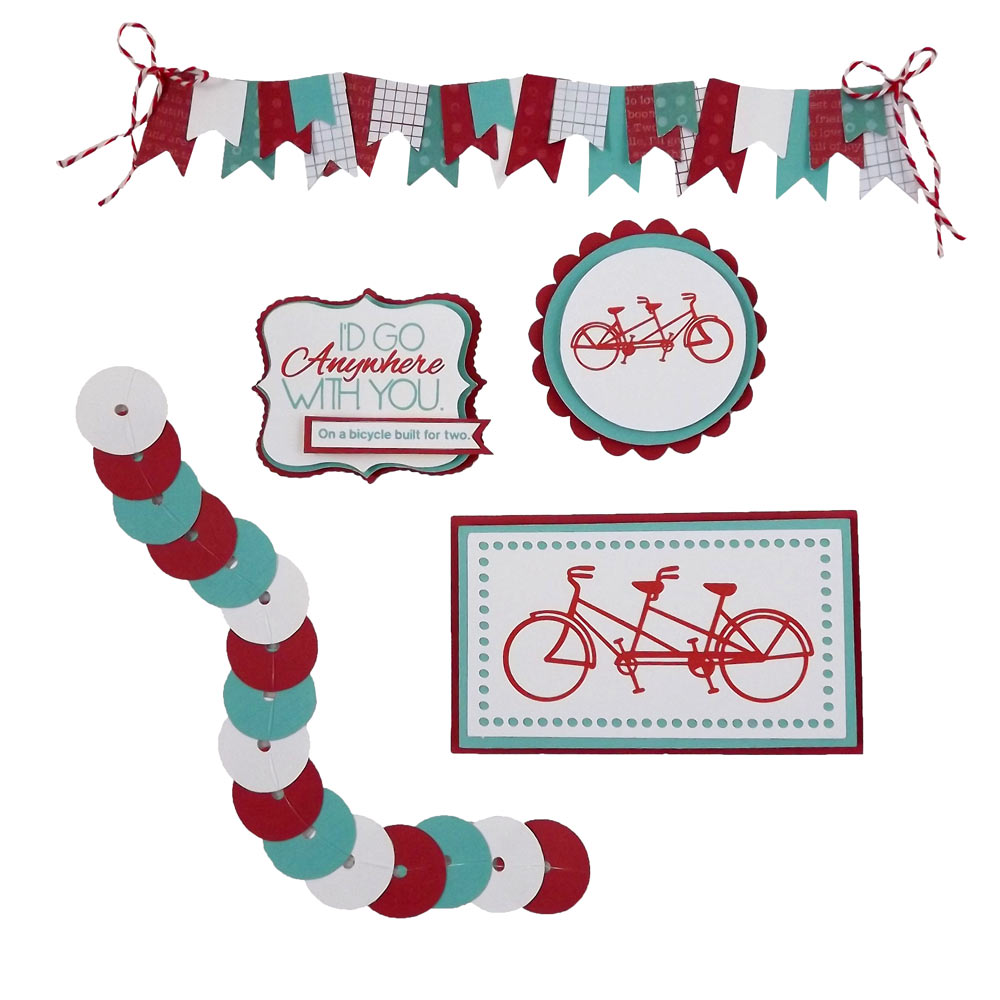
I love to bike ride. It’s so nice to breathe the fresh air. It makes me feel so carefree… until I have to pedal up a steep hill! I have always loved the novelty of tandem bikes and wished I had one…so someone else could pedal! I made five different embellishments to help me savor the feeling I get when I ride my bike! I hope they will inspire you and help you get your scrapbooking page or card put together in a snap. Though I chose a bike theme, these embellishments can be turned into any theme you can imagine. Instead of using the quote, "I would go anywhere with you. On a bicycle built for two”. You could say “If friends were flowers, I would pick you”. Then change the pictures of the bicycles to pictures of flowers. All the embellishments using images or quotes were cut out using the print and cut technique.


Sun And Cloud Gift Box

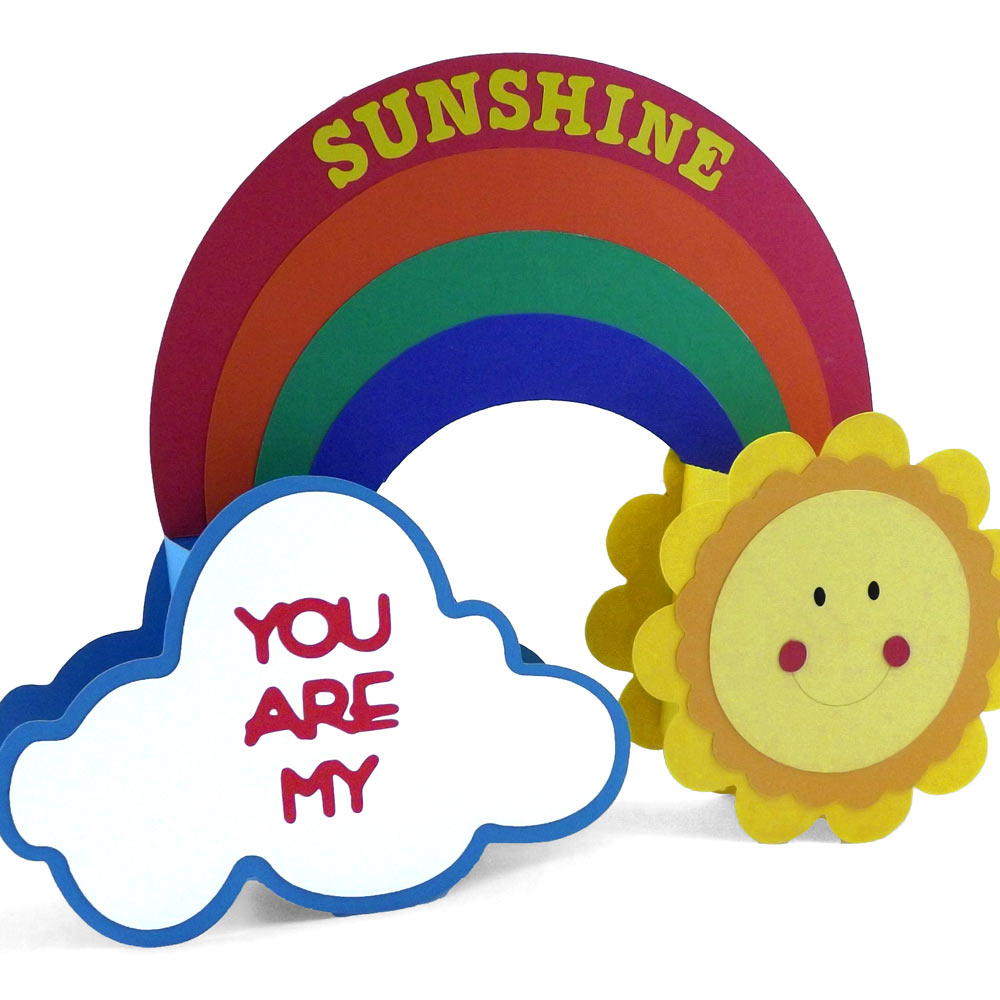
It’s Sunshine Week at Pazzles! All this week we are sharing sunshine inspired projects to warm your hearts and inspire some bright, cheerful crafting! Goodbye winter! Hello Sunshine! I am a sunshine kinda girl and I am glad winter is behind us in the US. I decided to celebrate the warmer weather with a sunny project. I made this sunshine box using the Sunshine Title, the Scallop Sunshine file, and the St. Patrick’s Day Pot of Gold Treat Box. I used vinyl for the lettering because I love the fact that you transfer all the letters at once and they are already lined up. No glue, no fuss. I followed the directions that are provided with the St. Patrick’s Day Pot of Gold Treat Box to assemble the box, but I moved the cloud to the left side and instead of using the pot of gold, I substituted the Scallop Sunshine file.


Spring Prom Paper Boutonniere and ...

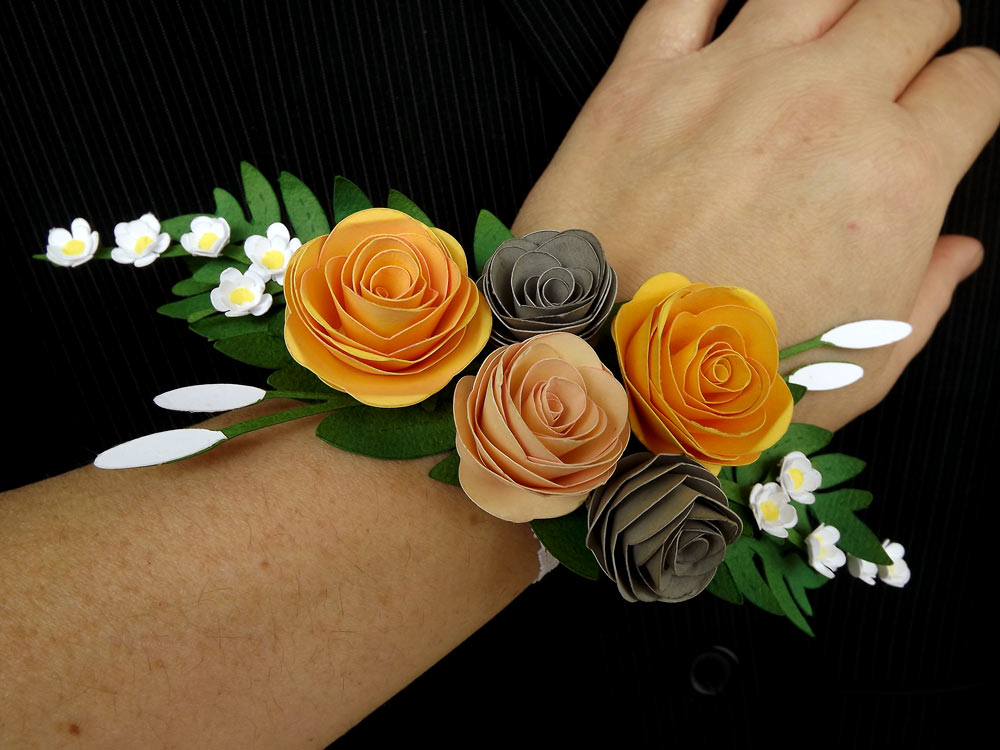
Spring is in the air and that means lots of beautiful flowers, a visit from the Easter Bunny, and lots of fun filled spring dances! I created this wrist corsage and boutonniere so you and your sweetie can look fabulous at your spring fling. They are both completely made out of paper with the exception of the elastic lace band on the wrist corsage. Just think, by the end of the night your corsage and boutonniere will still look wonderful while others will be wilting away. They can be kept forever so you never forget the terrific night you had!


Need 4 Speed Cutting Collection: ...

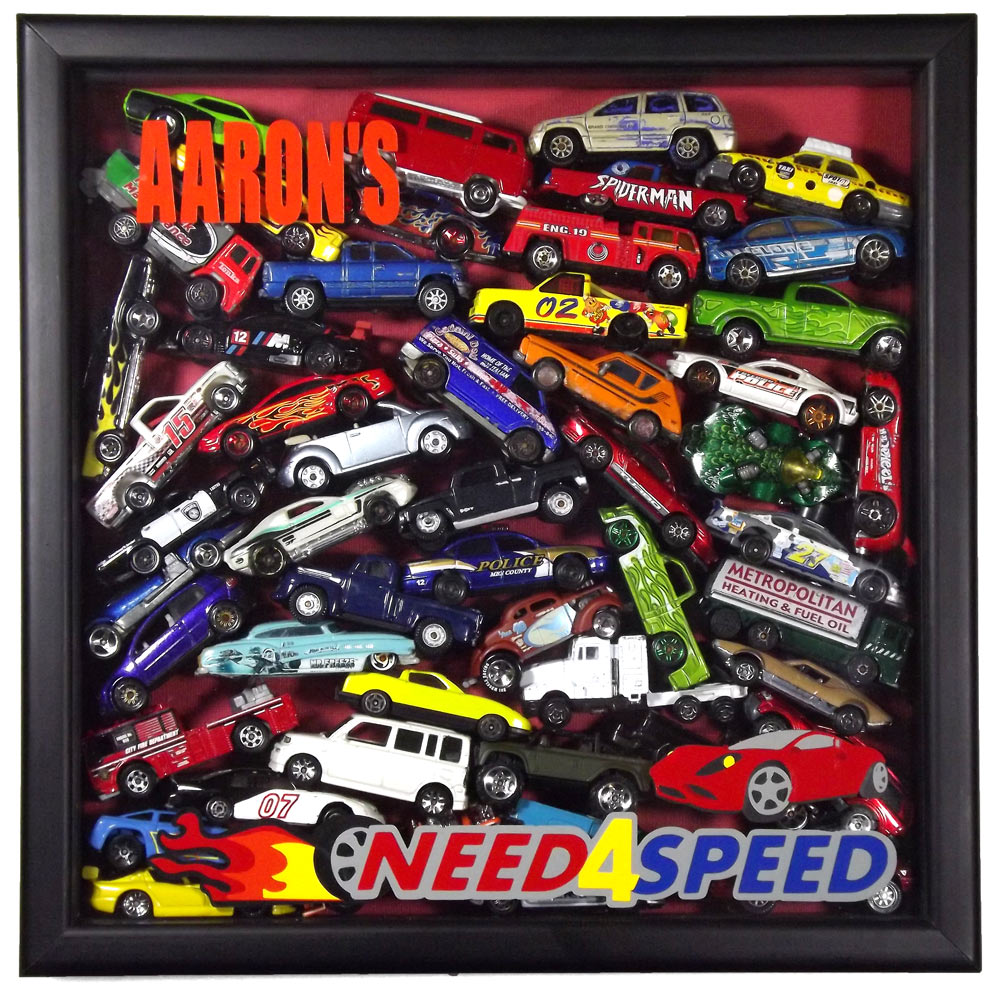
My son loved his little cars when he was younger. He always pretended the cars were driving really fast and the police pulled them over. He played with them almost every day, and we rarely left the house without at least one in his pocket. But this too shall pass…ho hum. We recently cleaned out his toy box and I found all his beloved cars at the very bottom. He was hesitant to get rid of them but he also said, “I don’t really play with them anymore”. So when I saw the Need 4 Speed Cutting Collection I knew right away what I was going to do with it! I purchased a 12x12 shadow box, took the back off, laid it face down and filled it with his most favorite cars. I used vinyl to cut the files out, layering them as I went and applied it to the glass front of the shadow box. He was so happy and even got a little sentimental when I gave it to him. I hope it provokes those feelings every time he sees it.


Valentine Gift Set

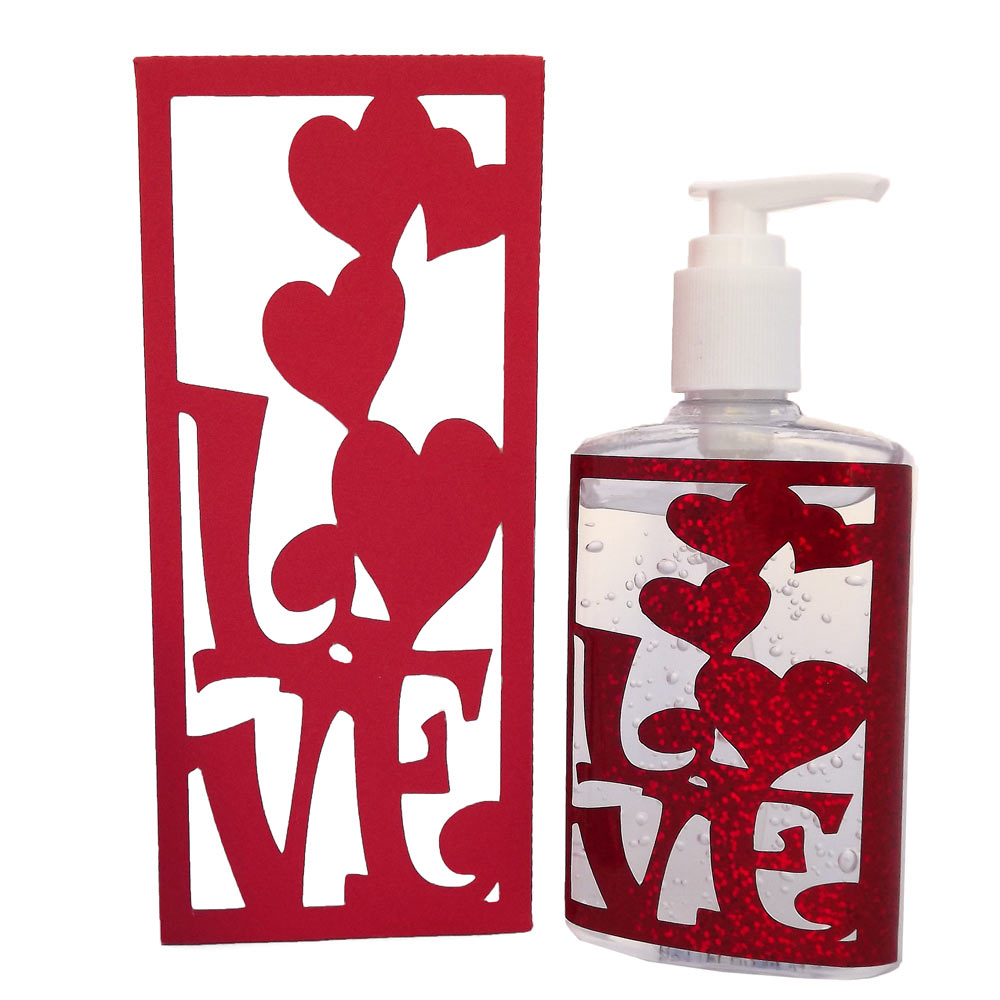
I keep hand sanitizer in just about every room of my house. I think the bottles are boring and stick out like a sore thumb so I decorated them for Christmas and that got me to thinking…why not do it for every holiday or season? I used the subtract weld technique to create these fun Valentine’s Day covers. I used vinyl so splatters would not ruin the design. Now the bottles are a part of the holiday decor instead of an eyesore.


Layered Prize Ribbons Using The ...

Isn’t it fun when you get an award? Your heart starts racing, you have an uncontrollable smile on your face and maybe a little more color in your cheeks than normal. I think it’s almost as much fun to give the award as to receive it! Can you think of someone in your life that has reached a milestone or is just a great person? There are lots of reasons to celebrate a person or an event. How about putting one in your child’s lunch box just for being “The Best Kid Ever”? Or do what I did, and use it on a layout. I always use my Pazzles Inspiration Studio software to design my layouts. I love that I can easily move the elements of my page around, change my mind and move them again...lol. It is also fabulous that I can pull files right from the Craft Room Library, size them to fit, and use them on my layout. It sure makes the design part of my layouts go smoother and I know everything will be the exact size I need when I cut it out.


Halloween Eyeball Box

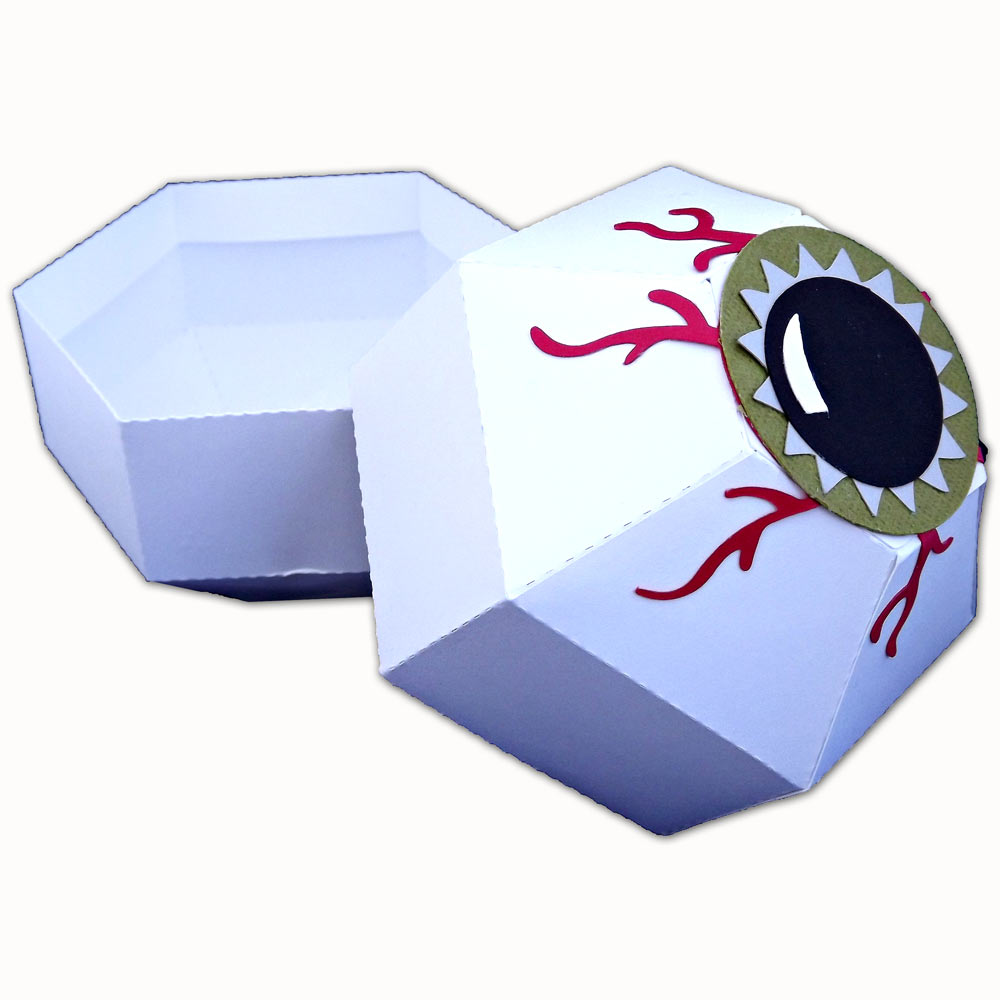
I got my eye on you! Are your Halloween treat boxes made yet? If not, this is a quick and easy treat box to make at the last minute. I only used two files to make it. The Round Box File and the Eyeball Card cutting file. I cut and assembled the round treat box as is. I enlarged the eye part of the eyeball card so the circle of the eyeball covered the top flap of the round box. Then I just glued the eye on the top of the box. Draw in the white reflection mark on the black circle part of the eyeball with a white gel pen.


Halloween Characters Treat Boxes

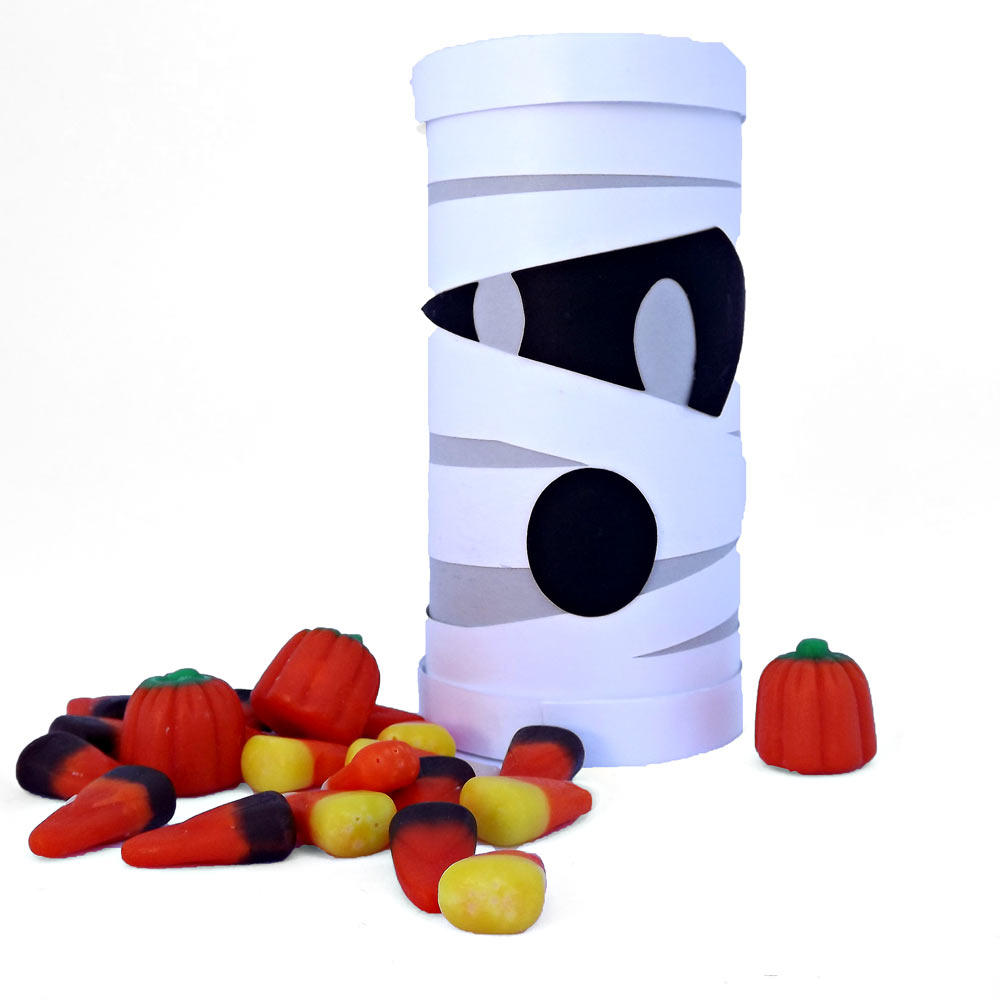
I’m always looking for some sort of treat box or gift to give out as party favors, or small gifts to my neighbors or the teachers and staff at my kid’s school. These treat boxes fit the bill perfectly! They were made using the Soda Can box file for the base, and the faces from the Witch, Frankenstein, Dracula, Lil Blue Monster, Mummy and the scar for Frankenstein from the Franky and Friends cutting file. All of these files can be found in the Craft room for reference.


Page 3 of 3123