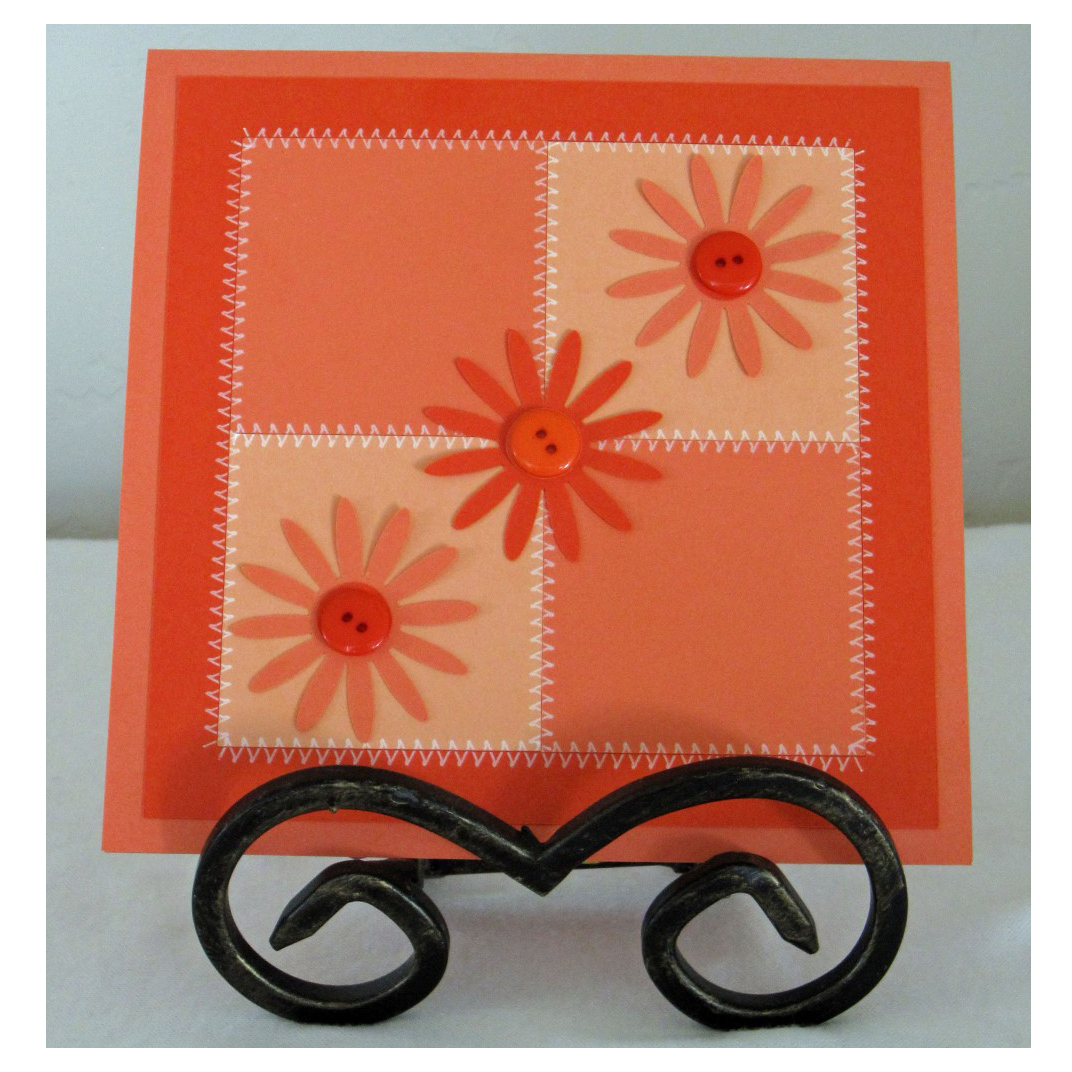
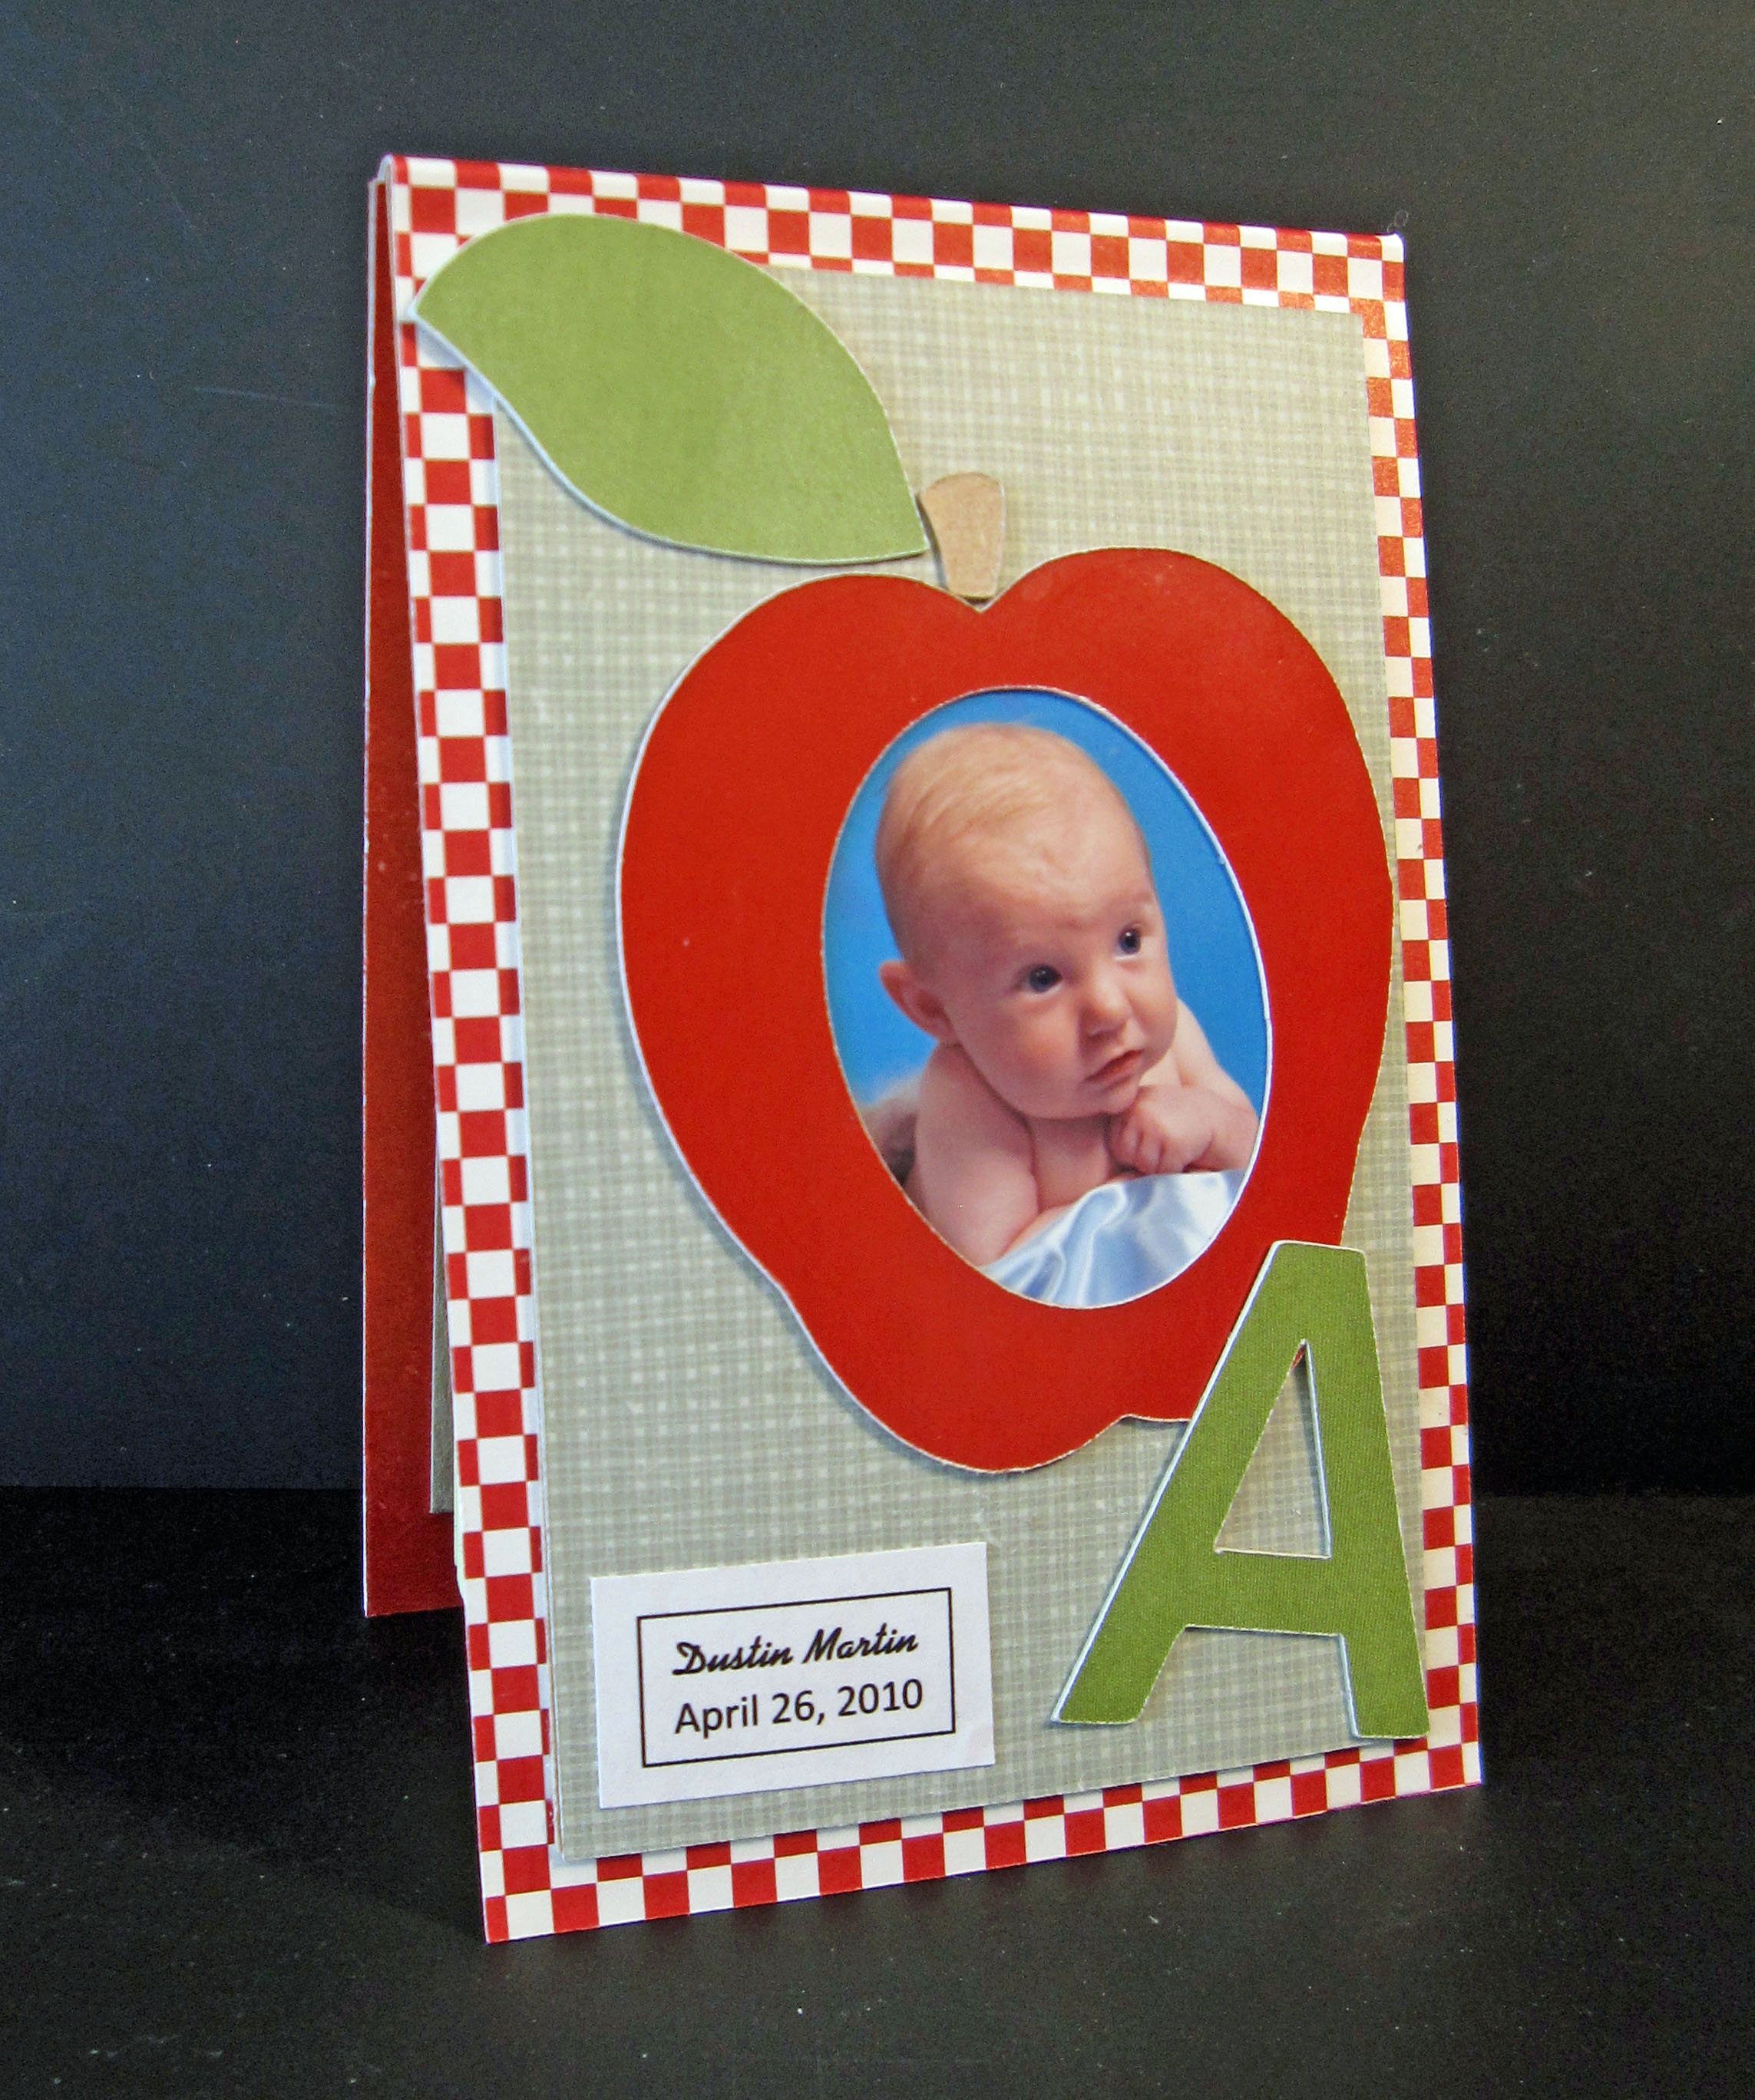
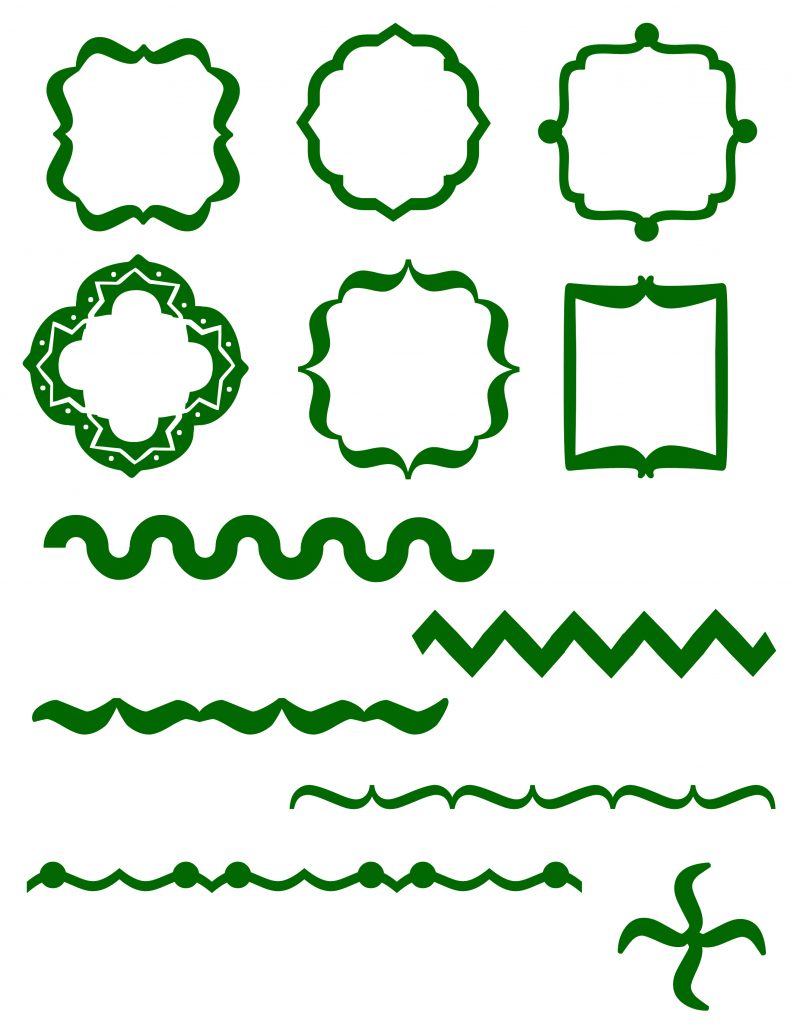
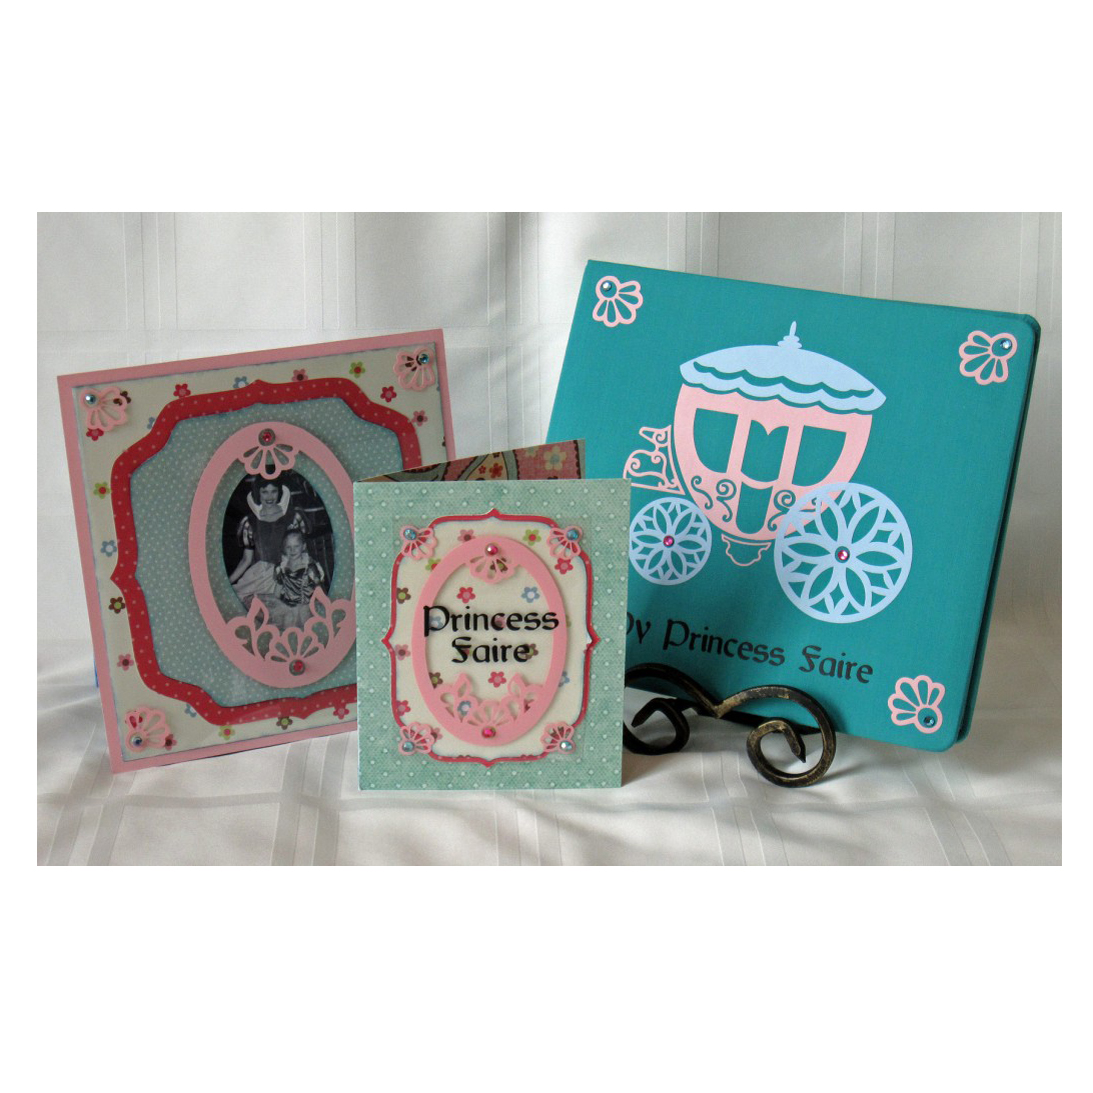
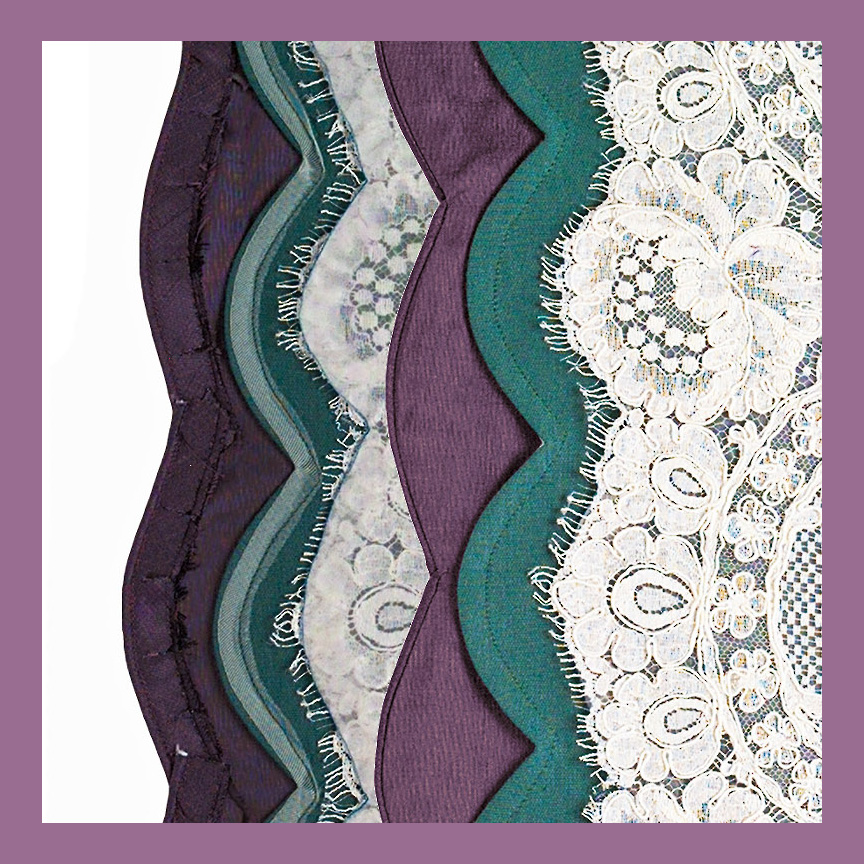
I’m back after taking a week off. My newest little grandson, Dustin, decided to surprise us all by arriving 3 weeks early! I have been busy taking care of my 4 other grandkids and helping my daughter catch up on her work. I have to say that I am exhausted and I salute all of you Moms out there! I had forgotten how much work 4 kids can be. To make it up to you I have added another video on making peaked scalloped frames and borders.
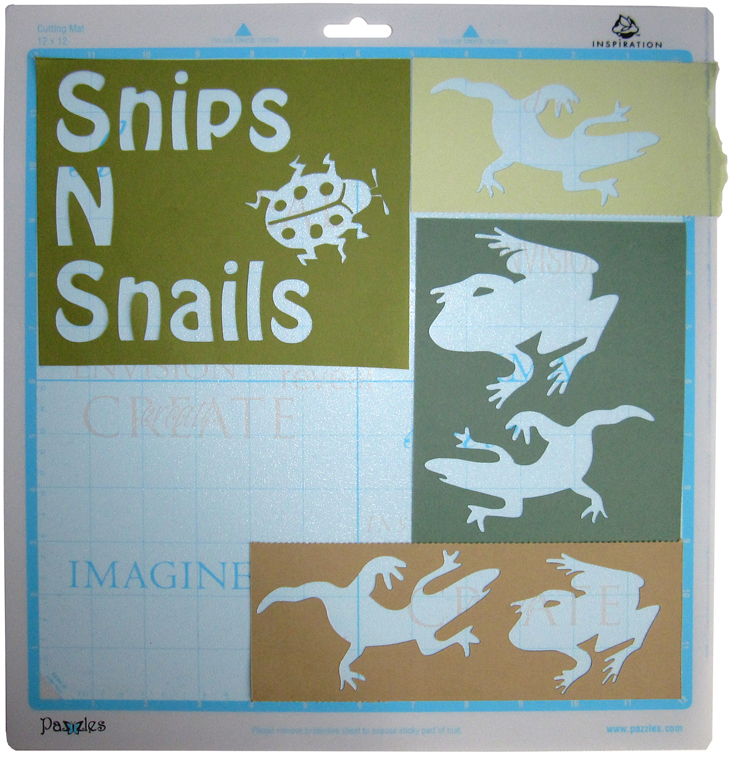
This week I wanted to give you some great tips on positioning your scraps so that you can easily cut out several pieces at one time. There is no need for a gimmicky laser light to find the edges of the paper. The method I am showing you today is just as fast and easy too.
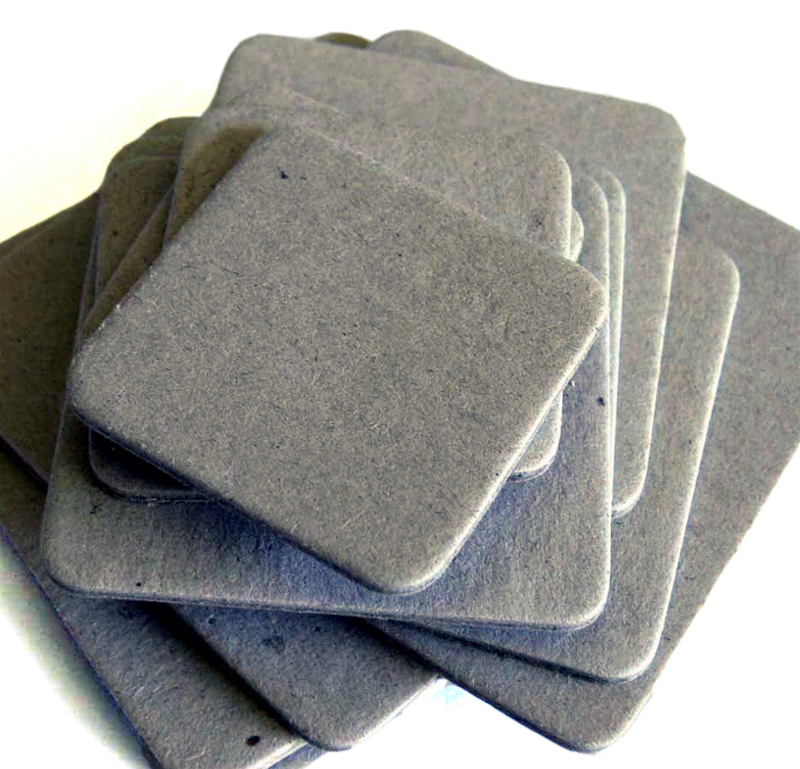
As I am working, I have one big bin that I place my scraps into. When I have a chance or when the bin is too full, I sort my scraps into colors and store them in separate containers. When I start a new project, I decide on my color theme, look for a base or background paper and then go to my scraps. Sometimes I don’t find anything but usually I can find a piece or two that will work. I love it when I can cut virtually everything from scraps but that does mean a lot of small pieces of paper to cut.