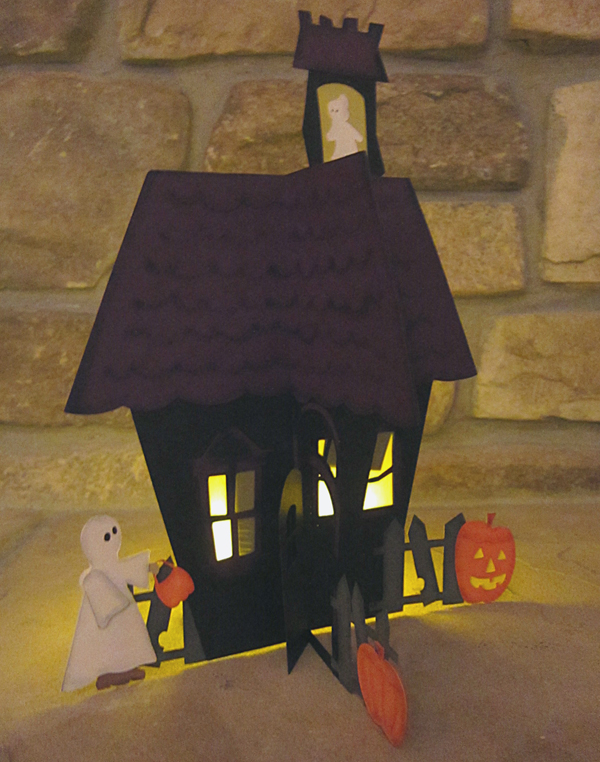
Dimensional Haunted House
This dimensional haunted house can be as scary or cute as you want it to be. I have created one that is definitely on the cute side. Change the props and add spider webs, bats and monsters to make it more creepy!
This dimensional haunted house can be as scary or cute as you want it to be. I have created one that is definitely on the cute side. Change the props and add spider webs, bats and monsters to make it more creepy!
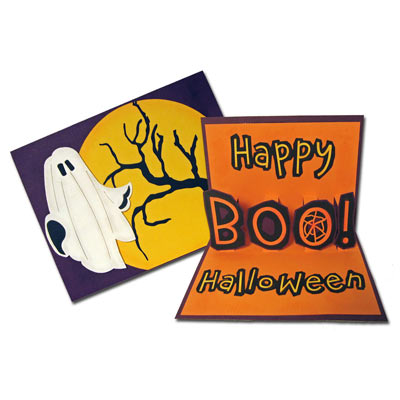
Halloween is the perfect occasion for Pop Up Cards. After all, you almost expect spooky things to pop out and surprise you. Pop up cards are not hard to make and add an extra dimension of fun to the card. If you have a grandchild who lives far away, a pop up card will remind them of how much you love them. Of course, pop up cards can be used for any occasion and can turn a ho-hum card into a "Wow, would you look at that!" card.
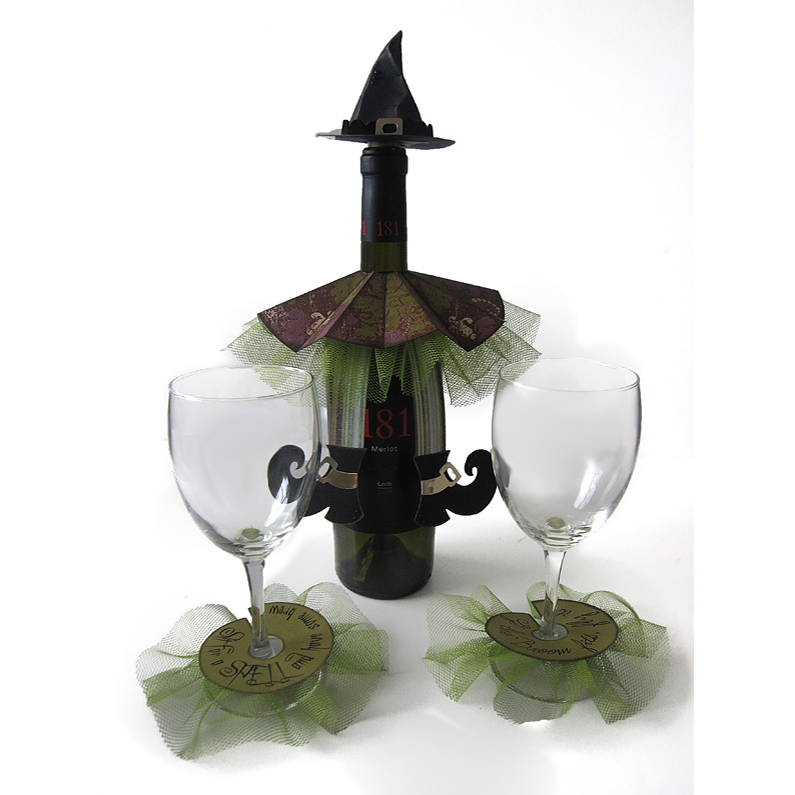
Halloween has become less about the candy over the years and more about the food, and good friends at our parties. I always like to bring the hostess of the event a little surprise and I thought this would be a perfect gift for our Halloween get together this year. What a great way to dress up a bottle of sparkling apple cider or your favorite bottle of wine to go along with all the goulish snacks and dips. I even included some wine tags with some cute sayings on them so that you don’t lose your glass at the party. It’s another great way to customize your glasses with either your guest’s names, or just to put a smile on their faces. “Witch”ever you decide to make, I hope you and your friends enjoy a very spooky, Happy Halloween!

The Pazzles Craft Room has been providing projects and inspiration for over two years now. With so many new ideas coming out all the time you might find your head is spinning a bit trying to find and remember all of the projects available. We love helping you get prepared for the holidays and wanted to make sure that you don't forget about some of our past (but still wonderful) projects. So here is a handy guide for you to see all of our past and present Halloween projects!
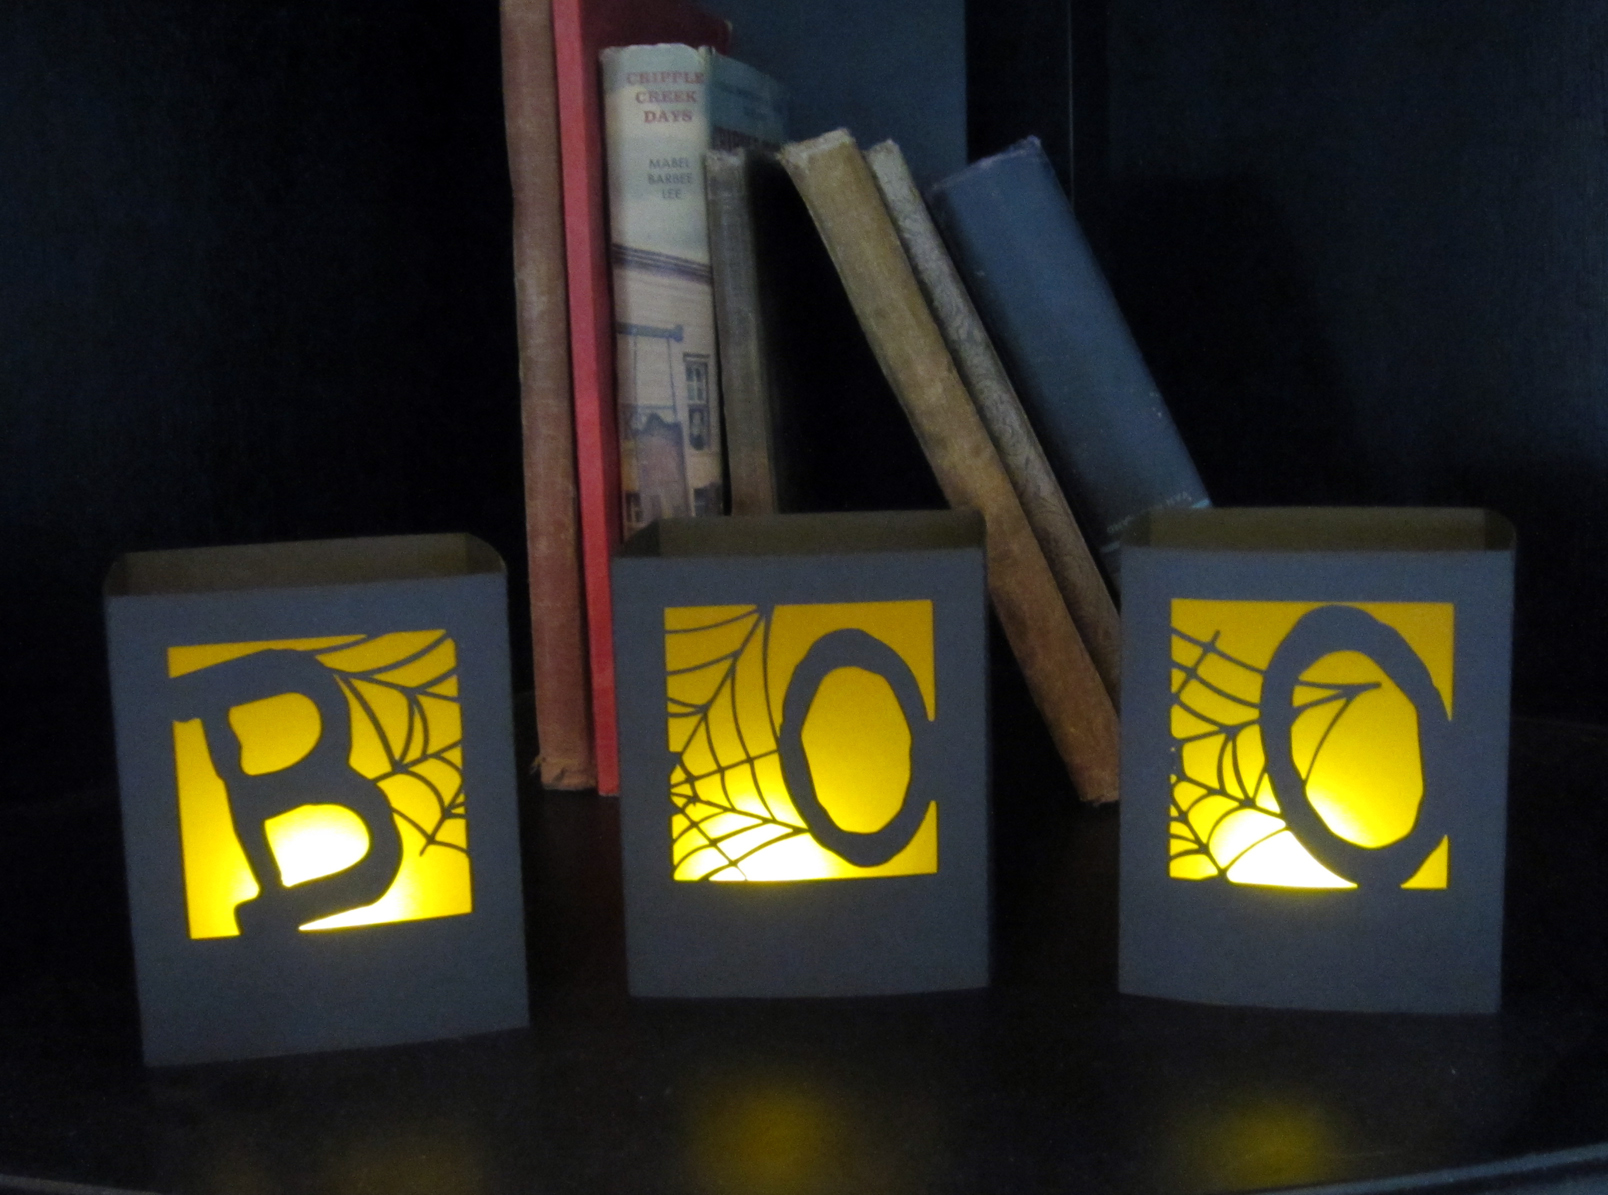
These easy Halloween luminaries make an easy, spooky greeting for the Halloween season. Create an eerie glow for Halloween or switch the design for a warm holiday welcome for Christmas.

The weather has taken a sharp turn towards winter this week here at Pazzles and it is impossible to deny any longer that summer is over and fall (winter?) is here. Though I have always been a warm weather person, I can't help but feel a child-like excitement start to bubble up in me when I realize that the holiday season is upon us. I love the memories, activities, and traditions that surround every holiday and some of the "heavy hitters" are just around the calendar corner!
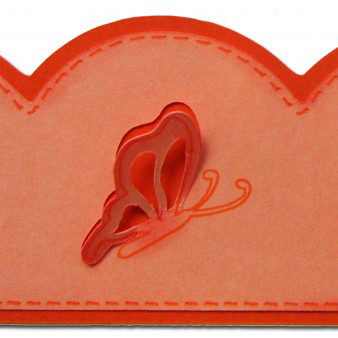
Proportion can make a significant difference when you are creating a design for a card or scrapbook page. The details on the design should enhance it and not detract from it. Tiny accents and lines on a large project can get lost. Putting large details on a small image will overwhelm it. Sometimes you need to use both types in order to get the right effect. I love the kiss cut tool to add details but sometimes the default size is way too small for my project. Are you like me and had forgotten that there are 2 sizes of kiss cut lines available in the Inspiration Studio Software?
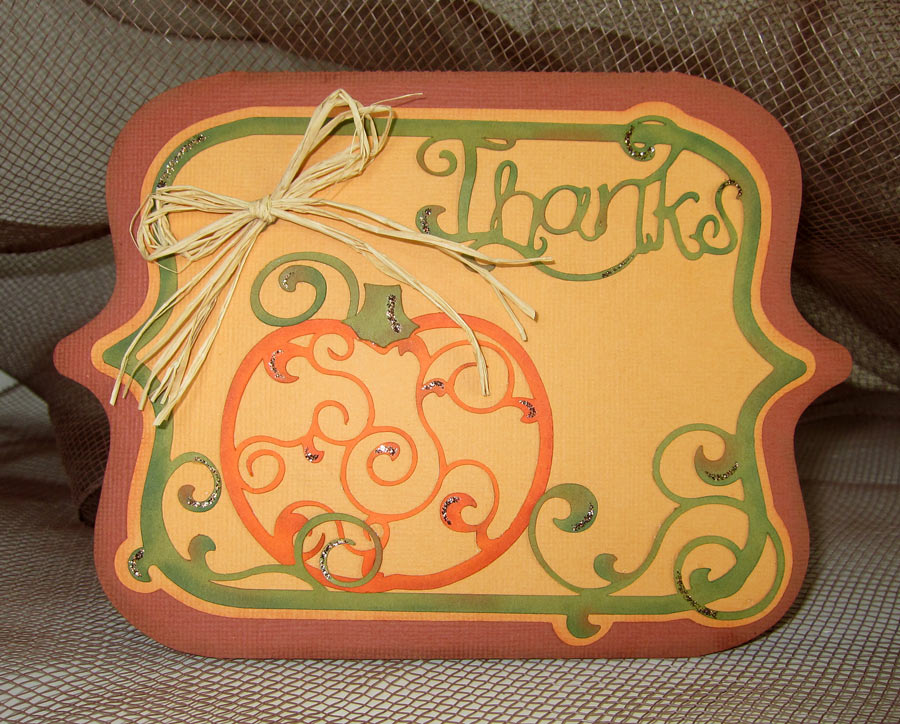
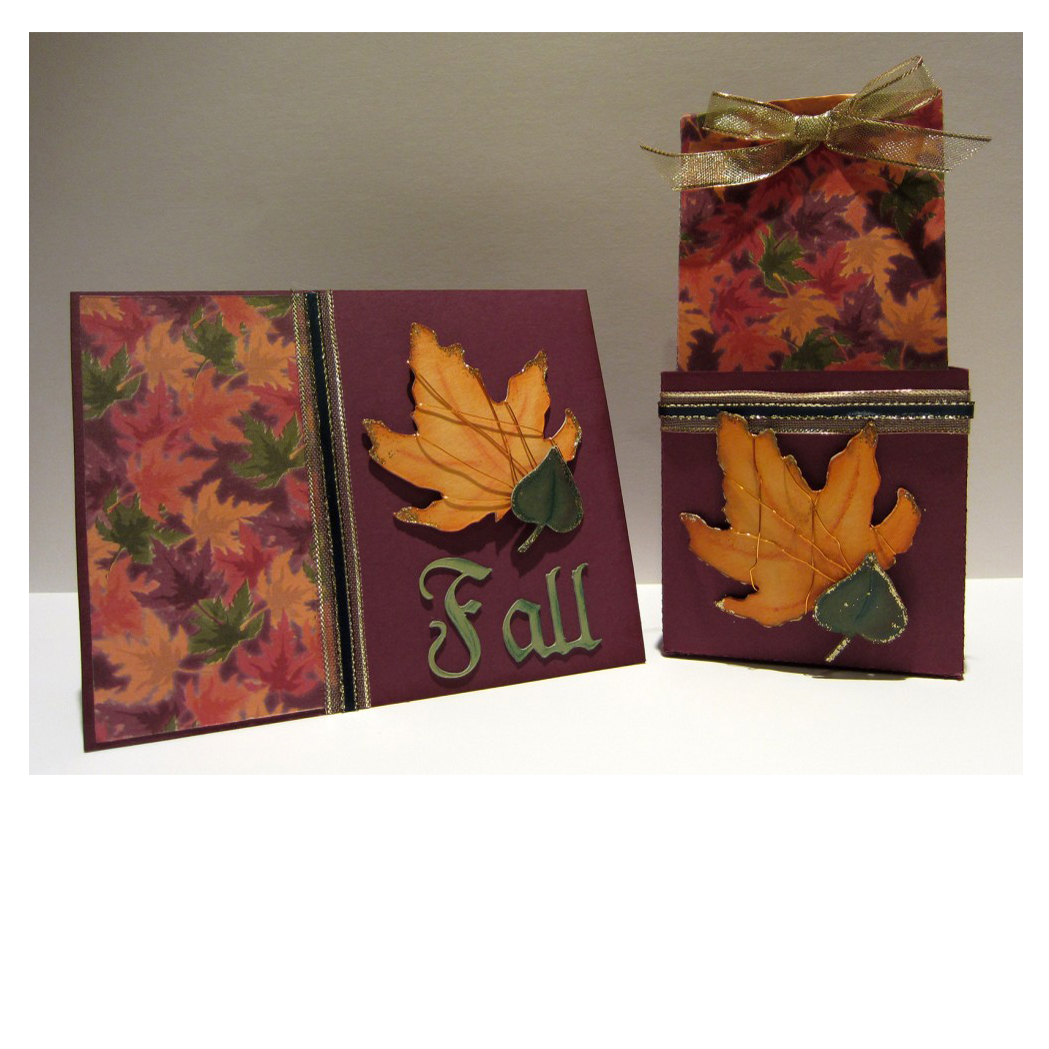
The air is crisp, school has started and the leaves are turning colors. Yes, Autumn has really arrived. I may want summer to last but I have to admit, I do love the colors of fall. One of my favorite things to do in the fall is to visit the local pumpkin patch. Round orange pumpkins lie all over the ground with leafy vines trailing everywhere. Inevitably, I am inspired to make a card featuring a pumpkin. I often feel that no matter how many lessons you watch on the software, you do not truly understand how all the features work until you see them in action on a project.
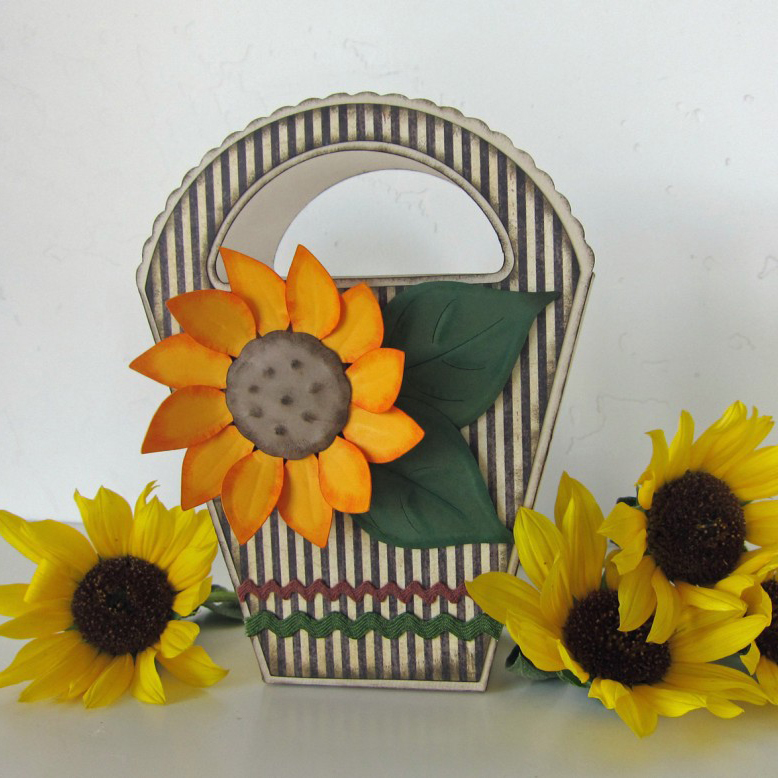
Sunflowers are some of the happiest flowers I can think of. They always make me smile, no matter what size or shade of yellow they are. For some reason they always seem to say "you are special to me". In late summer the roadsides and fields near my home have a multitude of wild sunflowers. A little bit of cheer that pops up in the most unexpected places. Naturally, I thought of adding a sunflower to a gift box as a way of telling someone how much they are appreciated.
I love the look of chipboard in my projects but I don't like that I always have to cut a layer of paper or cardstock to cover it. The chipboard may be brown or an ugly gray or even printed on (if I use a cereal box). So, I usually cut a second layer of cardstock and glue it on; or I paint it; or ink it; or in some other way try to disguise the chipboard. That is why I really love today's technique, I can make a nice stiff board that is already covered in the cardstock of my choice. Plus, I can recycle all of the plastic bags that seem to accumulate under my sink. It's the perfect combination: making something beautiful while repurposing something that would normally end up in the trash.
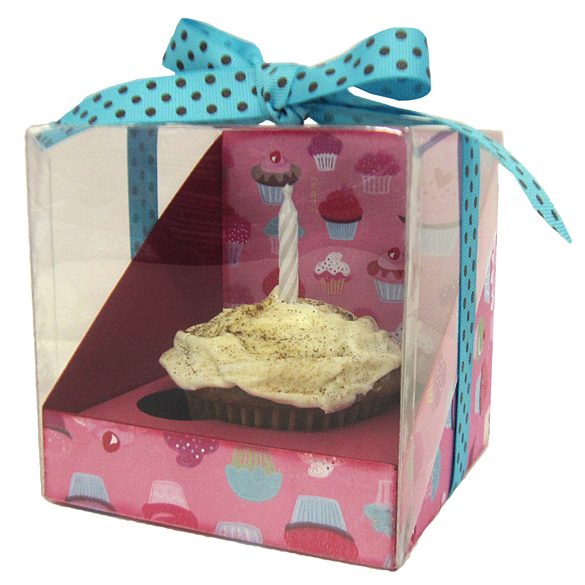
I hate to admit it, but I’m sucker for fun packaging. When something is displayed perfectly it adds a nice touch for the product inside. Well this cupcake box is no exception! It’s a great way to showcase your pastry specialties, and impress your friends with not only your baking abilities, but your paper crafting abilities too. Soon with the Pazzles Pastry Tools you'll be able to decorate your cupcake to match the box it’s displayed in and tie it together perfectly with a bow---literally! If you find you’re in a pinch for time or money (aren’t we all these days) and need to put together a little something for a loved one or a friend this gift is perfect.
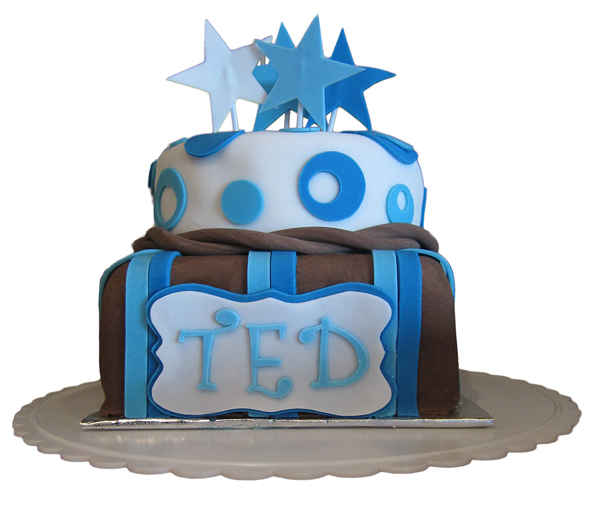
I'm working late tonight trying to get everything ready for the Pastry Tools! We are so close to being ready I can almost taste it (haha get it? TASTE!). While I am waiting for some videos to render I thought I might give you a little teaser. So, here is another one of our cakes we made for the video tutorials that are included in the Pastry Starter Kit. There is SO MUCH information in these tutorials. I wish someone could have handed me these videos when I was first learning!
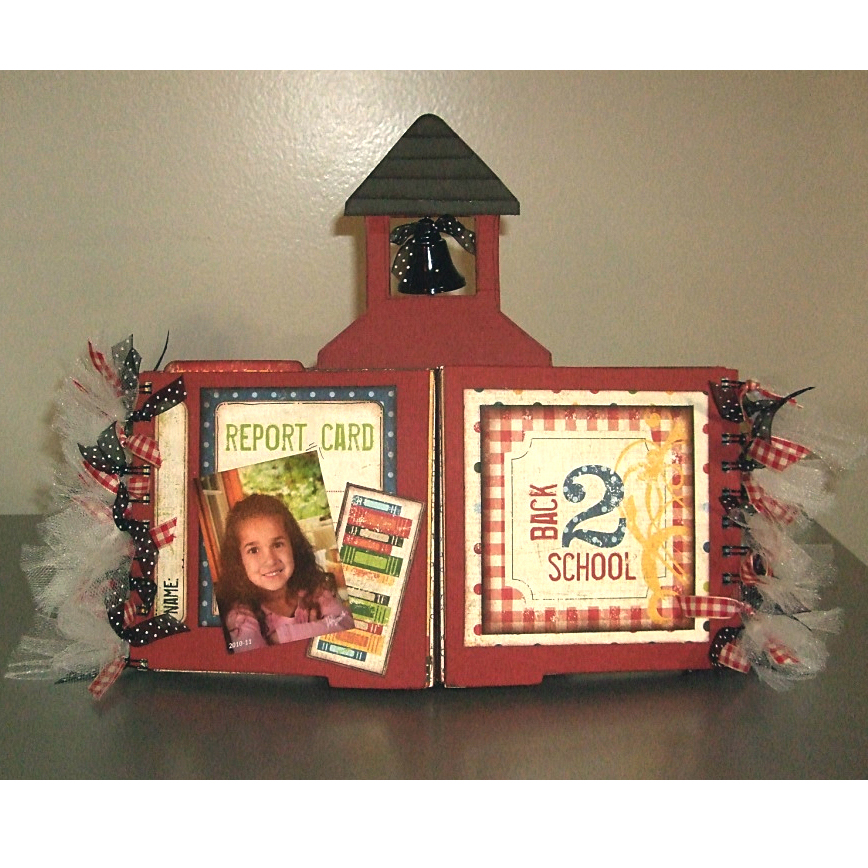
Over the last few weeks, I have been watching my friends post over on Facebook their first day of school pictures. It has been especially fun to see those that have seniors, because they are posting both the very first day of school ever photos, along with first day of senior year. As I have been seeing these photos, it really got me more excited about this weeks project of the Schoolhouse Mini Album. As I worked on this album, I also realized, it could very easily become a church. What a great way to display some of your favorite wedding day photos, or what about a baptism or confirmation?
Sometimes, when I am focused on scrapbook pages, I forget about design elements such as pop ups and windows with flaps. I tend to think that when a page is slipped inside of a sheet protector all of the fun movement is trapped inside. I realize that that is not always true. I have resolved to cast aside my tunnel vision and see what ways I can use these dimensional elements in my projects.
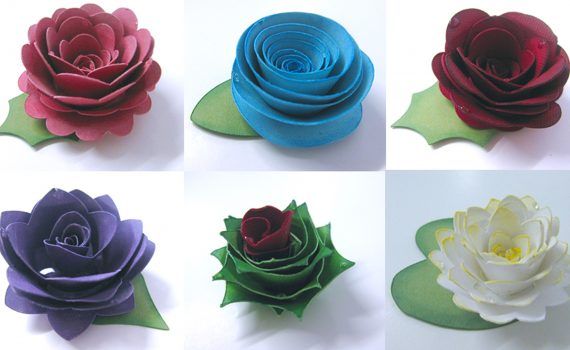
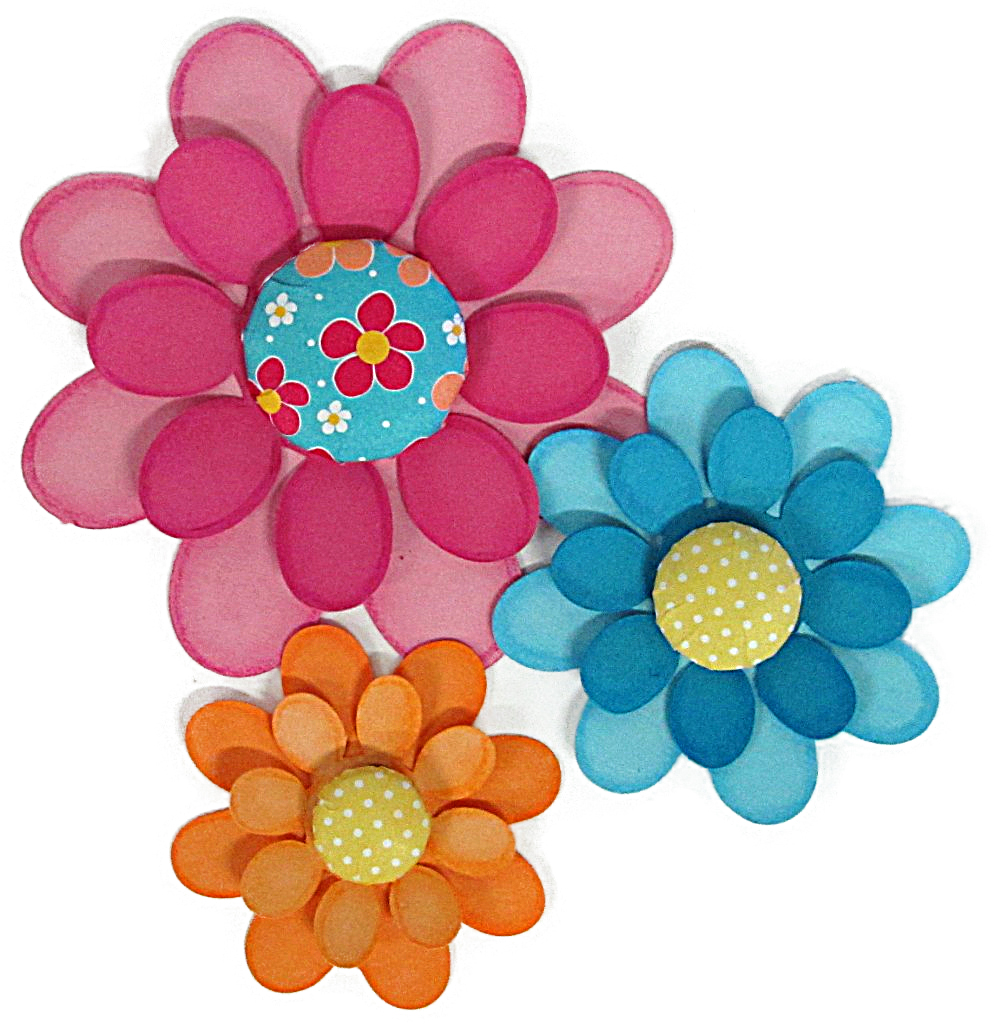
Create these six dimensional flowers simply be twirling the paper around a pencil and then curling the petals down. So simple and yet so beautiful you will want to make a whole bouquet!
Nana's Garden A couple of months ago I taught you about paper rosettes. At the time I had played a bit with making Rosette Flowers as well but felt that they deserved a lesson all on their own. When I needed to make a project for Grandparents Day for a magazine, I decided to make flower rosettes. What I didn't count on is how addicting they are! I just couldn't stop trying one more style of flower.
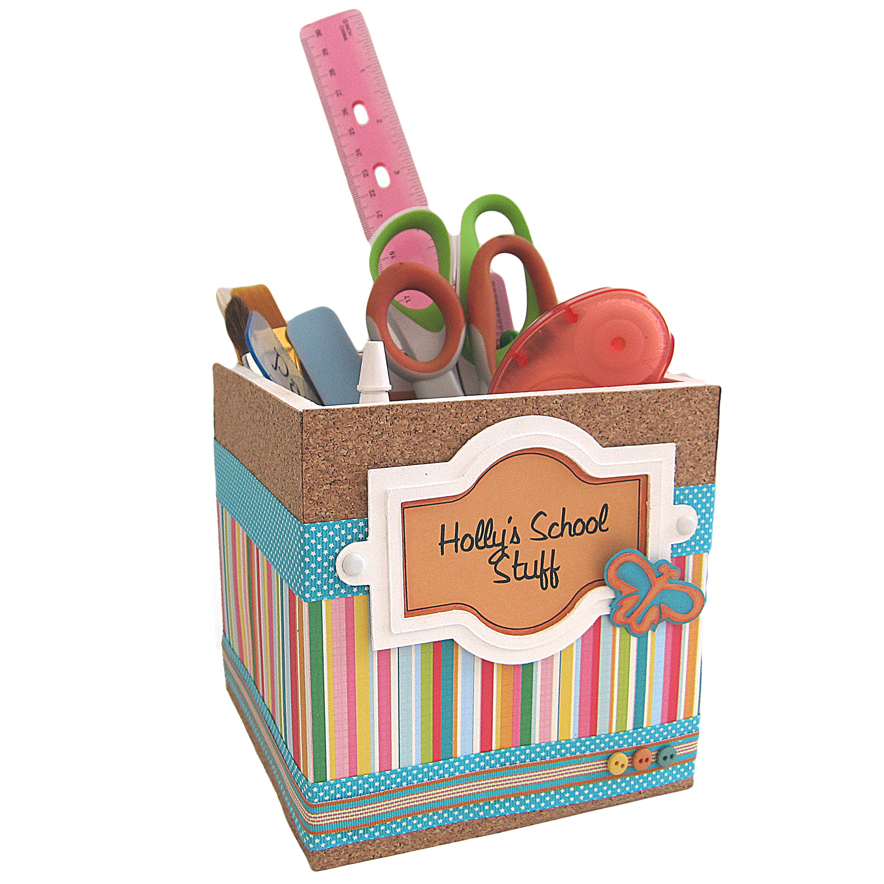
It seems that when I have thought of back-to-school projects I usually focus on the elementary years. For this project I was determined to make something that would appeal to a high schooler, college student or even a mom who needs to organize her office supplies. So often the pencil holders found in the office supply stores are too small for the collection of pencils, pens, scissors and rulers that I want to keep close at hand but this roomy box holds a lot .

August is here and for many of you that means the heat is really settling in. So this project is just a little reminder to HYDRATE yourself! Drink that water people! This cute and simple project is great for mass producing water bottles for any outdoor event including sports games, practices, weddings, and pool parties. Today's project is also special because we are giving it away to EVERYONE for FREE. Just a little gift from us to you to thank you for being part of the Pazzles family! We are also providing the SVG for this cutting file for those of you that are using MTC or SCAL with your Inspiration!
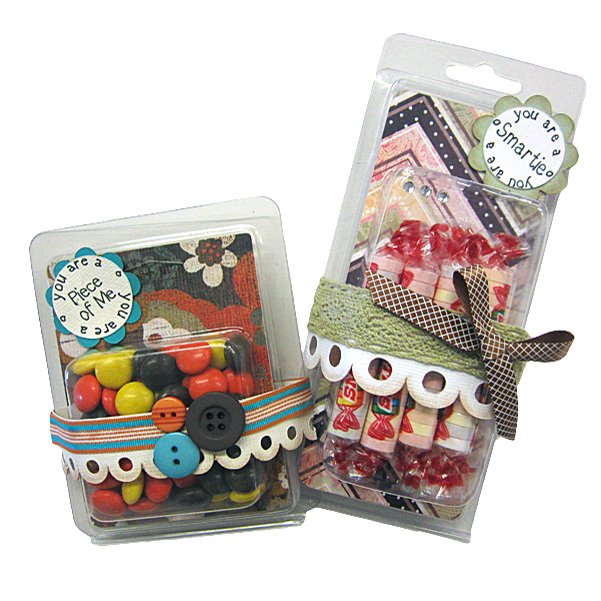
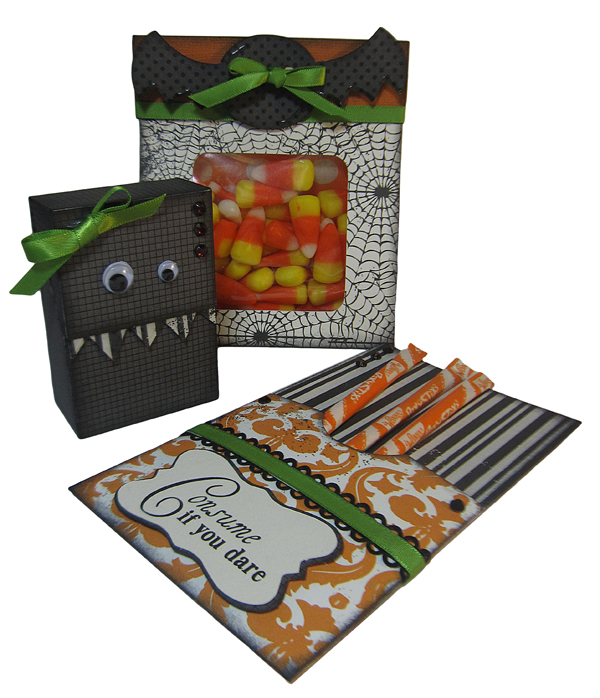
Up-cycle small empty plastic cases into sweet treats
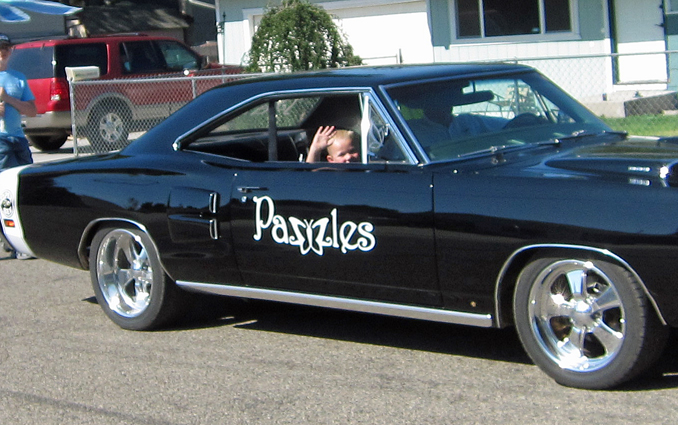
I absolutely love small town pride and all the hoopla that goes with it! Pazzles is located in a small town and this past weekend we celebrated our company and our home town. There was the BBQ and the farmers market, the craft booths and the barrel train ride, but best of all was the parade. It may be hokey and lack the glitz of the big city but small town parades are a lot of fun! Where else can a kid get a huge bag of candy in less than an hour? Where else can you get soaked by the little old ladies and their water hoses as you walk by? (Believe me, that is very welcome on a 90 degree day!)
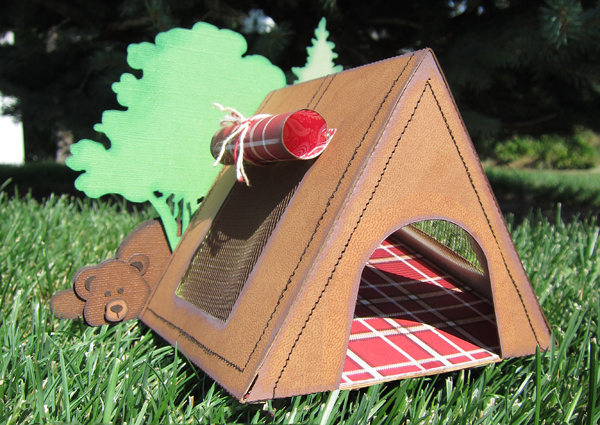
Paper crafting is not just a hobby, but an expression of what we are and the things we like to do. For those of you who like to hike, or just like going camping this is the perfect project, but it also makes a great gift for kids who get to enjoy camps over the summer too. This summer I was able to take a hiking trip with an amazing group of friends. Since this was my first time, I didn’t anticipate the almost five mile hike. I was pretty exhausted by the time we got to our destination and started prepping our camp to get all the tents set up. I have to say it was a pretty impressive sight to look around our camp and realize we packed everything in with fifty pound packs. I made this tent to preserve the memories of that trip.
Have you ever been in this spot? You have spent a lot of time making a beautiful card for someone special. It is all finished, you've spent some time admiring it and now it is time to slip it into an envelope and send it on its way. But what envelope? You don't really want to use a plain white envelope even if you have one that fits, do you? Why have a ordinary envelope for an extraordinary card?
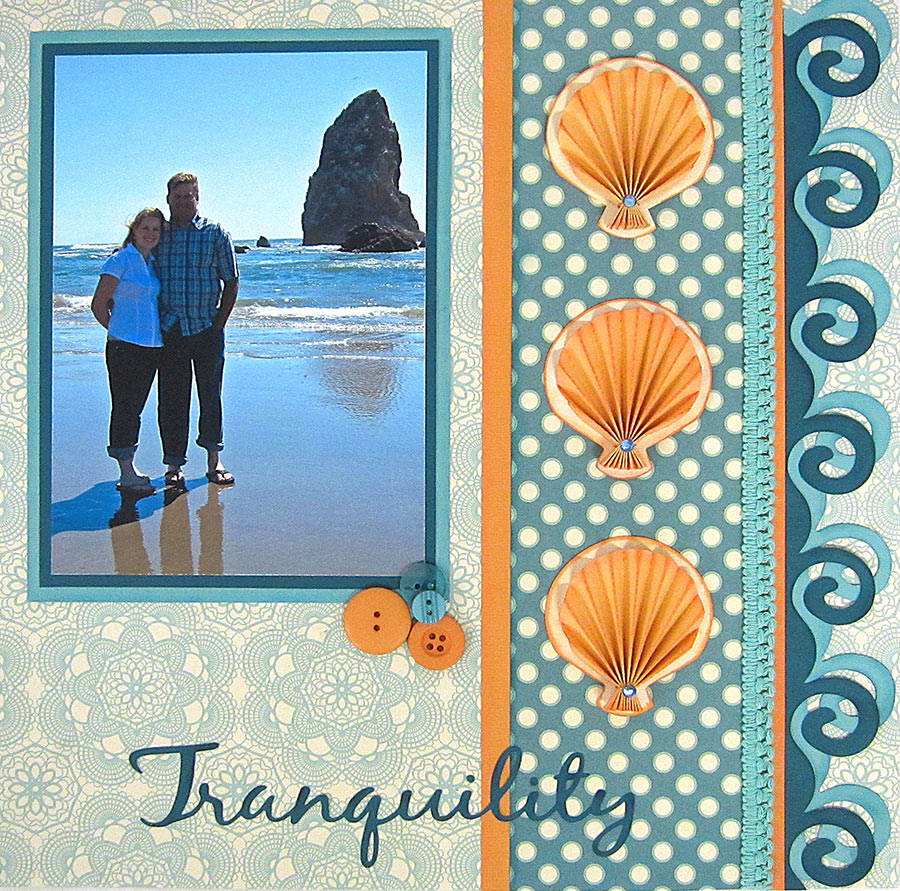
Recently, my husband and I along with all of our children and grandkids, spent a wonderful 4 days at Seaside, Oregon. The ocean never fails to inspire me when I gaze on the seemingly endless span of water with waves breaking on the shore over and over again. It also can be a tranquil place to sit and contemplate my blessings. It is good to take a break from the hustle and bustle of life just to slow down and breathe deep while watching the kids hunt for sea shells. Making this scrapbook page helped me remember that time and just for a moment I was able to smell the ocean air, feel the breeze and hear the ocean's roar. Ahh... tranquility!
I am always looking for new ways to use my Inspiration. Since I used to sew a lot, I have had covered buttons on my list of ideas for a while. Recently, there have been covered buttons showing up in a lot of product lines. They come already covered and cost quite a bit of money. Naturally I want to be able to make covered buttons in the size I want and have the exact color and print I want- when I want it.